Sony Vaio SVE151G11L Speaker Replacement
ID: 117330
Description: The speakers allow the laptop to play sounds...
Steps:
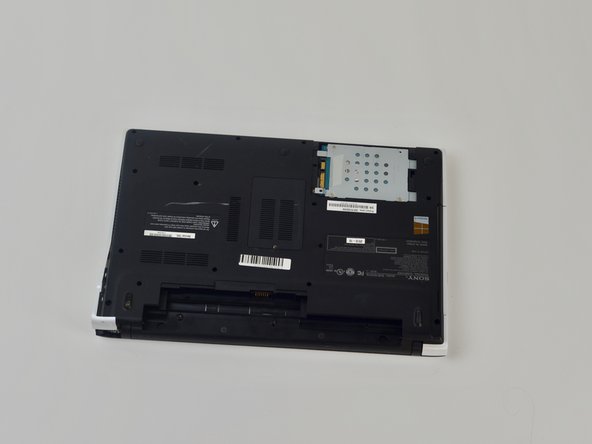
- Turn the laptop over so its underside is facing upwards and visible.
- Standing so that the barcode and warning labels are upright and legible, push the left tab up and away from yourself.
- Standing so that the barcode and warning labels are upright and legible, push the right tab up and away from yourself.
- Locate the small gap where the battery and the laptop shell meet. Lift from the gap and rotate the battery up and away from yourself.
- Pull battery away from laptop.
- Flip laptop over so the bottom is facing upwards.
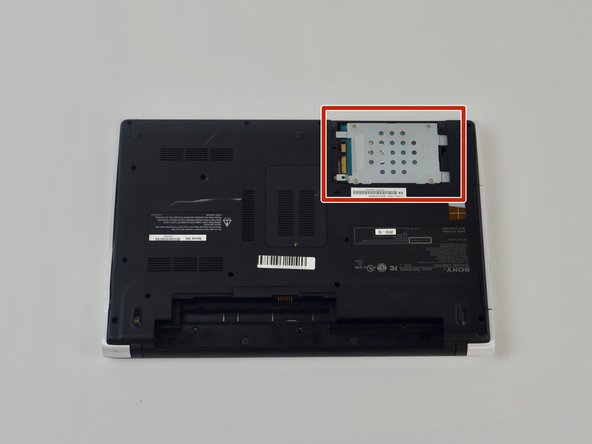
- Remove 2 bottom screws in the top right on the HDD cover, with a size P000 screwdriver.
- Pop open the cover to the HDD.
- Remove the screws on the HDD with a Phillips #000 screwdriver.
- Pull plastic tab away from the laptop.
- Lift HDD away from laptop.
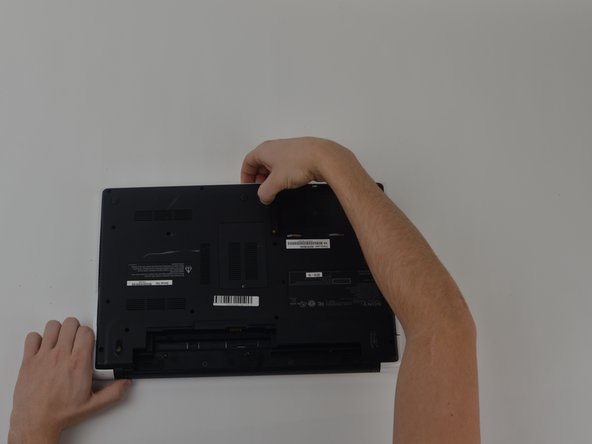
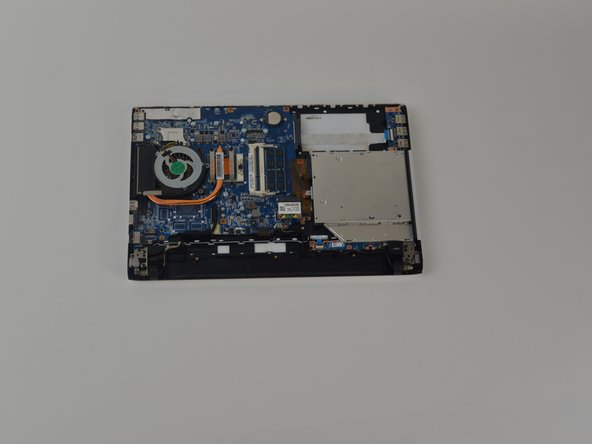
- Remove the back cover.
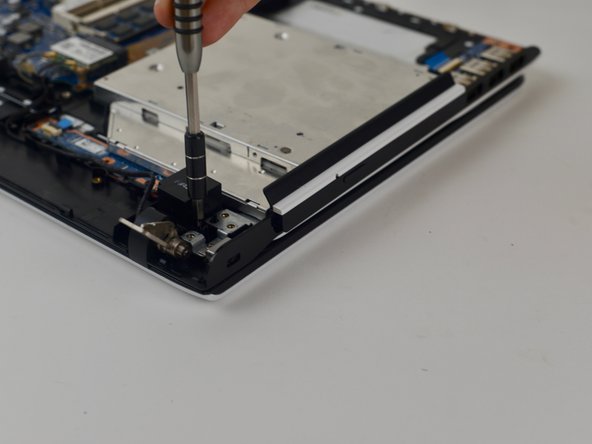
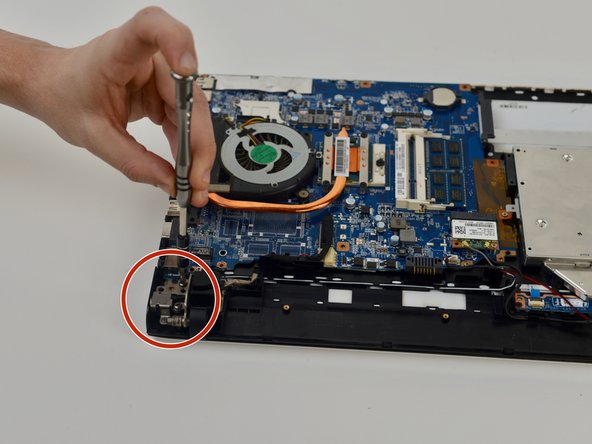
- Remove 4 hinge screws with a Phillips #0 screwdriver.
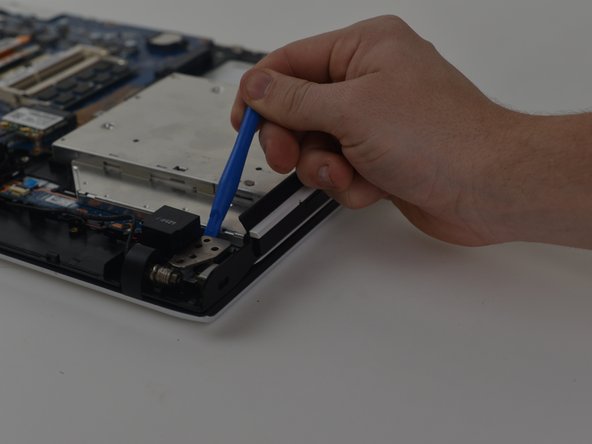
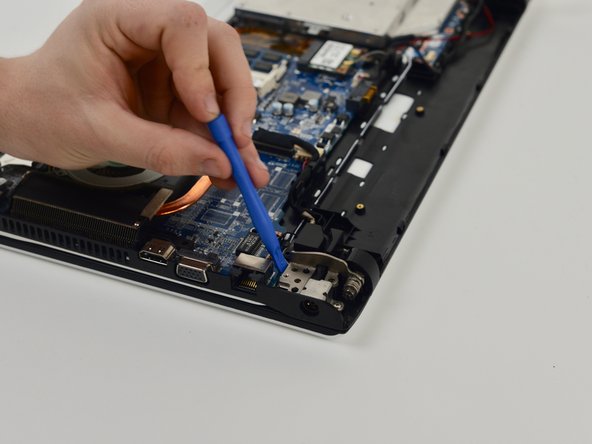
- Pop open hinge.
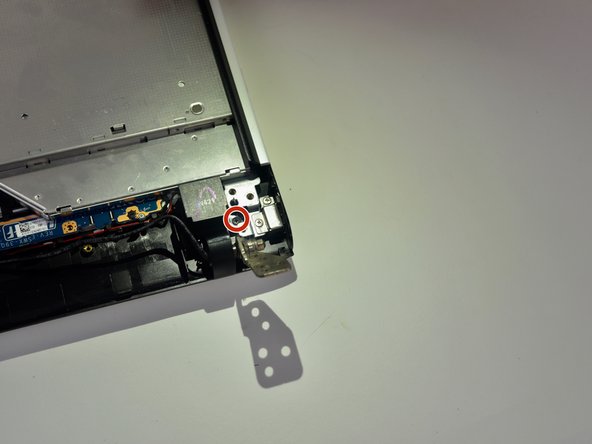
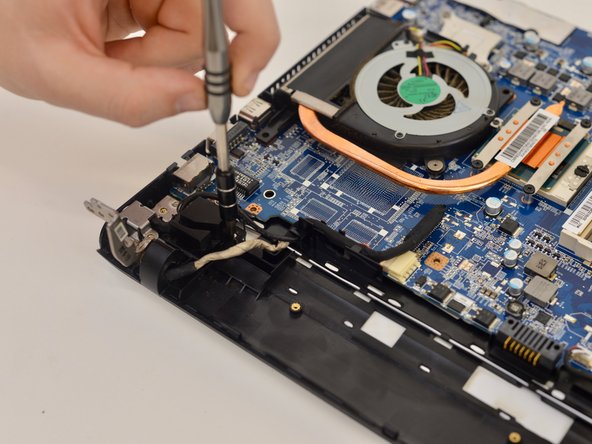
- Remove black screw size P000.
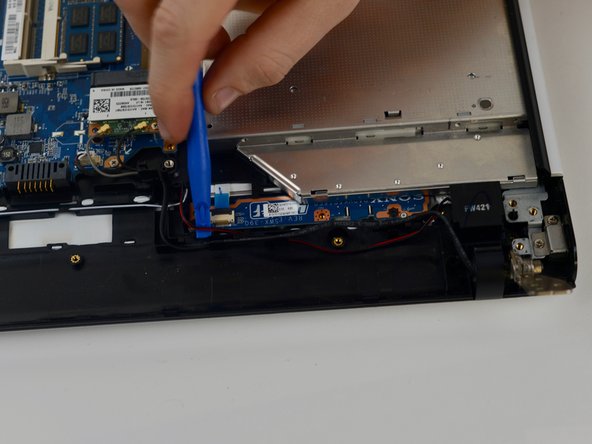
- Remove wiring along its guide.
- Remove two hinge screws size P00.
- Pop open hinge.
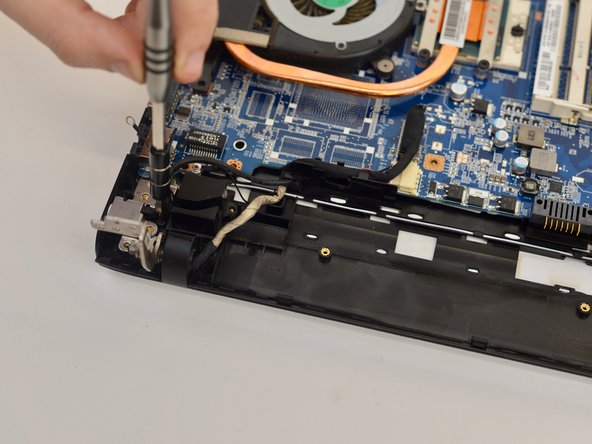
- Remove black screw.
- Remove secondary black screw.
- Remove speaker.
- Follow wire down its wire channel and remove it from the channel.
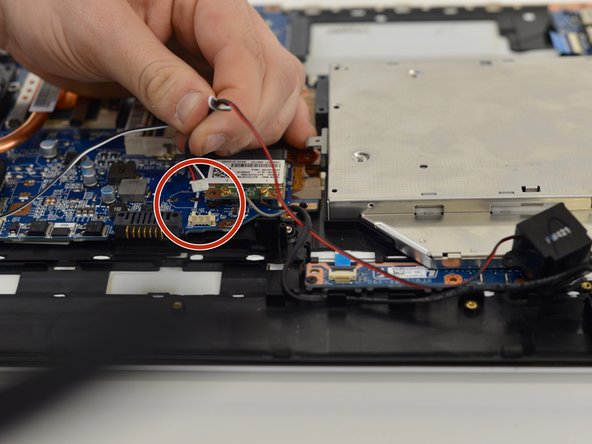
- Pull up on the connector to disconnect the speakers to the motherboard.
- Remove speaker and wire from the laptop.