Sony Vaio SVE151G11L Webcam Replacement
ID: 117417
Description: The webcam sits at the top of the display and...
Steps:
- Turn the laptop over so its underside is facing upwards and visible.
- Standing so that the barcode and warning labels are upright and legible, push the left tab up and away from yourself.
- Standing so that the barcode and warning labels are upright and legible, push the right tab up and away from yourself.
- Locate the small gap where the battery and the laptop shell meet. Lift from the gap and rotate the battery up and away from yourself.
- Pull battery away from laptop.
- Flip laptop over so the bottom is facing upwards.
- Remove bottom of laptop.
- Remove antenna wires attached to the WiFi card using a plastic opening tool.
- Remove the other antenna wire.
- Remove the display cable by pulling upwards.
- Remove the power display cable with a plastic opening tool by pushing outwards.
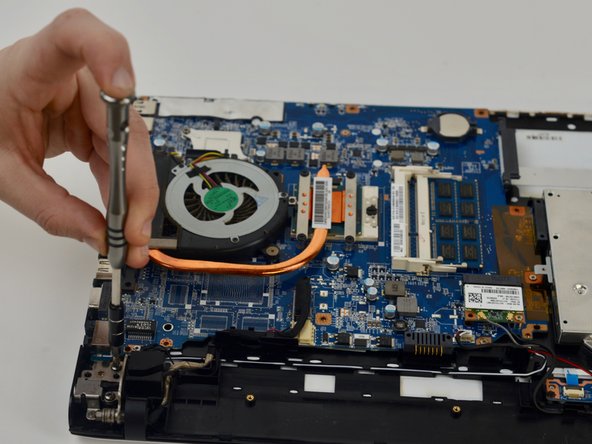
- Remove 4 hinge screws with a Phillips #0 screwdriver.
- Lift upward on the hinges with a plastic opening tool to release them.
- Separate the bottom of the laptop from the monitor.
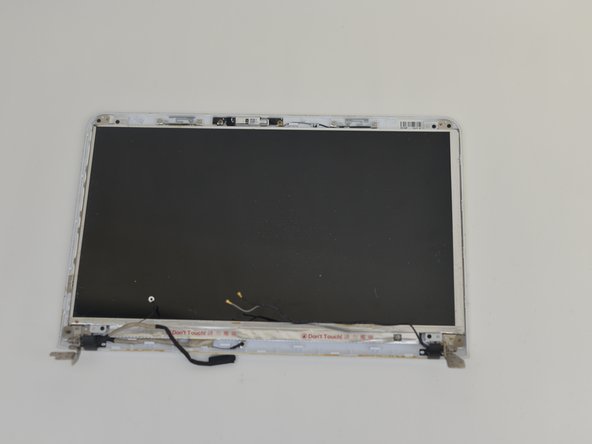
- Completely detach screen from the laptop.
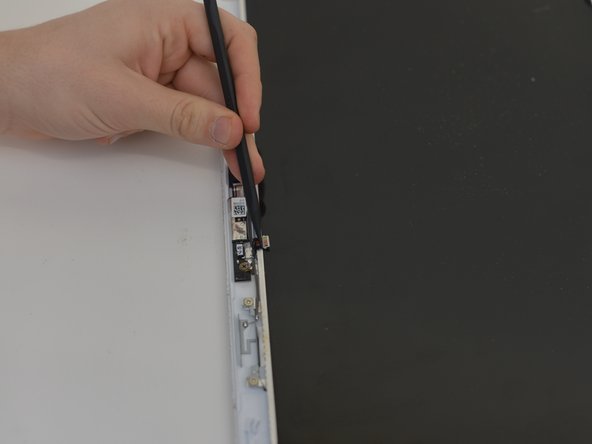
- Use the pointed tip of a spudger to lift the rubber screw covers along the screen bezel.
- Set the covers aside for re-use.
- Remove the exposed bezel screws with a Phillips #00 screwdriver.
- Starting at a corner, insert a plastic opening tool between the bezel and the back cover.
- Work along the edge to pop the plastic clips free.
- Caution: Do not twist against the LCD panel. Use gentle, even prying to avoid cracking the screen.
- At the top of the display, locate the webcam cable connector.
- Use a spudger to lift the locking tab (if present) and pull the cable straight out of the socket.
- Caution: Pull on the connector, not the cable, to avoid tearing it.
- Remove the two screws securing the webcam board with a Phillips #00 screwdriver.
- Support the board while removing the second screw so it doesn’t drop.
- Use a spudger to lift the webcam board from its recess.
- If it feels stuck, check for any remaining screws or tape.
- The webcam board is now removed. Transfer any brackets or foam pads to the replacement part before installation.