Install Ford F-Series LED Projector Fog Lamp from Auer Automotive PN# 260-FFS-819
ID: 117504
Description:
Steps:
- How to install Auer Automotive LED Projector Fog Lamps Part number 260-FFS-819
- Note: Not applicable for Raptor
- Care must be taken when installing this accessory to ensure damage does not occur to the vehicle. The installation of this accessory should follow approved guidelines to ensure a quality installation.
- "CAUTION: IT IS ADVISABLE TO DISCONNECT THE NEGATIVE BATTERY CABLE FOR 3 MINUTES BEFORE BEGINNING INSTALLATION, NOTE AND RECORD ANY ANTI- THEFT RADIO CODES PRIOR TO DISCONNECTING.'''
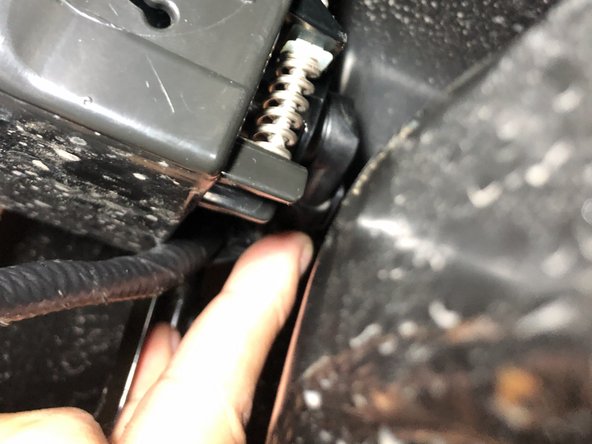
- Locate Fog lamp bulb connector at rear of Lamp assembly.
- With index finger, rotate bulb connector clockwise 90 degrees to remove bulb.
- Remove bulb from connector and place bulb to the side.
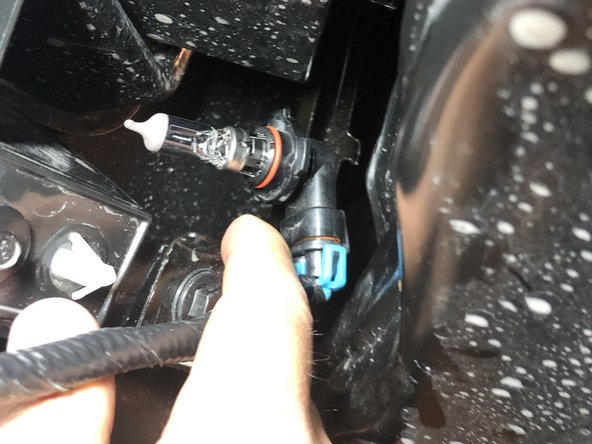
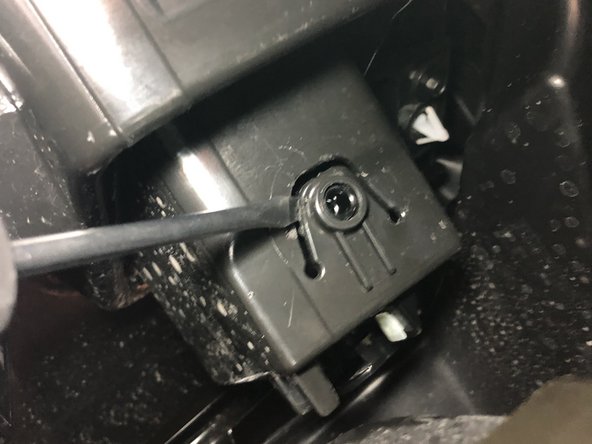
- Remove adjustment screw from lamp assembly and retain for new lamp.
- NOTE: Take note of how many rotations to aid in lamp alignment after install of new lamp assembly.
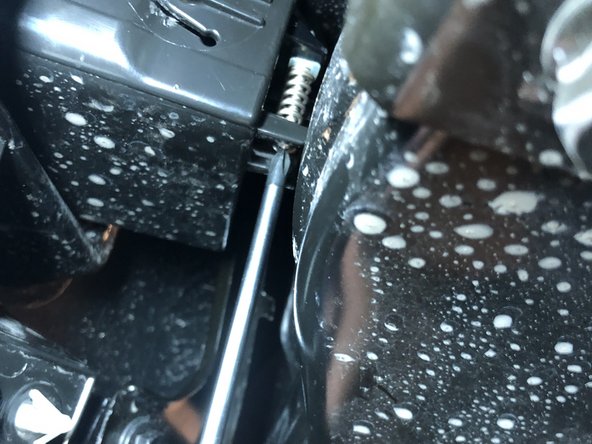
- The lamp is retained into the bezel via two circular tabs in which the fog lamp will snap into. Insert a small flat head screwdriver between the lamp and the bezel on the left side from the front of the vehicle to pry bezel tab from lamp. Apply pressure from the rear to dislodge lamp, as seen in photo.
- Detach right side tab at rear of fog lamp, (as seen in photo) and push lamp forward
- Remove factory lamp by pushing forward through the bezel and remove from the front of vehicle.
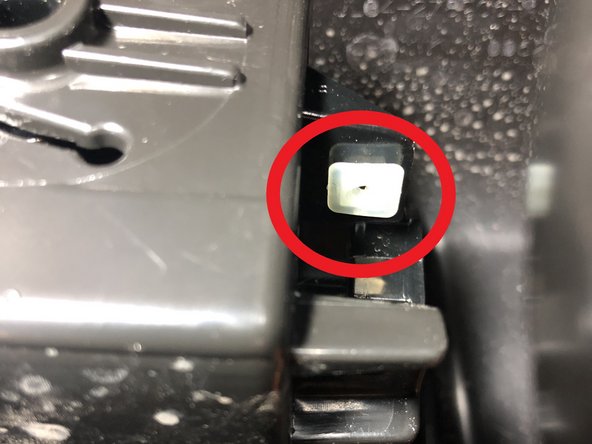
- Remove WHITE screw retention tab from factory fog and insert onto new lamp
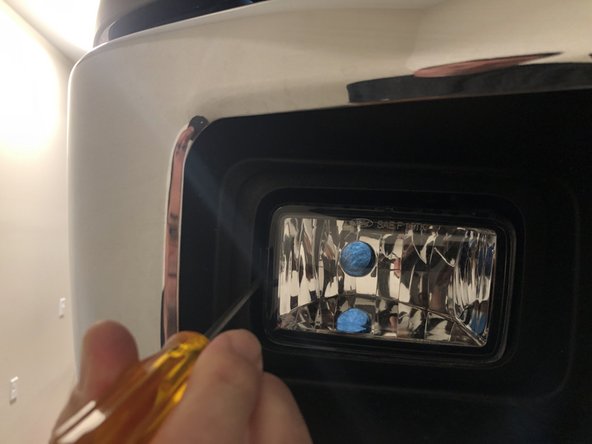
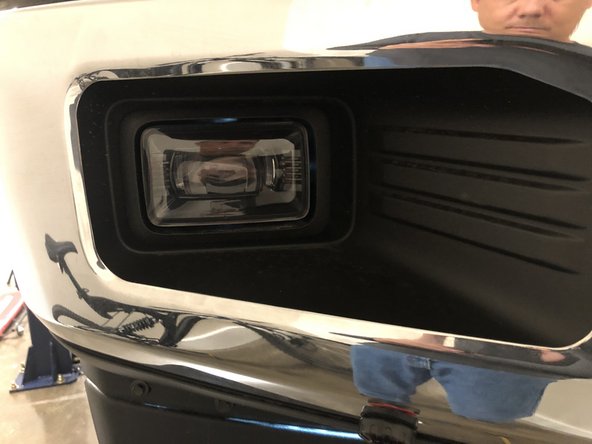
- From the front of the vehicle, insert new Fog lamp into bezel and push until assembly snaps into bezel.
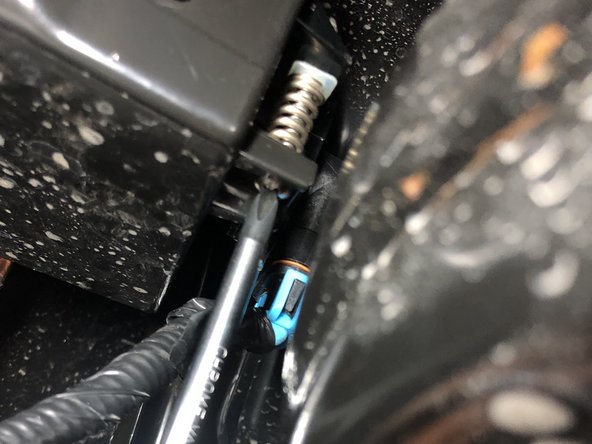
- Reinstall adjustment screw into retainer. (Once screw begins to compress spring, turn screw approx. 6 turns).
- Connect harness connector.
- Repeat above procedures for opposing lamp.
- After both lamps have been installed, start vehicle to ensure proper operation and to check for proper beam alignment.
- Park vehicle 8-10 feet from wall and check for proper beam alignment when installation is complete.
- Utilize adjustment screws on lamp. (Clockwise to lower beam and counter clockwise to raise beam).