Asus A53U-ES21 Heat Sink Replacement
ID: 117522
Description: The heat sink and the fan assembly are attached...
Steps:
- Make sure the laptop is off.
- Flip the laptop upside down so that the battery is facing you.
- Move the two sliders towards the outer edge of the laptop.
- Pull the battery out with your left hand while holding the right slider.
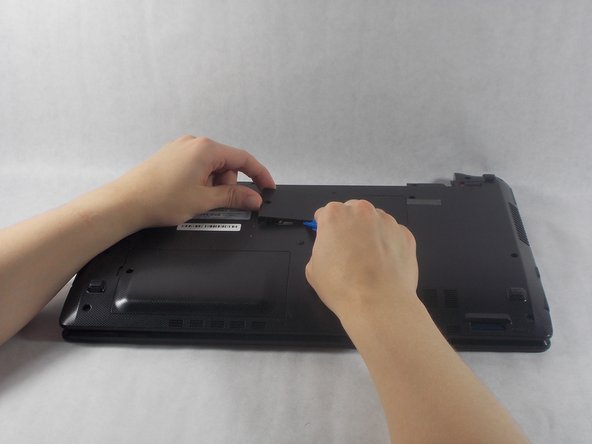
- Remove the 5mm screw using a Phillips #1 screwdriver.
- Use the iFixit opening tools to remove the RAM panel.
- Remove the 7mm screw using a Phillips #1 screwdriver.
- Pull the optical drive out from the side of the laptop.
- Remove the RAM cover from the bottom of the keyboard.
- Remove the 5mm screw keeping the panel in place using a Phillips #1 screwdriver.
- Work the pry tool along the edge to finish removal.
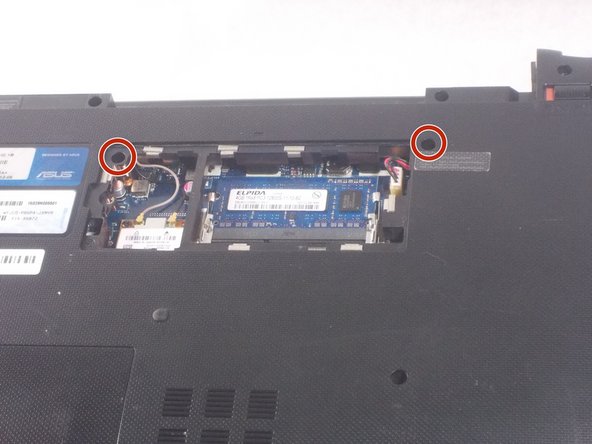
- Unscrew the two 7mm screws marked with an engraved "K" using a #1 Phillips screwdriver.
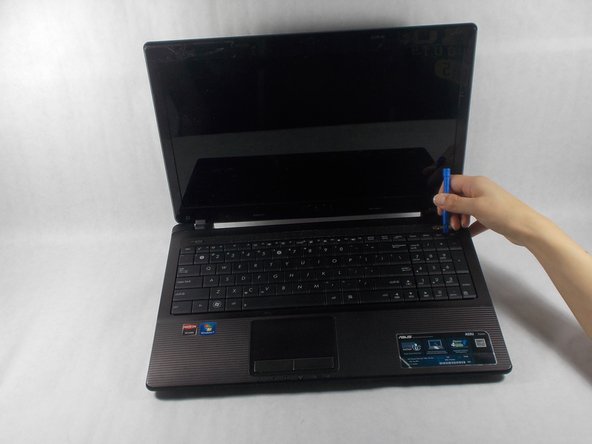
- Orient the computer so the keyboard is facing toward you with the screen at the top.
- Find the three buttons to depress at top of the keyboard, set in the crack between the casing and the keyboard, highlighted here in red.
- Use the pry tool to depress the buttons. The keyboard should pop out.
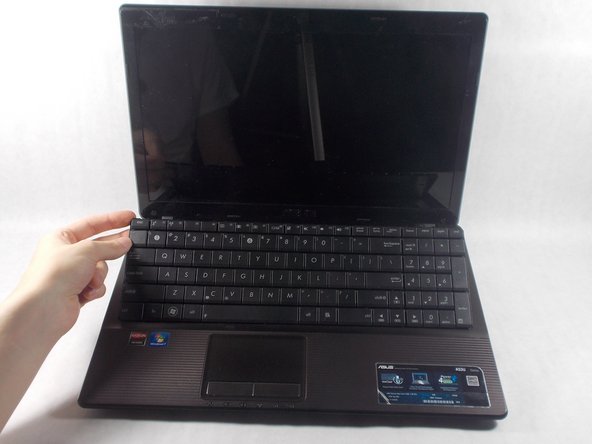
- Fold the keyboard out towards you. It should still be connected by a ribbon to the rest of the computer.
- Gently use the opening tool to lift the black piece holding the ribbon down and remove the ribbon.
- The black piece should cover the white line on the ribbon when it is replaced.
- Close the laptop and place it upside down.
- Remove the twelve 7mm screws using a Phillips #1 screwdriver.
- Remove the two 2mm screws using a Phillips #1 screwdriver.
- Pull the connectors away from the wireless card using the plastic opening tools.
- Pull the white connector from its socket in the RAM panel.
- Flip the laptop over again, open it, and unscrew the three 7mm screws using a Phillips #1 screwdriver.
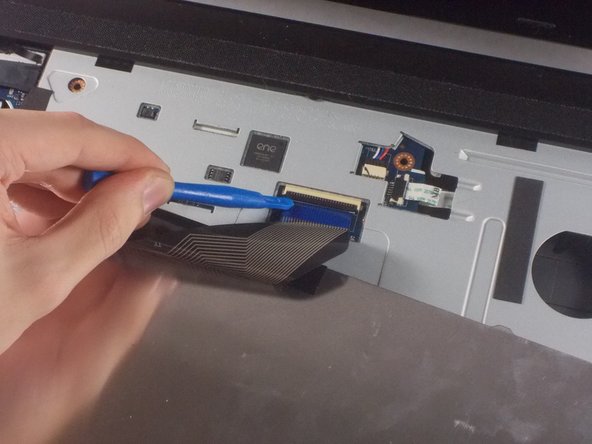
- Gently pull the tan flap off of the cable using the plastic opening tool.
- Push the tan piece towards the cable and release it using the plastic opening tool.
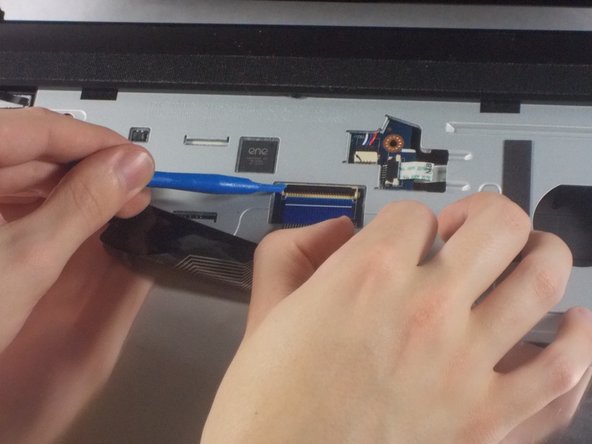
- Pull the black flap off of its connector.
- Separate the front plate of the laptop from the back using the plastic opening tool.
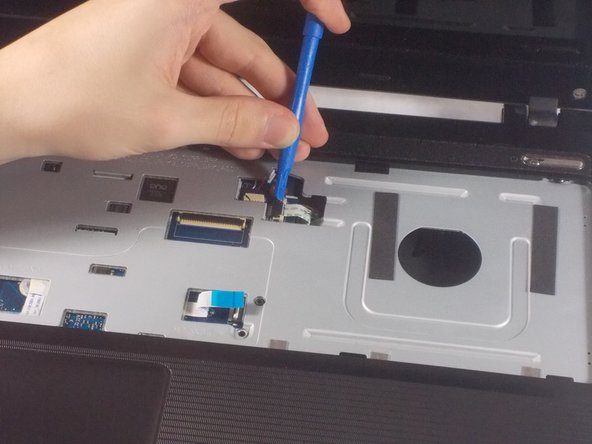
- Remove the single 7mm screw from the motherboard using a Phillips #1 screwdriver.
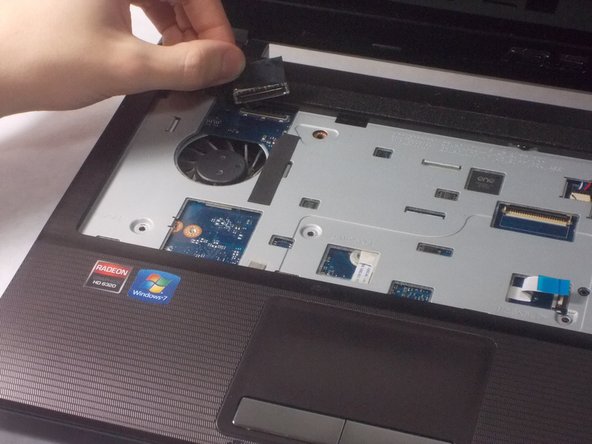
- Pull to two shown cables from their sockets using the plastic opening tools.
- Gently remove the motherboard from the laptop.
- To remove the heat sink, unscrew the four 7mm screws using a Phillips #1 screwdriver.
- Remove the heatsink from the device.