Google Pixel 2 XL Battery Replacement
ID: 117546
Description: This guide has been updated, the newest version...
Steps:
- Place the suction handle onto the top of the phone's display. Make sure to have a strong connection.
- Insert the edge of the blue opening tool between the phone's crease. Pull up with the suction cup and pry the display off.
- Do not be too forceful; after the phone is pulled apart there are still inner connections that need to be taken care of.
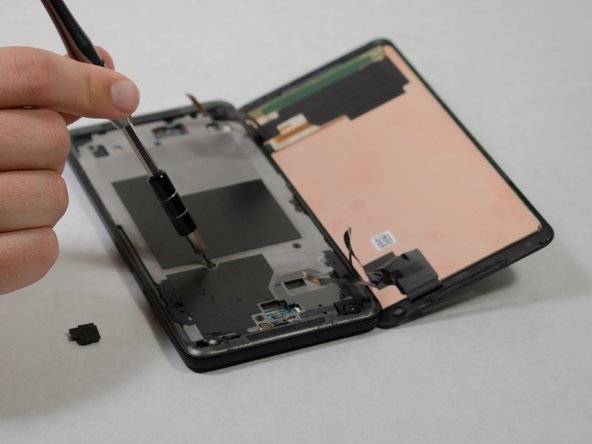
- Use the nylon spudger to pry both plugs out and release each ribbon.
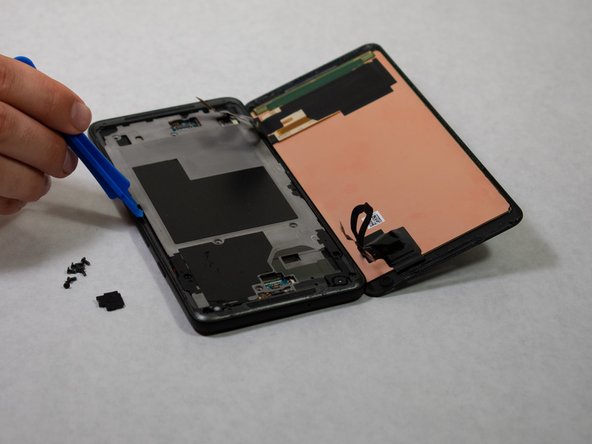
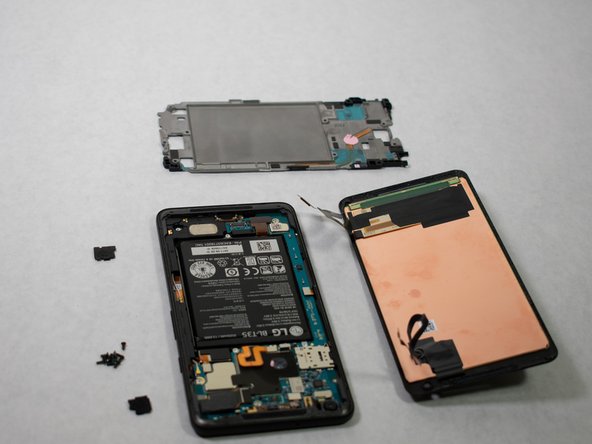
- Remove the magnesium midframe by pulling out all eleven 3.5 mm screws holding the piece down, using a JIS #000 screwdriver.
- Use the plastic opening tool to pry open the frame from the side.
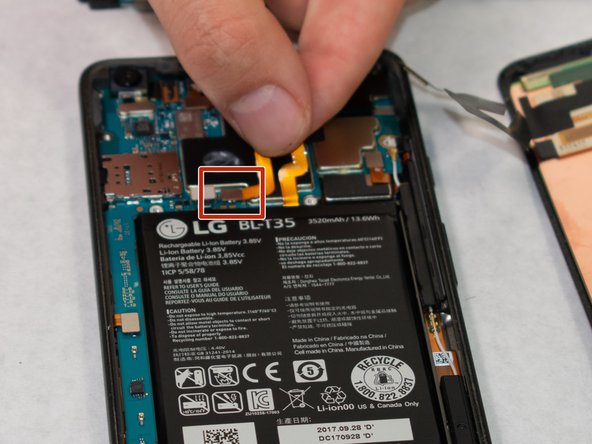
- The battery is held down by a large orange ribbon. Simply disconnect the metal tab that attatches the ribbon to the phone.
- Pry apart and remove the battery from the device using a spudger.
- The battery will be glued to the bottom. Removing it will not damage the device, but it will be difficult.
- To install a new battery:
- Remove any remaining adhesive from the phone, and clean the glued areas with isopropyl alcohol and a lint-free cloth.
- Secure the new battery with pre-cut adhesive or double-sided adhesive tape. In order to position it correctly, apply the new adhesive into the phone, not directly onto the battery.
- Press the battery firmly into place for 5-10 seconds.