Garmin 910xt GPS Front Casing Replacement
ID: 118895
Description: This guide shows how to replace the casing for...
Steps:
- Prepare the new casings to be used and all your tools.
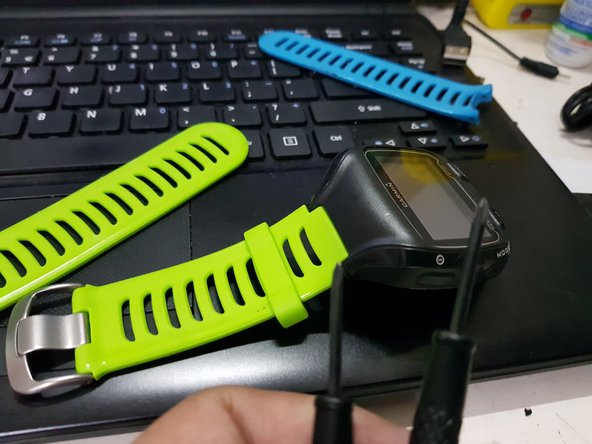
- 1. Remove the strap first
- 2. Use a T4 or T5 star screw to remove the screws on the old garmin 910 device
- 3. Use a small sharp knife or swiss knife and gently insert on the bottom part as shown and lightly twist to unlock the case. Once unlocked, use your hands to force open the casing to minimize damaging of the rubber part
- 1. Once the casing is opened, gently remove the lock from the flex film of the battery to the mother board.
- 2. Gently remove the LCD and move it to the new housing
- 3. Before locking it all in, use a microfiber cloth and wipe all the dirt on the lcd and the screen
- 1. Please make sure to check if all buttons are working and not stuck before closing the covers
- 2. Use your T4 or T5 star screw to put back all the screws in place
- 3. Make sure all the components are neatly fixed & tucked in before locking
- 4. Return back the straps
- 1. Scan through the device to see if there is anything loose
- 2. Check charging also
- When all data fields show up, that means GPS is connected and you are good to go!