Motorola Droid Turbo 2 Rear Cover Adhesive Guide
ID: 119012
Description: This guide will show you how to apply new...
Steps:
- Prepare the phone frame surface by removing all traces of adhesive.
- Use tweezers to pull adhesive chunks off. Use the opening tool to scrape residue off. You can use high concentration (over 90%) isopropyl alcohol to help dissolve residue.
- Be careful not to damage the wireless charging coil when scraping around it.
- If you are re-using the rear cover, prepare the inner surface by removing all traces of adhesive from it.
- Do not attempt to remove the rectangular plastic liner near the bottom of the cover, but do scrape off all adhesive on it.
- Use your finger and firmly press the metal rear camera plate from the outer side of the rear cover until you dislodge it from its recess.
- Remove the rear camera plate.
- Clean the perimeter of the rear camera plate and remove any adhesive residue.
- Set the pre-cut adhesive strip next to the rear cover so that it is properly oriented—the pull tabs should point to the bottom left corner of the cover.
- Optionally, you can tape the pre-cut adhesive strip into position for easier application.
- Lay the pre-cut adhesive strip over the rear cover, aligning it to the long edges.
- Tape one long edge of the pre-cut adhesive strip to the rear cover, locking the alignment in place while allowing the strip to still swing.
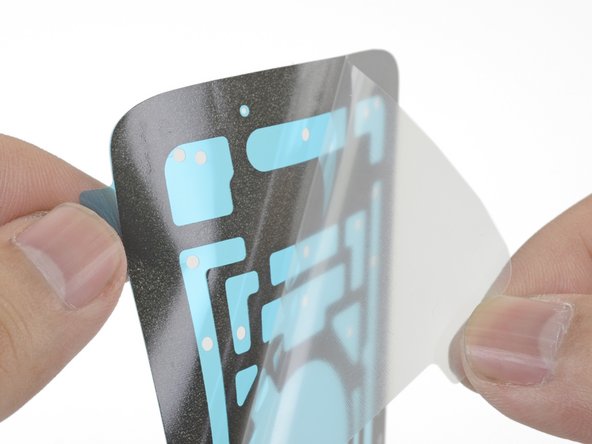
- Peel and remove the clear plastic liner from the pre-cut adhesive strip.
- This will expose adhesive facing the rear cover, so don't remove the liner until you are ready to begin placement.
- The exposed adhesive is very sticky and prone to adhering to surfaces unintentionally. Be careful while handling and aligning the adhesive.
- Align the adhesive strip to a long edge of the rear cover.
- If you have previously taped the adhesive strip to the rear cover, the strip should already be aligned.
- Beginning from the alignment edge, use your fingers to press the adhesive strip onto the rear cover.
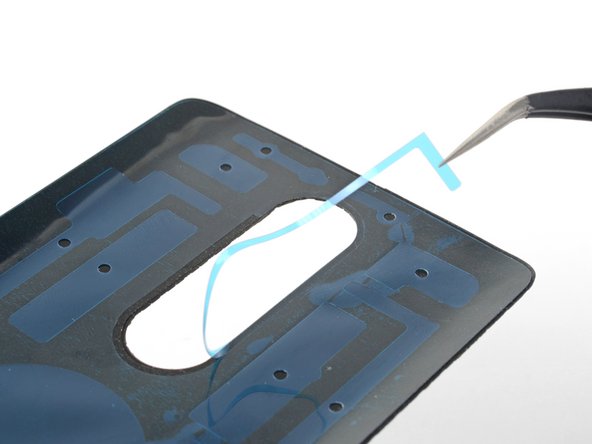
- Pull and remove the blue liner tab located in the rear cover's rear camera hole.
- This will expose a ring of adhesive around the hole, which will hold the rear camera plate in place.
- Align the rear camera plate with the rear cover's camera hole and drop it in place.
- Press the rear camera plate in place. You may need to squeeze from both sides to ensure that the adhesive bonds properly.
- Continue with phone re-assembly until you are ready to seal up the phone.
- Be sure to test your phone's functionality before sealing your phone.
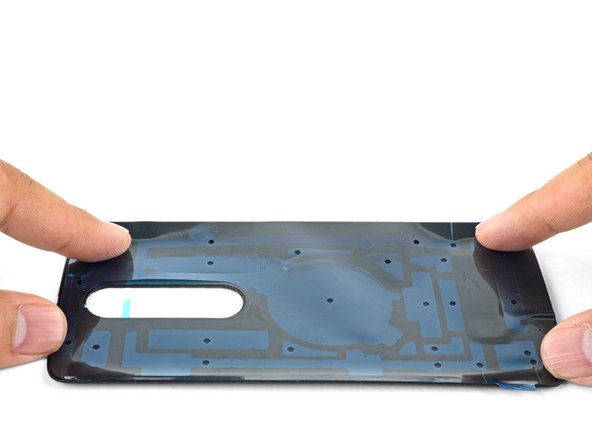
- Peel and remove the blue liner from the rear cover, exposing the adhesive to stick onto the phone frame.
- Align and press the rear cover onto the phone frame.