Lenovo Yoga Tablet 10 Back Camera Replacement
ID: 119119
Description: Before you proceed with this guide, you should...
Steps:
- Remove the two Phillips #000 screws.
- These screws are located behind the stand for the device.
- Our device did not include these screws.
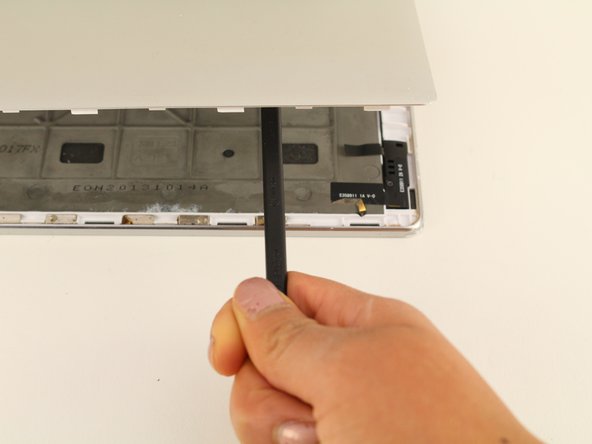
- Use a plastic iFixit opening tool to pry the edges of the back case loose by placing it in between the edge of the cover and the screen.
- Do not immediately attempt to remove the back of the case without attempting Step three, or you risk snapping the back cover.
- Use the spudger to reach into the center of the device and pry off the back case by giving it a light force upwards.
- Remove one 5mm screw using the Phillips #00 Screwdriver.
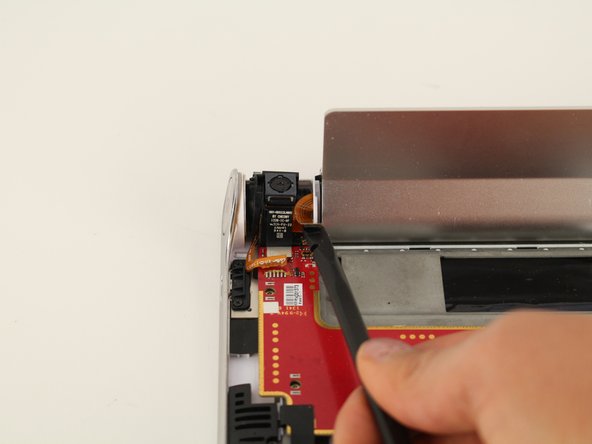
- Use the spudger to disconnect the camera and battery from the printed circuit board by putting the spudger in between the connections and the printed circuit board and pushing the spudger up.
- Remove one 5mm screw with the Phillips #00 screwdriver.
- Use the nylon tip tweezers to push the camera out from between the power button and the kickstand.