Mac Pro 2009-2012 Case Replacement
ID: 119128
Description: If your Mac Pro has a scratched or damaged...
Steps:
- To open the Mac Pro, you'll have to lift the clip on the back of the case
- Leave the clip open during the entire disassembly!
- Lift the flap to put it in the unlocked position. The panel should separate from the case without force.
- Then to remove the hard drives, pull them towards you with a bit of force.
- Simply pull the DVD drive bracket towards you, just like with the hard drives. Force it gently.
- Unplug de power cable and the SATA cable of each DVD drive
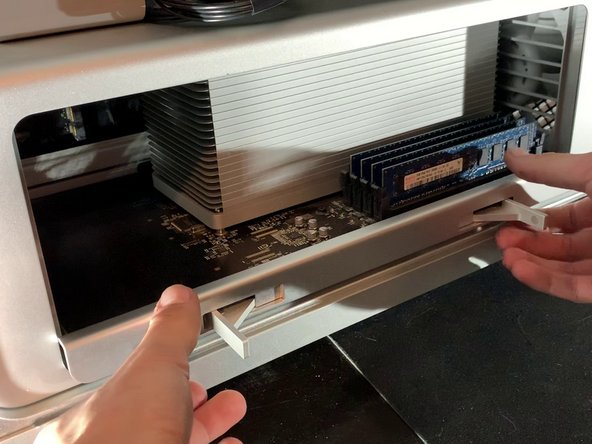
- Press both latches to unlocket the bracket.
- Then, pull it towards you.
- You shouldn't need to apply much force.
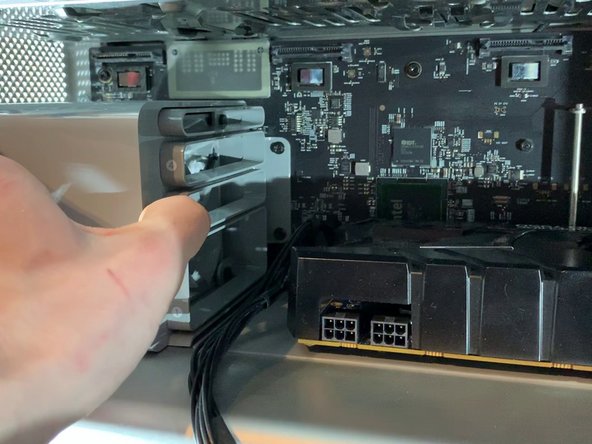
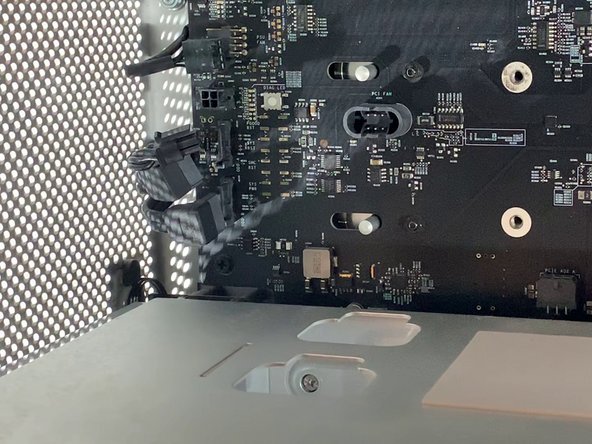
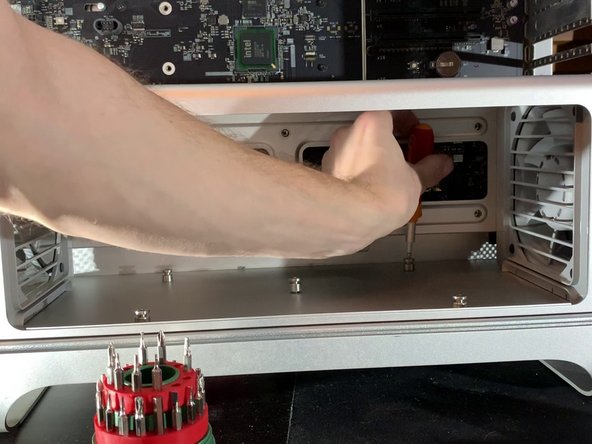
- Remove the 6 or 8 pin connector from your graphics card.
- This step is optional, it will depend on the graphics card of your Mac Pro
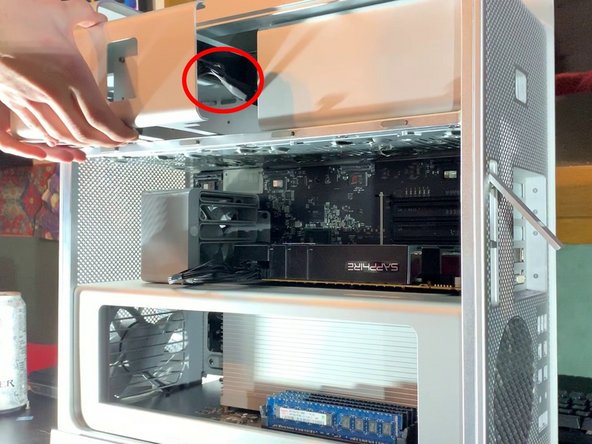
- On the fan bracket, there is something like a button. Press it to move the support to the left (see picture)
- Then pull the graphics card towards you to take it out of the case
- This step is optional depending on the GPU of your Mac Pro
- Disconnect the PCI-e cables from the motherboard
- This step is optional depending on the GPU of your Mac Pro
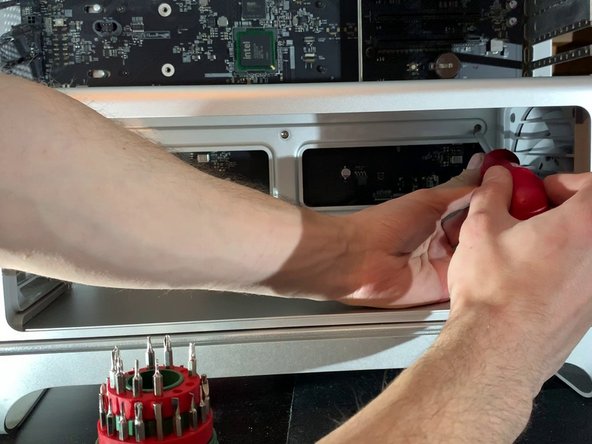
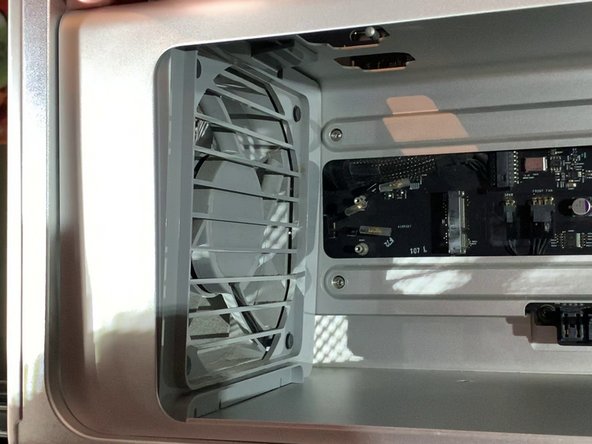
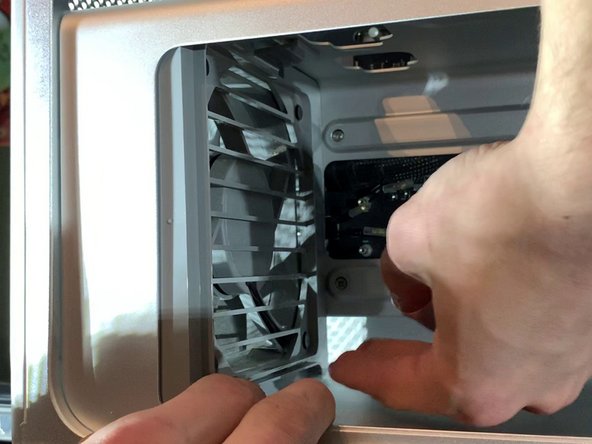
- With a screwdriver, unscrew the two screws that hold the fan bracket to the board
- Pull the fan towards you (to move it away from the case)
- Behind the fan bracket, there are 2 SATA cables, a 4 pin mini power supply and a 4 pin fan
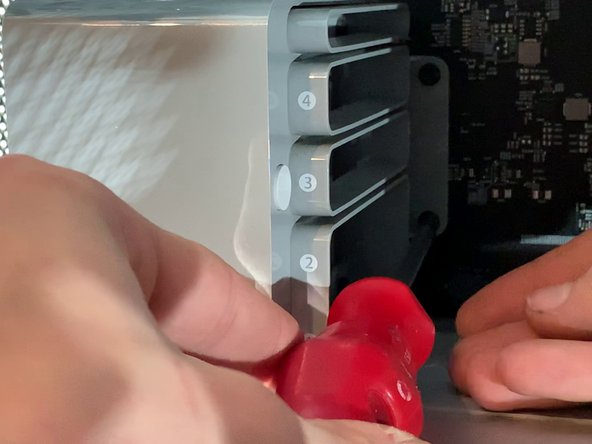
- With a H2.5 screwdriver, unscrew the screws on the bottom of the bracket (photo 2)
- With a Phillips screwdriver, unscrew the screws on the bottom of the case (photo 3)
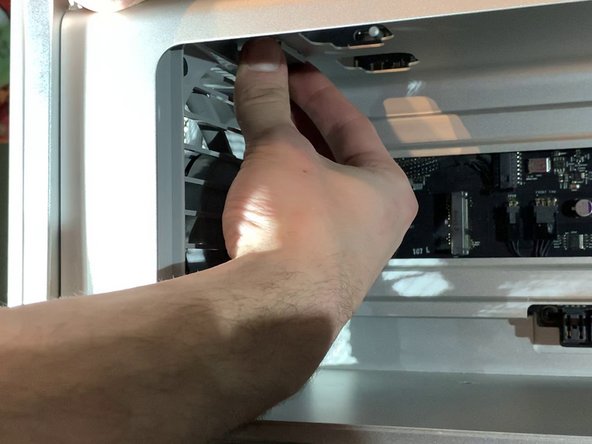
- Remove the clip at the top of the fan
- Pull on the top of the fan a bit.
- As with the top, remove the clip at the bottom and pull out the fan.
- Disconnect the 2 x 4 pin fan cables and the 1 x 2 pin speaker cable
- Do not forget this step, or else you risk damaging the connectors on the motherboard and making your fans and speaker useless!
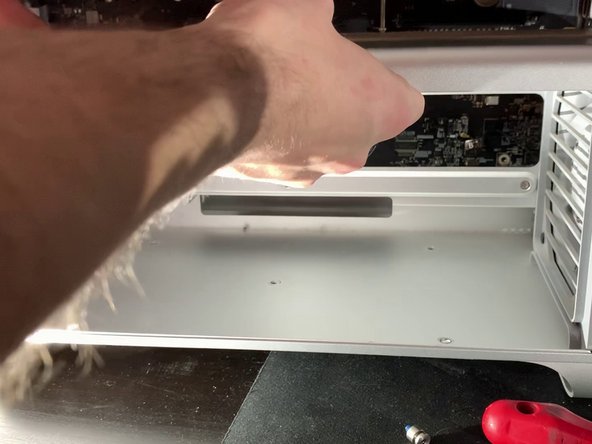
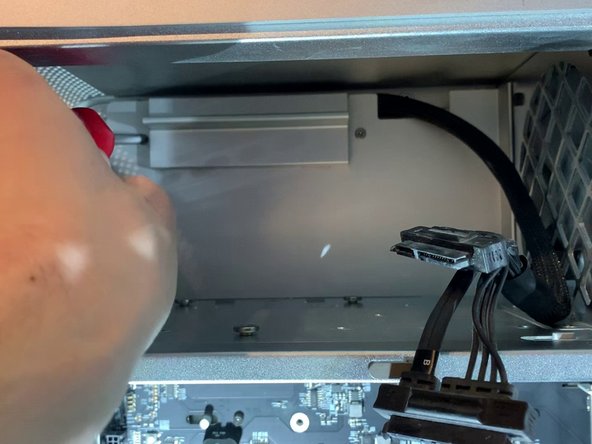
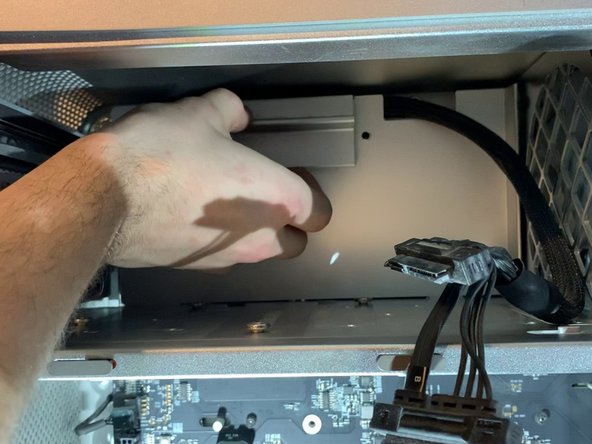
- Pull the CPU support towards you
- Do not use force during this step. If it does not come out easily, ensure the fans are not blocking the exit.
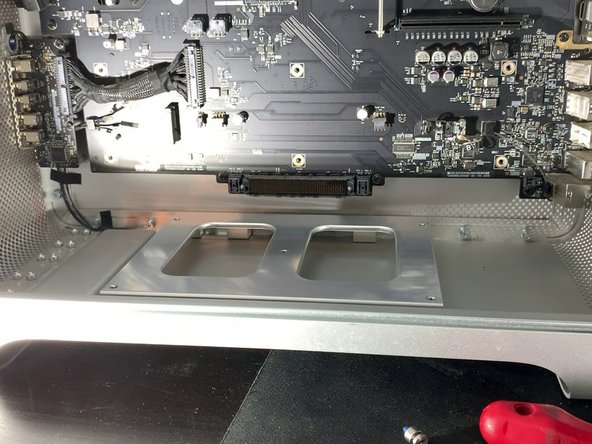
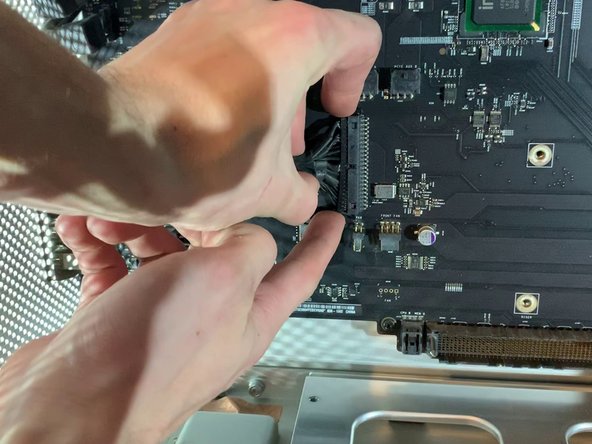
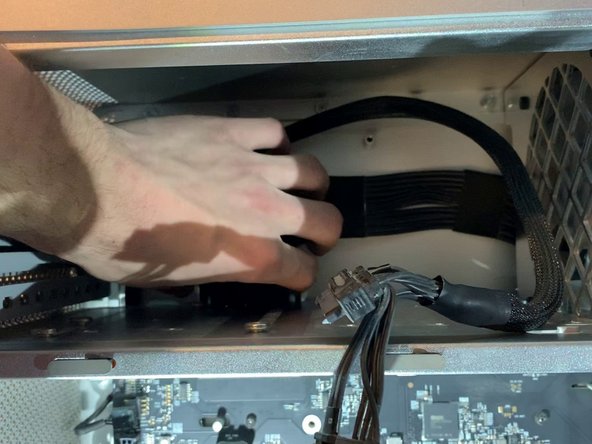
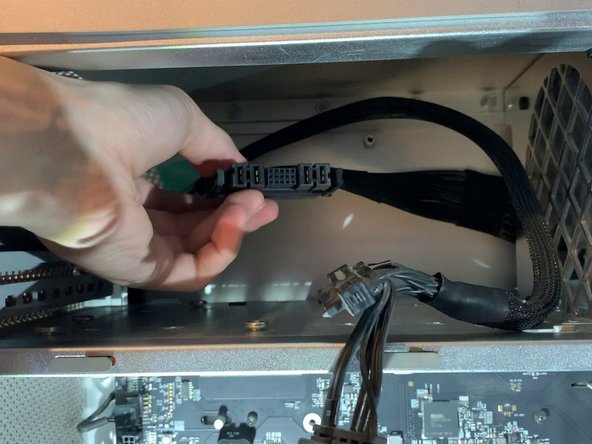
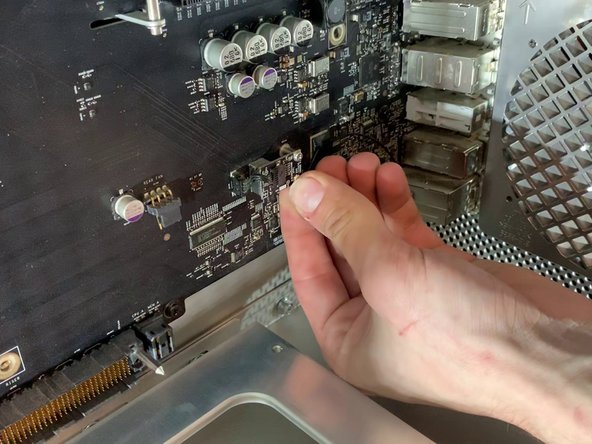
- Remove the ribbon that connects the motherboard to the expansion card (USB, Jack, Power Off etc.)
- Warning, remove the cable carefully so as not to bend the pins which are in the connector of the motherboard!
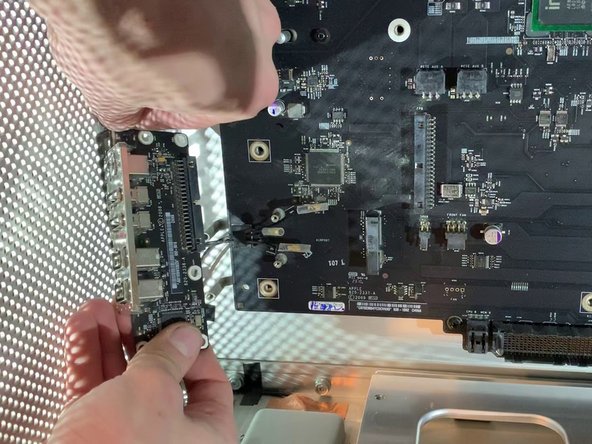
- Unscrew the 5 screws that hold the card in place.
- Be careful to unplug the power button of the card!
- Unscrew the two screws and remove the cover
- Push on both knobs to remove the power connector
- Do not use force, if you are struggling ensure you are squeezing the clips adequately.
- Unscrew the 4 screws that hold in the power supply
- Pull the power supply towards you.
- Be sure to pull the connector forward and watch the cables
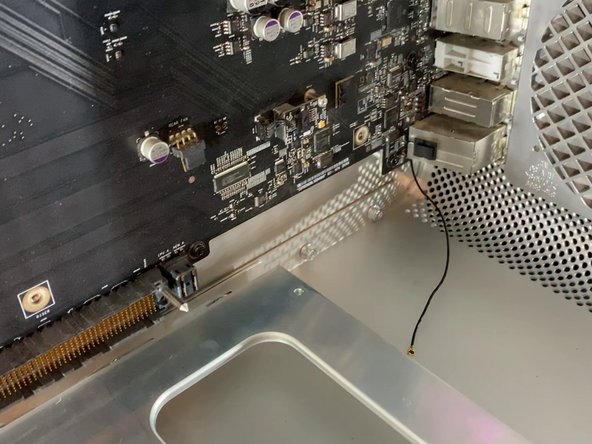
- Unclip the bluetooth antenna
- Unscrew the 10 screws holding in the motherboard
- Follow the steps in reverse for reassembly!