Samsung Gear VR with Controller Inner Mask Replacement
ID: 119185
Description: This guide is a prerequisite guide used for...
Steps:
- Push the switch on the right-hand side of the device to separate the cover from the main body.
- Pull the cover away from the main device.
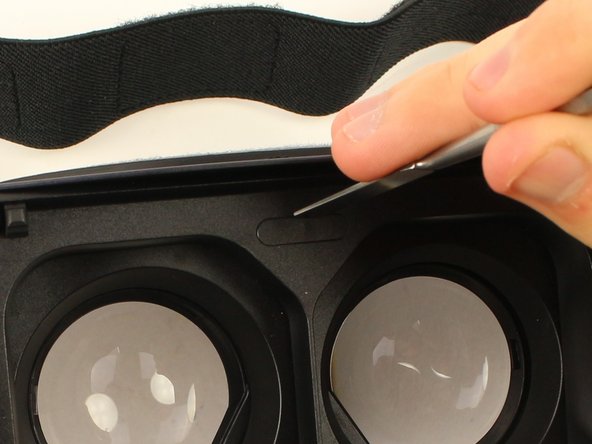
- Remove the four corner screw covers with a metal spudger.
- The screw covers fly off when removed, so make sure to keep track of them.
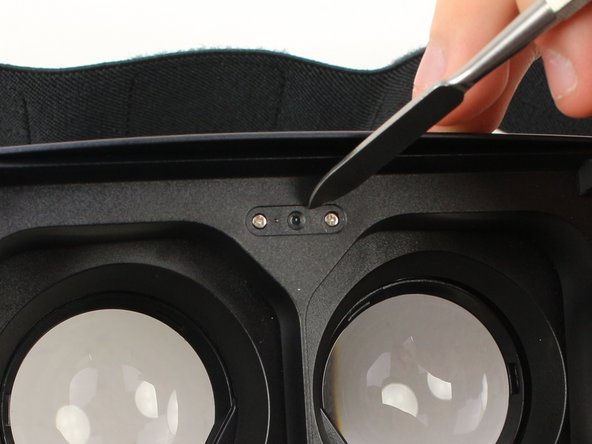
- Use a metal spudger to remove the screw cover centered at the top.
- Remove the six 5mm Phillips #000 screws to detach the front phone mount.
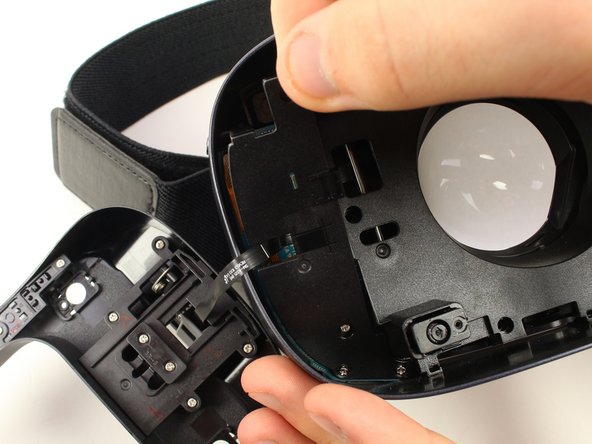
- Lift the front phone mount up and to the left.
- Remove the front phone mount carefully because there is a wire harness on the left side of the headset.
- Remove the four 5mm Phillips #000 screws that secure the plate on the left side of the headset.
- Pull the plate away from the motherboard gently.
- Use the iFixit opening tool to remove the pop connector holding the wire harness to the motherboard.
- You can now completely remove the front phone mount from the headset.
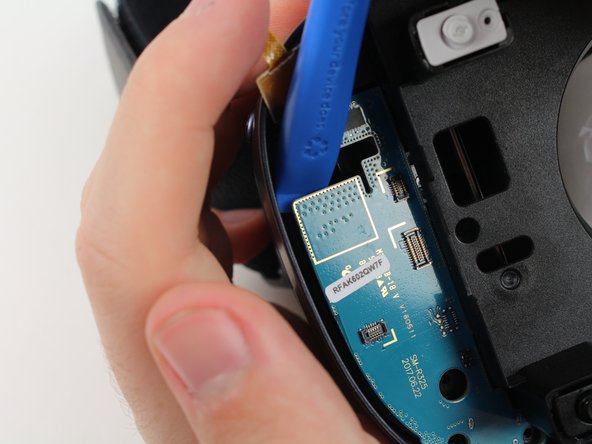
- Remove the rest of the pop connectors on the motherboard using the iFixit opening tool.
- Pry at the top of the motherboard with the iFixit opening tool to remove the motherboard.
- The largest pop connector may require more effort to remove.
- Make sure that nothing is connected to the motherboard before you pull it out.
- Remove the eight 5mm Phillips #000 screws on the inner mask.
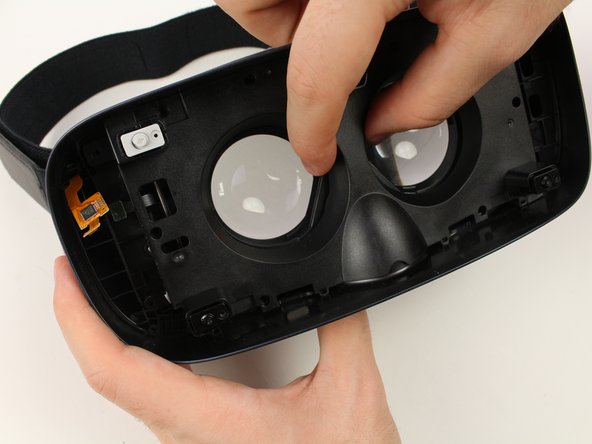
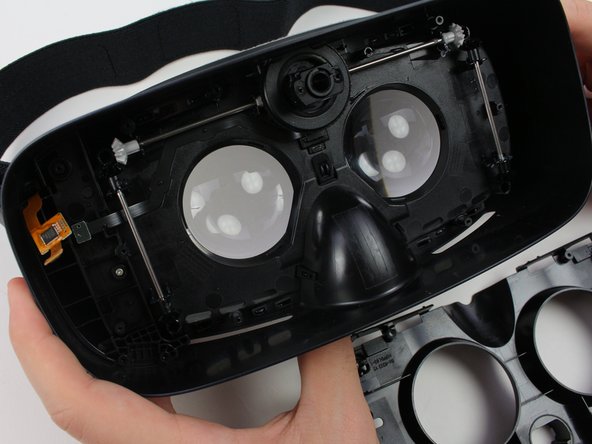
- Gently separate the inner mask from the headset by pulling the mask from the inner sides of the lens sockets.