Toshiba Qosmio X305-Q704 Fan Replacement
ID: 121901
Description: When your computer is making loud noises or is...
Steps:
- Find an edge of the red strip along the edge the computer and pry it off using a spudger.
- Find an edge of the black cover piece around the keyboard and pry it up using the spudger.
- Lift the keyboard up and detach the strip connecting the keyboard to the back of the laptop.
- Remove the keyboard from the Laptop.
- Unscrew the four 10 mm screws with the Phillips #0 screwdriver.
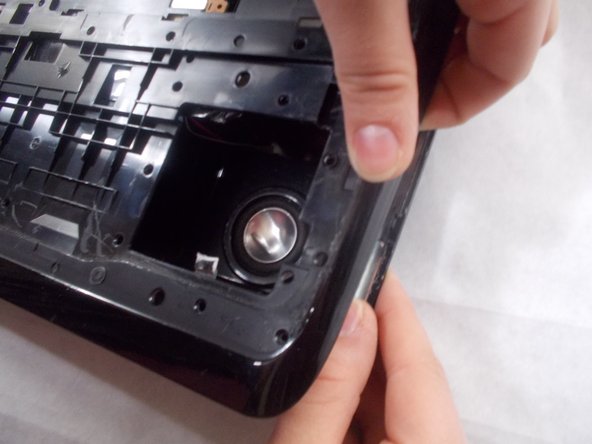
- Insert the iFixit opening tool into the side of the computer that separates the top and bottom of the laptop. Move the tool along the edge of the laptop until the cover can be separated from the device.
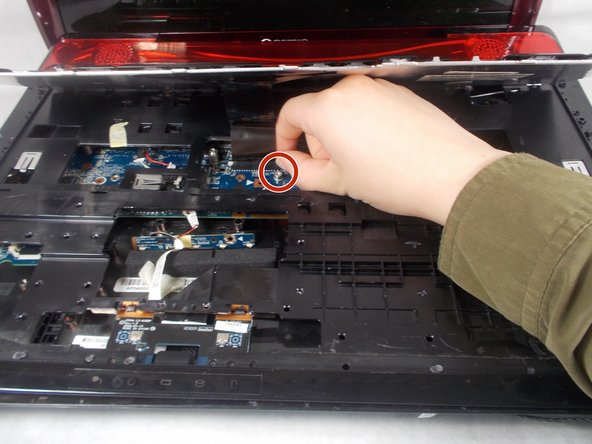
- Do not remove the panel from the device, as you'll need to disconnect cables before the component can be fully removed.
- Disconnect all wires connecting the top piece to the bottom.
- Disconnect all wires connecting the screen to the inside of the computer.
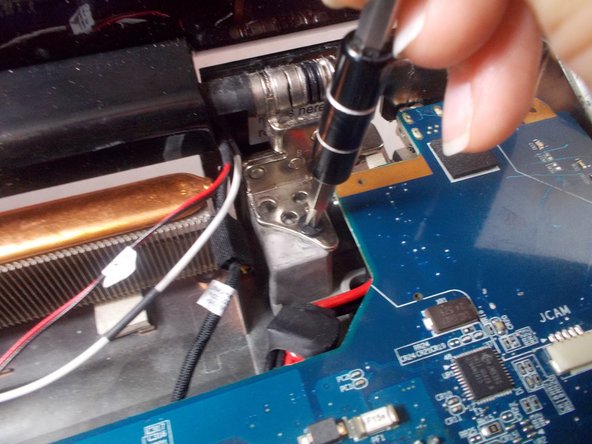
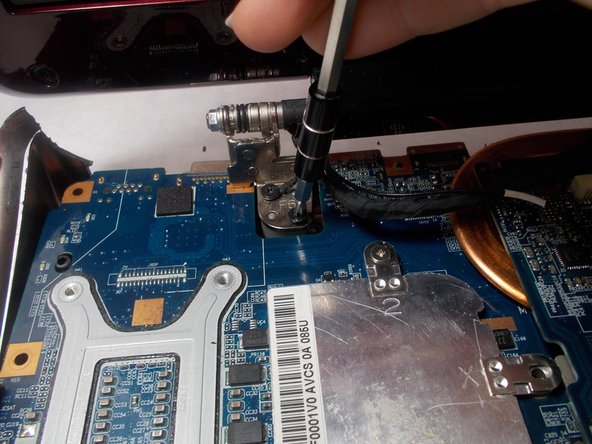
- Remove the 6 mm screws holding the screen on to the laptop using a Phillips #0 screwdriver.
- Remove the screen from the laptop.
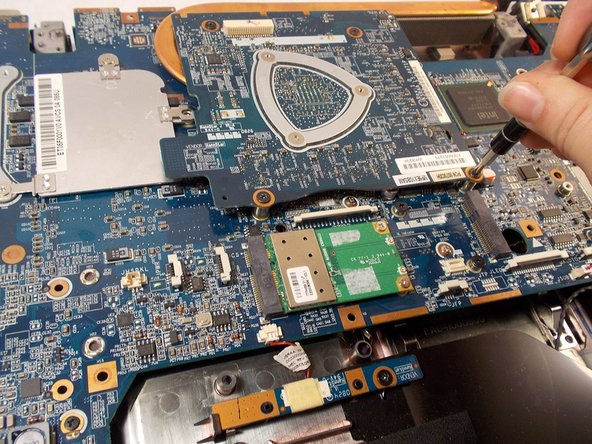
- Remove the four 8 mm screws holding the two circuit boards together using a Phillips #0 screwdriver.
- Remove the top circuit board.
- Remove all of the 8 mm screws holding the bottom circuit board to the bottom of the computer using the Phillips #0 screwdriver.
- Disconnect all wires from the circuit board.
- Lift the circuit board from the inside of the laptop.
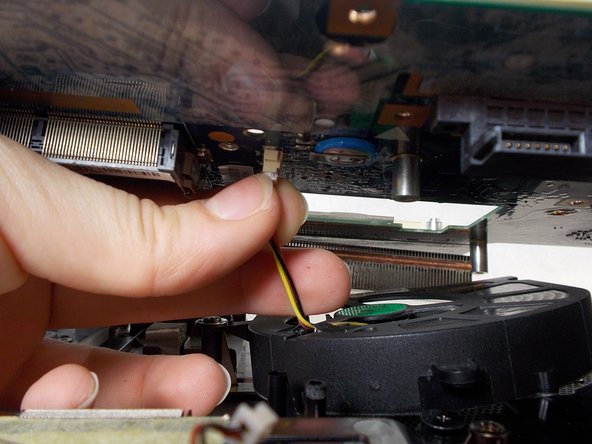
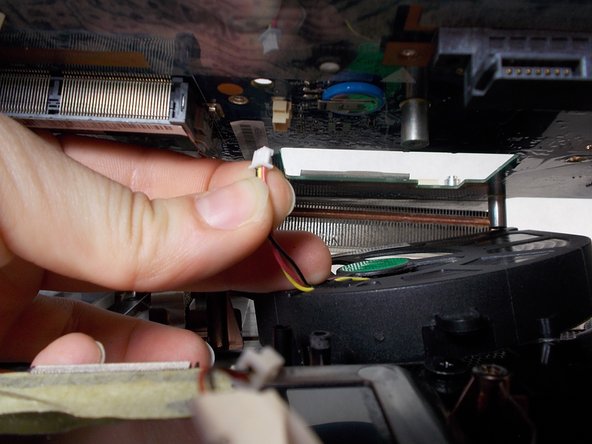
- Disconnect the wire underneath connecting the fan to the circuit board.
- Unscrew the 6 mm screw holding the fan in place using the Phillips #0 screwdriver.
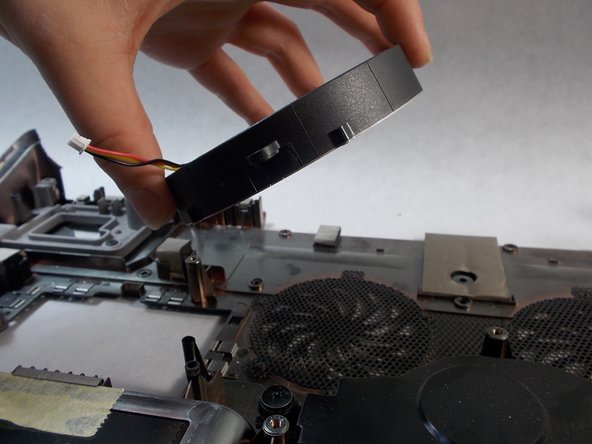
- Lift the fan and remove it from the device.