Milwaukee 5262-21 Motor Housing Replacement
ID: 121902
Description: If you need to replace the motor housing in the...
Steps:
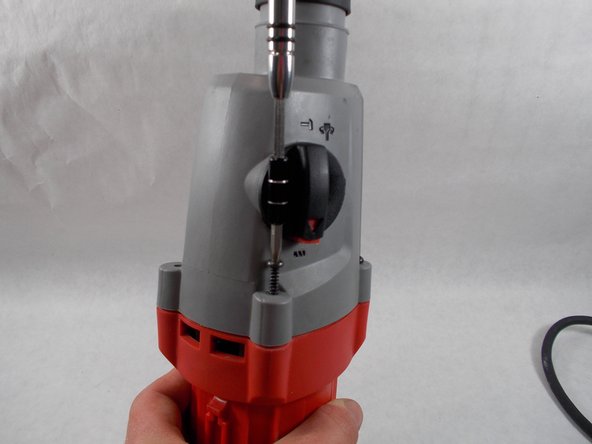
- Remove the ten 19mm T20 Torx screws shown in red.
- Remove the red Housing Assembly by lifting it up off of the tool.
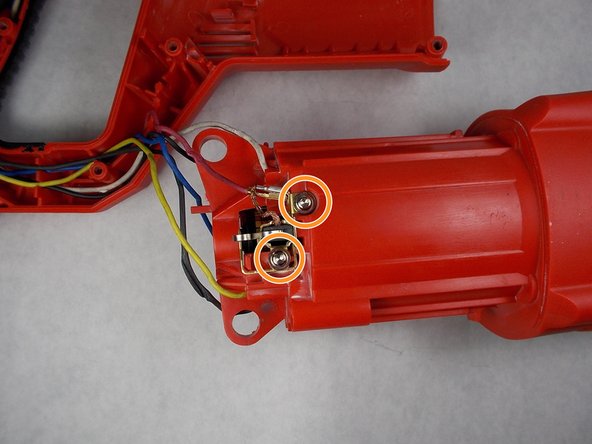
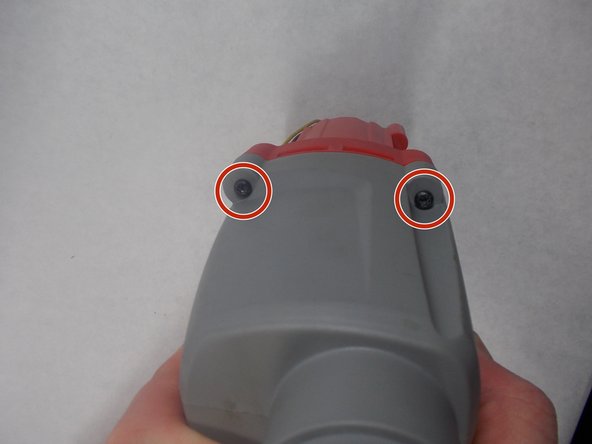
- Now the two 10mm T-10 screws shown in red can be removed.
- Next, remove the two 10mm T-10 screws located on the other side of the tool shown in orange.
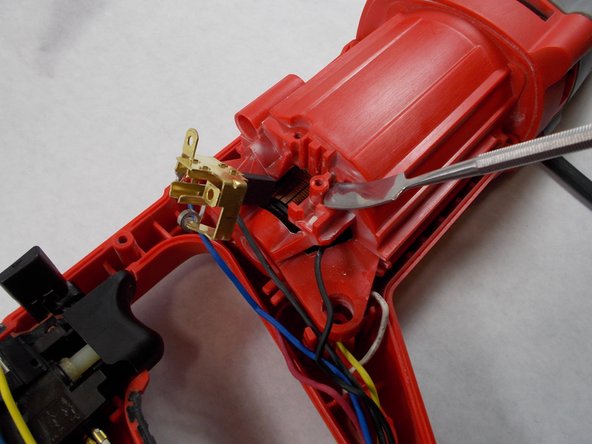
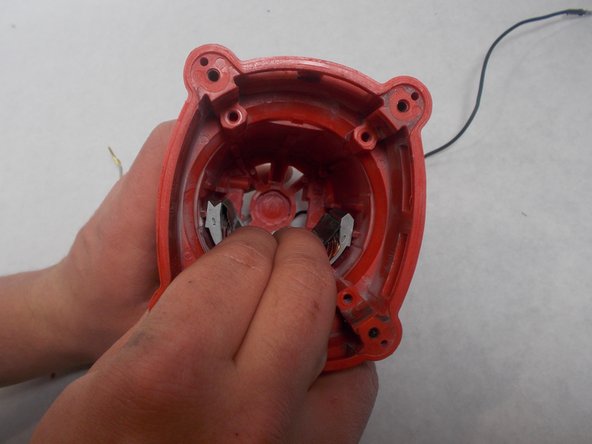
- Using the metal spudger, remove each brush holder as shown in the images.
- Remove the four 37mm T-20 screws shown in red. These screws attach the gear housing to the motor housing.
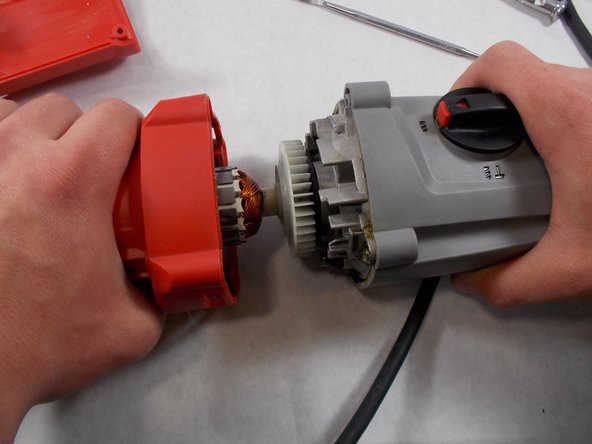
- After removing the four screws, pull apart the the two sections.
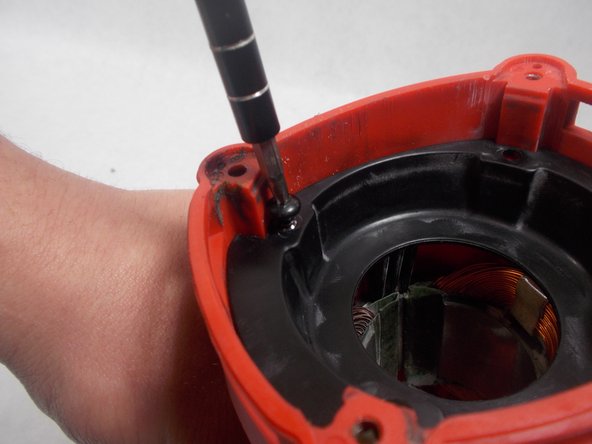
- Remove the four 12mm screws with a T-15 Torx screwdriver shown in red.
- These screws hold the fan baffle in place.
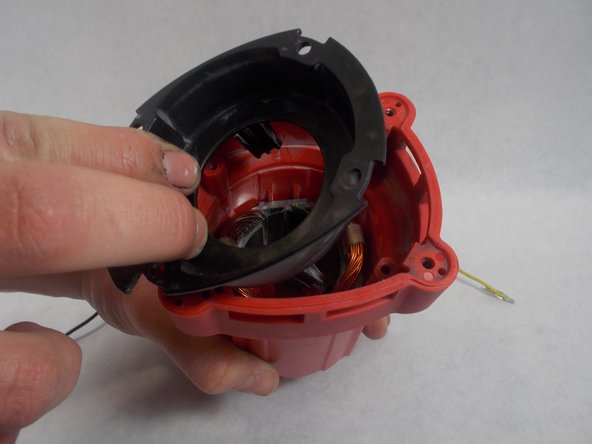
- Remove the fan baffle by pulling it out.
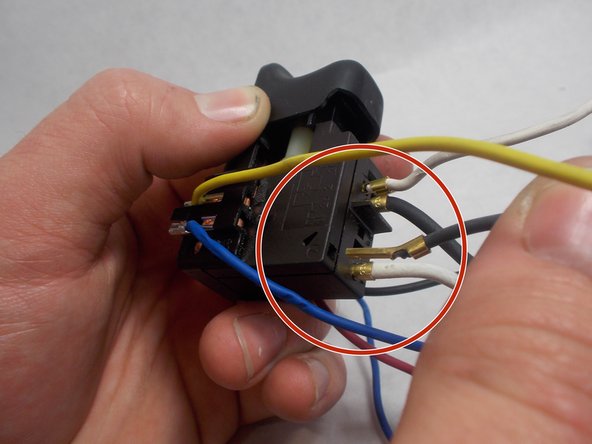
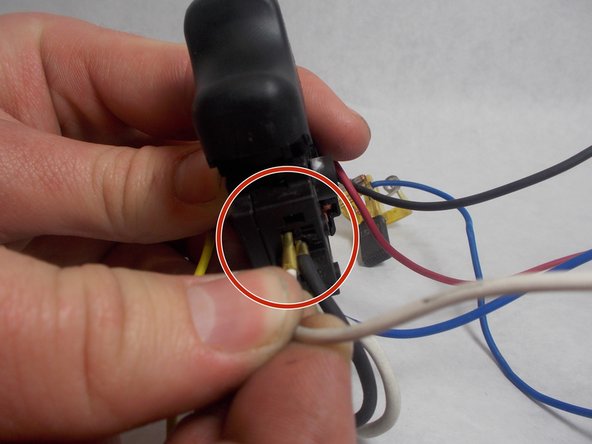
- Pull the black wire(shown in the image) out of the trigger assembly.
- Pull the white wire (shown in the image) out of the trigger assembly.
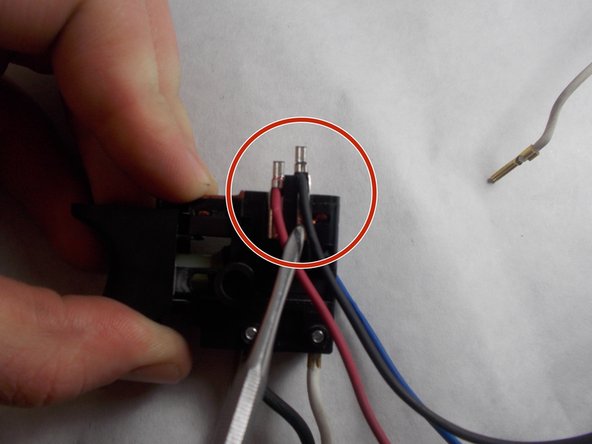
- Using a metal spudger slide the black wire (shown in the image) out of the trigger assembly.
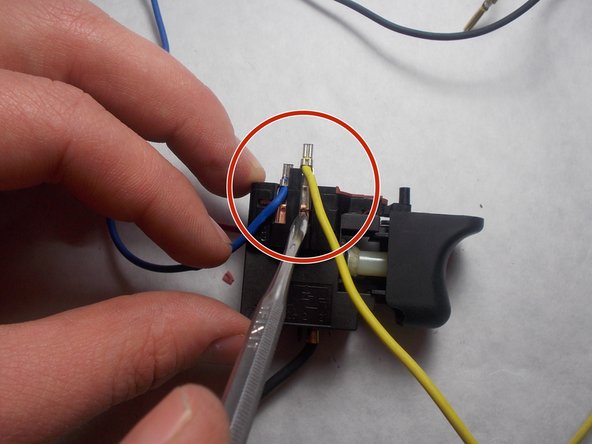
- Using a metal spudger slide the yellow wire (shown in the image) out of the trigger assembly.
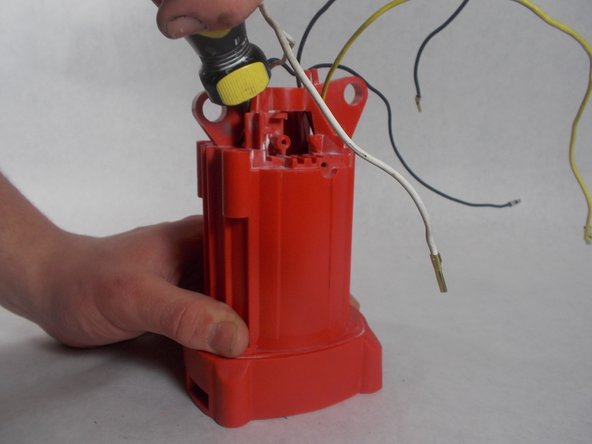
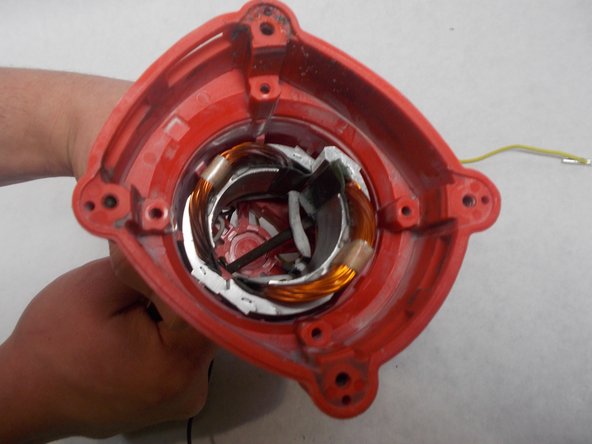
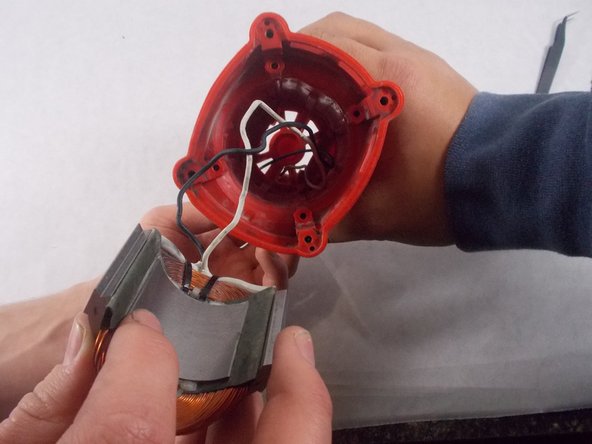
- After disconnecting the wires, push the 120v Field Assembly out of the motor housing.
- You may need to use a screwdriver to push the assembly from behind.
- Once the assembly is loose, pull each half out of the housing.
- Note the orientation of how the halves sit together in the housing before removal.
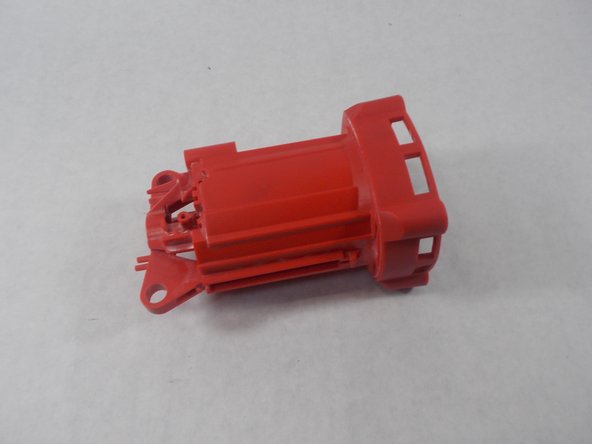
- Remove the motor housing from the device.