Samsung Chromebook Series 3 Motherboard Replacement
ID: 121928
Description: This guide will demonstrate how to take out and...
Steps:
- Lay the Chromebook down so that the bottom cover is facing up.
- Remove the rubber feet on the four corners of the Chromebook in order to get to the screws underneath. They are stuck on with an adhesive.
- Remove the nine 4.7 mm screws on the bottom cover using a Phillips #00 screwdriver.
- Pry up the plastic strip on the back of the Chromebook using a plastic opening tool.
- It is not necessary to remove it completely. It just needs to be separated from the bottom cover.
- Pry off the bottom cover using a plastic opening tool.
- Remove six 3.5 mm screws holding the battery using a Phillips #00 screwdriver.
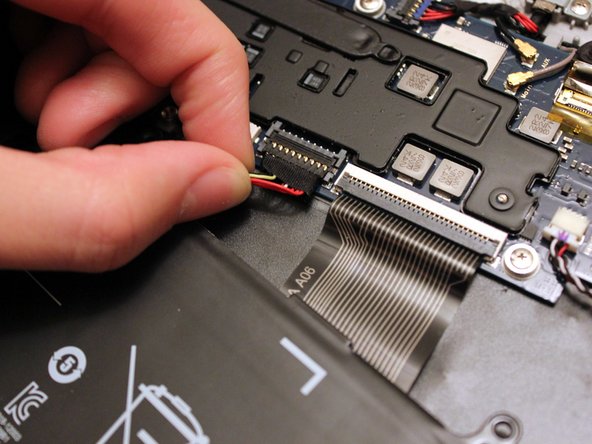
- Pull out the battery partway in order to easily get to the battery connector.
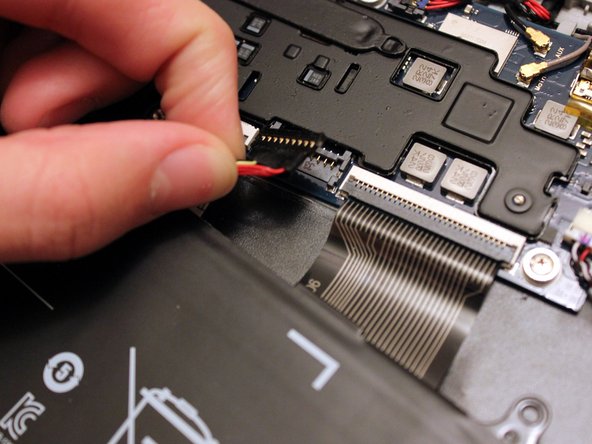
- Disconnect the battery connector by pulling straight up at its base.
- When reassembling, simply position the connector above it's original place, and push down.
- You can now remove the battery.
- Unscrew the four 3.1 mm screws holding the motherboard with a Phillips #00 screwdriver.
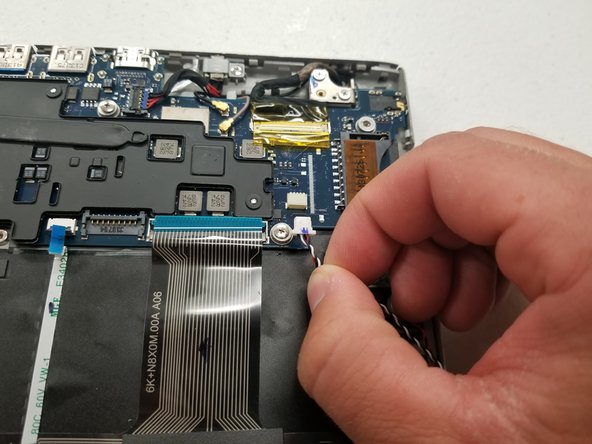
- The audio cable can be removed by simply pulling gently.
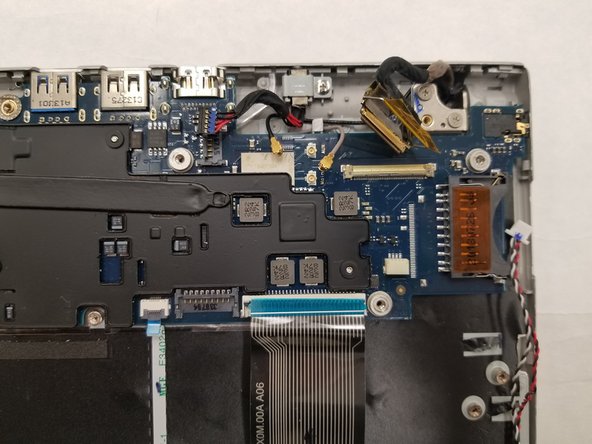
- Use the iFixit opening tool to pop out the 2 antennae lines from the motherboard.
- When reinstalling these Wifi Antenna connections, align the antenna on top of the fitting and gently use the Plastic Spudger to apply pressure and seat the connection. Do not use your fingers to press down on the connector, or you risk permanently damaging the connector by bending it.
- Now, disconnect the keyboard and trackpad ribbon cables.
- This requires lifting the lever securing the cables to free them, and then gently pulling them out.
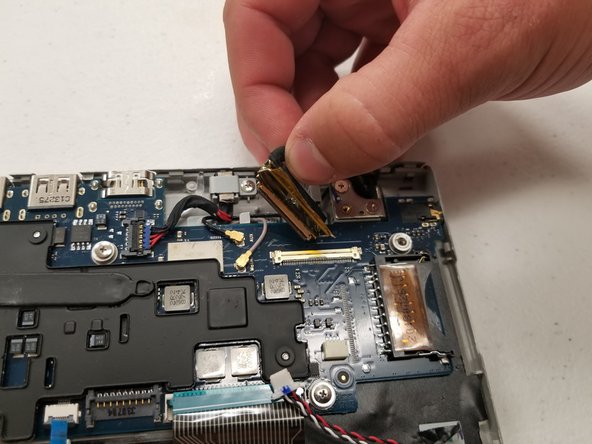
- The screen cable is secure in place by a lever. Lift the lever to release it, then gently pull it out.
- This cable comes out by just pulling gently.
- Lift the motherboard out of place and pull out the CMOS battery cable.
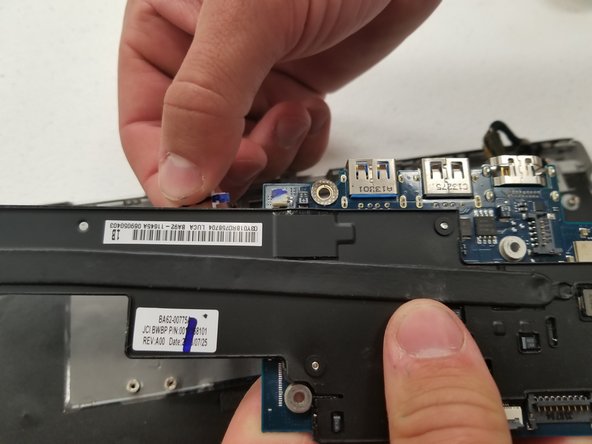
- Finally, remove the three 3.1 mm screws with the Phillips #00 screwdriver to remove the plastic cover and completely free the motherboard.