Samsung NP510R5E-A01UB Motherboard Replacement
ID: 122043
Description: The motherboard connects all components that...
Steps:
- Lightly press down on the the back panel and pull away from the back case. The panel should slide away and detach from the back case.
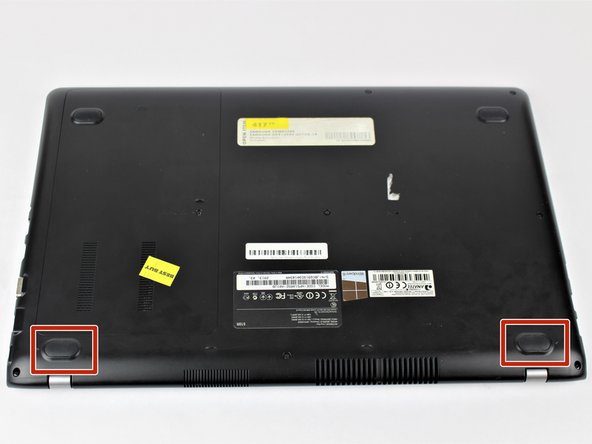
- Remove the two rubber feet that have arrows pointing towards them. The rubber feet are very sticky so use the metal spudger to pry them up.
- Using the JIS #0 screwdriver, remove all the screws in the back case.
- Unscrew the 9 black 6.5mm screws.
- Unscrew the 4 silver 4.4mm screws.
- Using the spudger, insert it between the back case and the laptop. Pry up on the back case until the case pops up. Work the spudger all the way around the back case until the back case will lift off freely.
- Make sure the device is powered off before beginning.
- Using the Phillips #0 screwdriver, remove the 6.5mm long screw in the area circled.
- With the cover removed, unscrew all four of the 4.75mm long screws using the Phillips #0 screwdriver.
- Unplug the connector from the hard drive by pulling straight out.
- Remove the two rubber feet with arrows by them on the back side to uncover two screws.
- Unscrew the four silver 4.4mm long screws near the hard drive.
- Unscrew the remaining nine black 6.5mm long screws. Then remove the back casing using a pry tool if needed.
- Use the screwdriver to remove the four 3.5mm long screws holding the battery in place. Then carefully pull the battery's connector cable out to remove the battery.
- Unplug the fan cord.
- Use the Phillips #0 screwdriver to remove the two 3.0mm screws.
- Loosen the four spring loaded screws using the Phillips #0 screwdriver. These do NOT come out.
- Use the Phillips #0 screwdriver to remove the five 3.0mm screws.
- Remove the fan from the copper plate.
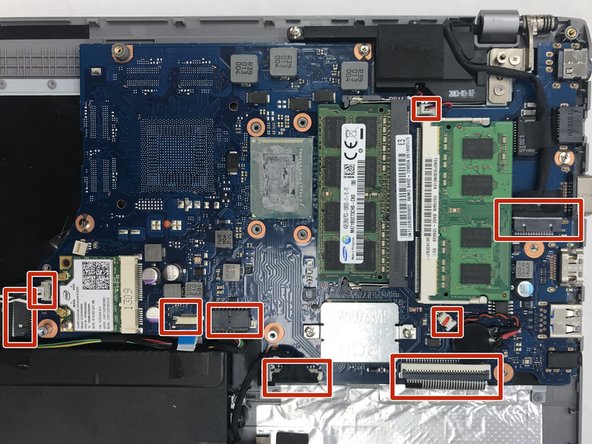
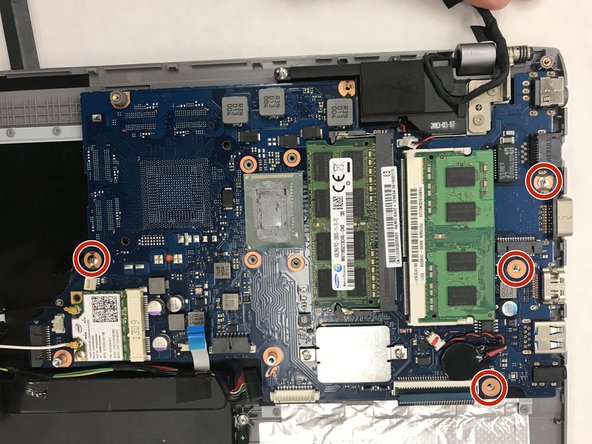
- Unplug the 9 cords shown here.
- Use the Phillips #0 screwdriver to remove the four 3.0mm screws.
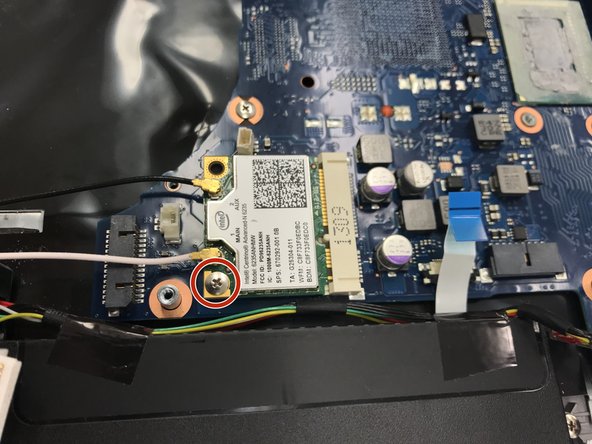
- Use the Phillips #0 screwdriver to take out the one 3 mm screw.
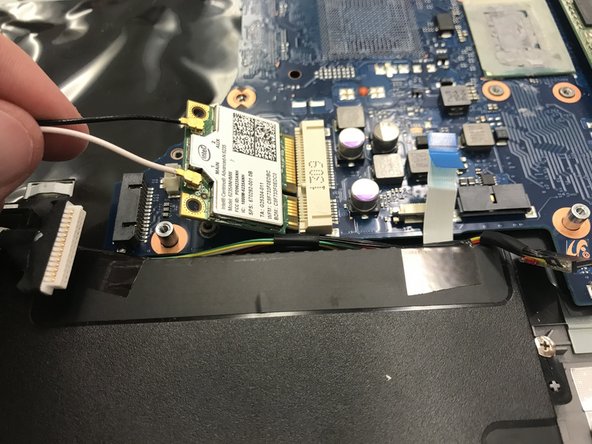
- Take out the Wi-Fi Card.
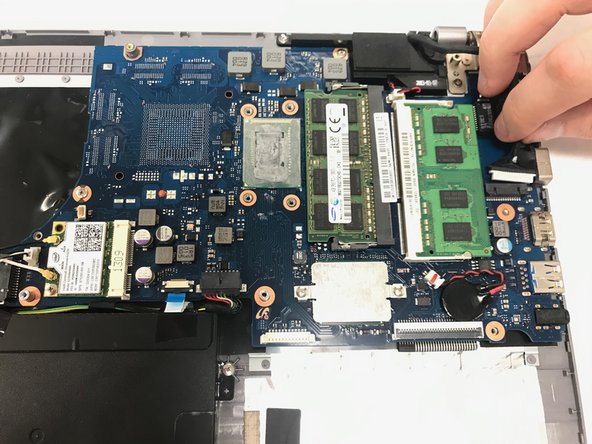
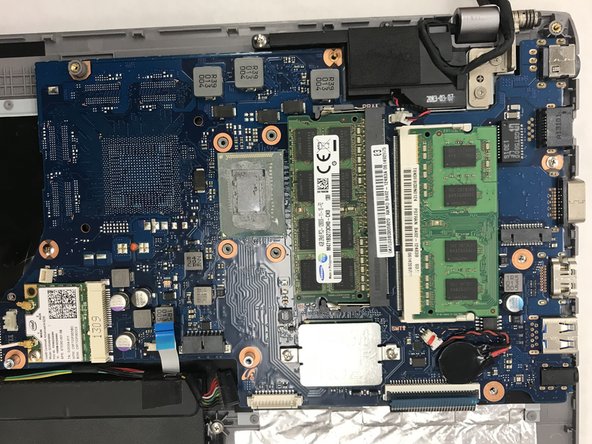
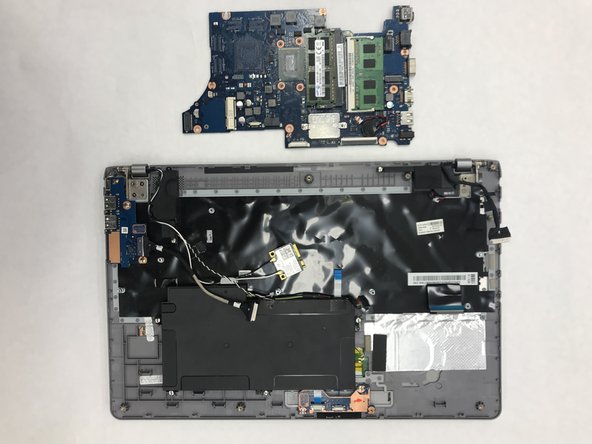
- Remove the motherboard.