Ridgid GEN5X R8642 Motor Replacement
ID: 122116
Description: For this repair you will need: (1) T20 Star Bit...
Steps:
- Remove the plastic tab holding the handle cover in place by prying upward with the spudger until the tab pops off.
- Remove the handle cover by pulling it towards the front of the saw.
- The grip can sometimes become stuck and may require a decent amount of force to remove.
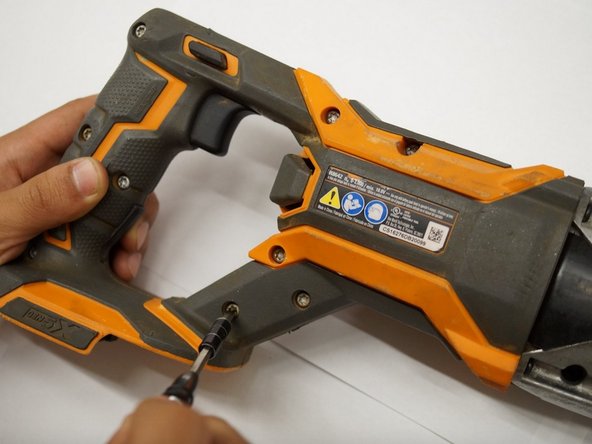
- Use a T20 Torx screwdriver to remove the nine M4 X 16mm screws from the plastic housing.
- Use a JIS #1 screwdriver to remove the two M4 x 25mm screws on both sides of the metal housing.
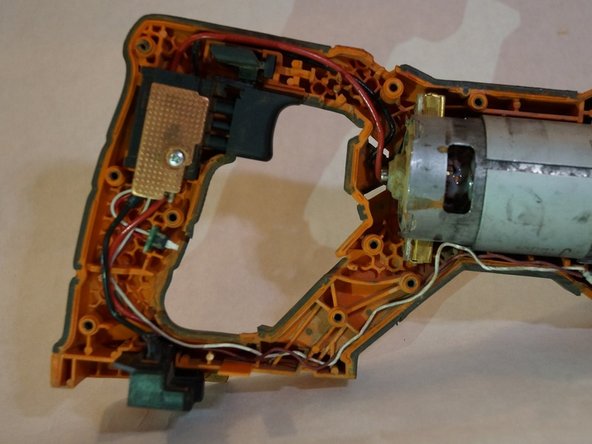
- Remove one half of the plastic housing using a spudger so that the internal system is exposed.
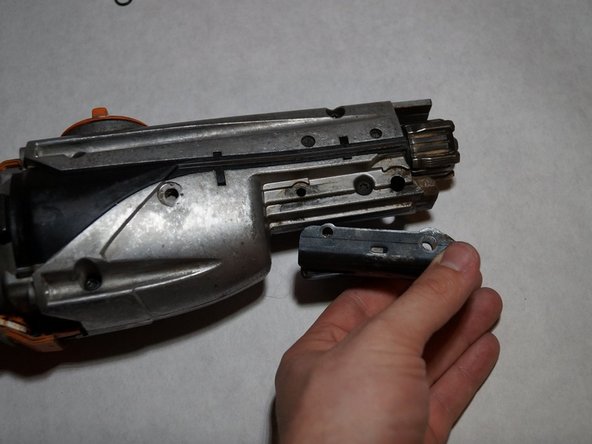
- Remove the one 16mm T20 screw that holds the grip support onto the saw.
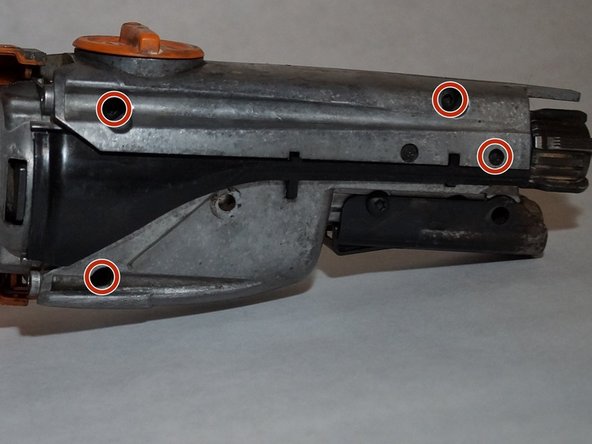
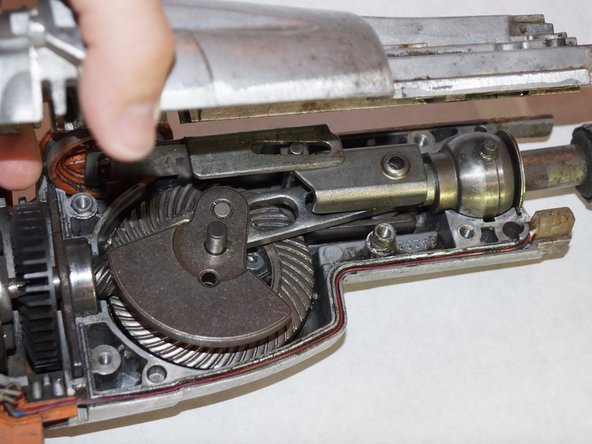
- Remove the five T20 Torx screws from the gear assembly cover and pull the cover off.
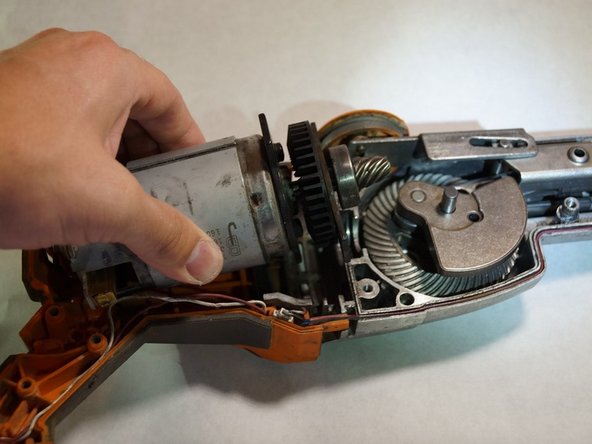
- Carefully remove the motor making sure not to harm any of the wires that are attached. Place motor gently out of the way.
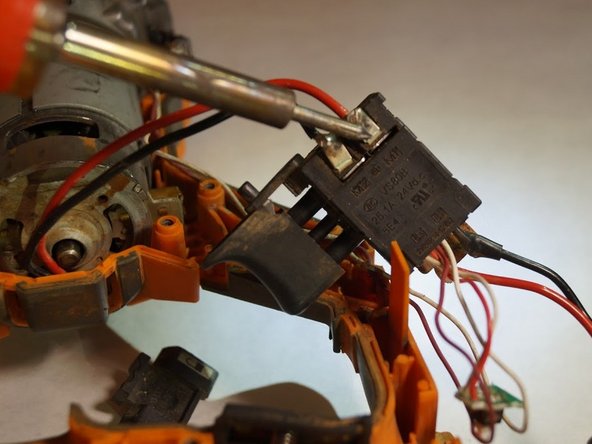
- Remove the plastic wire covers to the red and black connections on the switch assembly.
- When you remove the wire covers, you should be able to see the solder on the wires.
- Desolder the connections on both the red and black wire using a soldering iron.
- Once the solder is removed, pull out the wires with the battery port attached to the wires.
- Remove the soldered connection from the switch assembly.
- Solder both connections of the new motor replacement to the switch assembly.