Dell Inspiron 11-3168 Screen Replacement
ID: 122121
Description: This guide will tell you how to replace your...
Steps:
- Before you begin, be sure to turn off your laptop and unplug it from the outlet.
- Using a Phillips #00 screwdriver, remove all nine 7.5mm screws from the bottom case of the laptop.
- Remove the bottom case of the laptop by gently prying along the seam with a plastic opening tool.
- Remove the one 7.5mm screw that is holding the battery in place.
- Disconnect the battery cable from its motherboard socket by gently pulling it towards the battery.
- Pull parallel to the battery, not straight up.
- Remove the battery.
- Carefully flip the laptop over so that the top case is facing up.
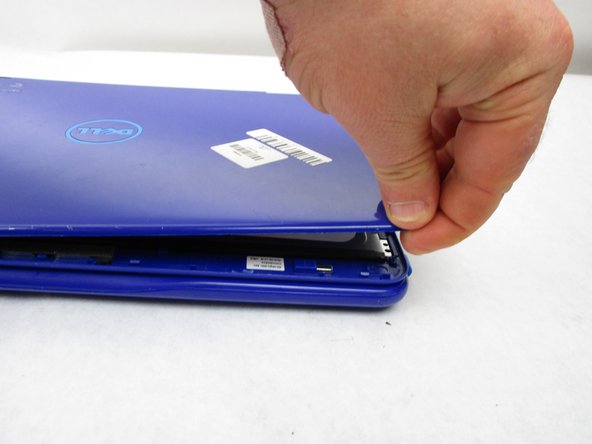
- Remove the top case of the laptop by gently prying along the seam with a plastic opening tool.
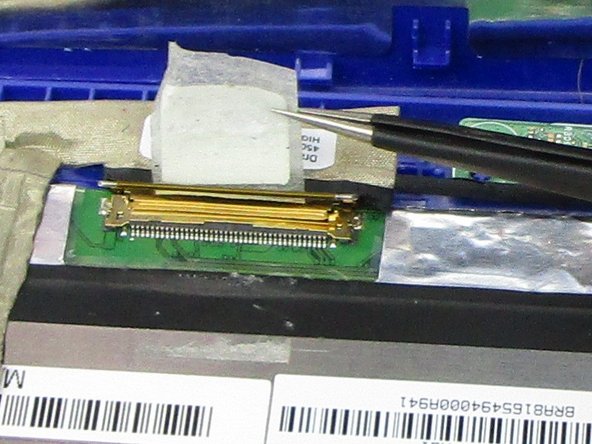
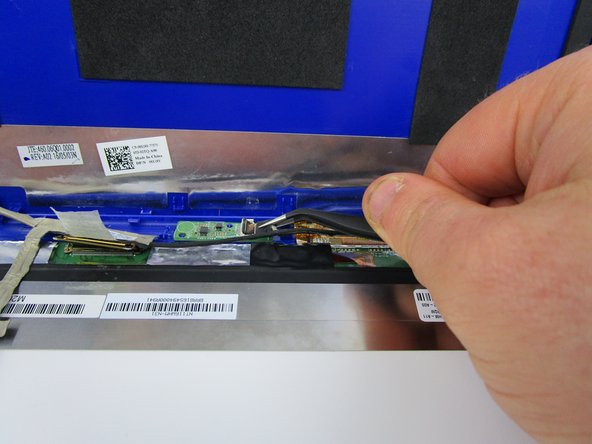
- Use a pair of tweezers to grip the tape that is holding down the display cable clip.
- Gently unpeel the tape. This will release the clip that locks over the display connector socket.
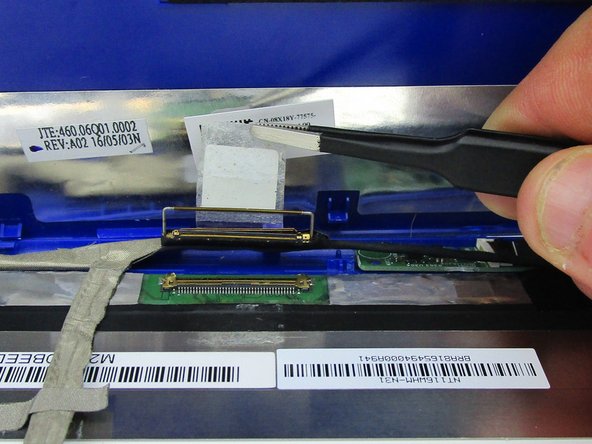
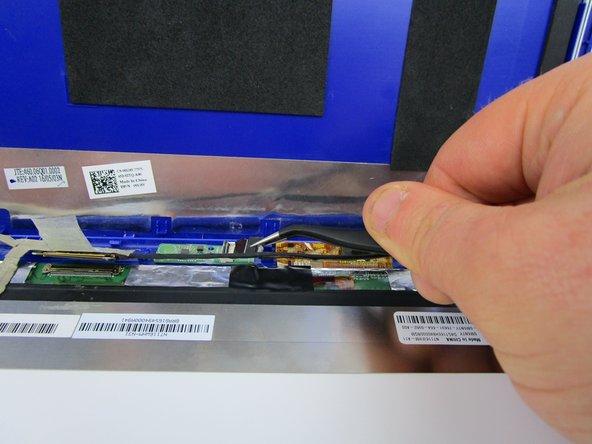
- Once unclipped, remove the display cable from the socket.
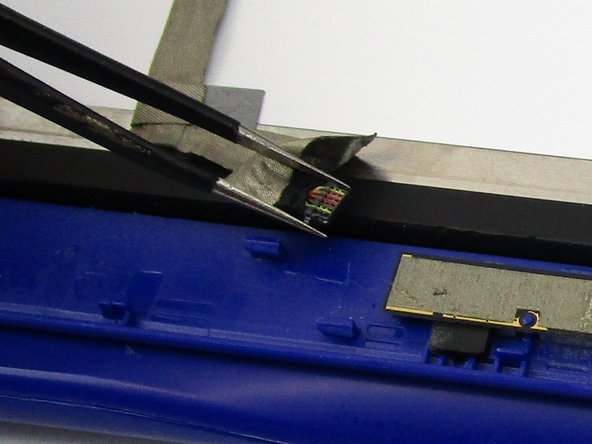
- Find the smaller ZIF connector. Using tweezers, carefully lift the black flap on the connector to release the ribbon cable.
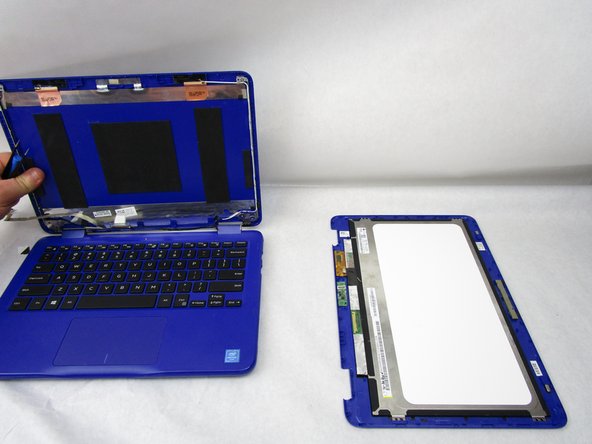
- Disconnect the webcam module located at the top of the monitor.
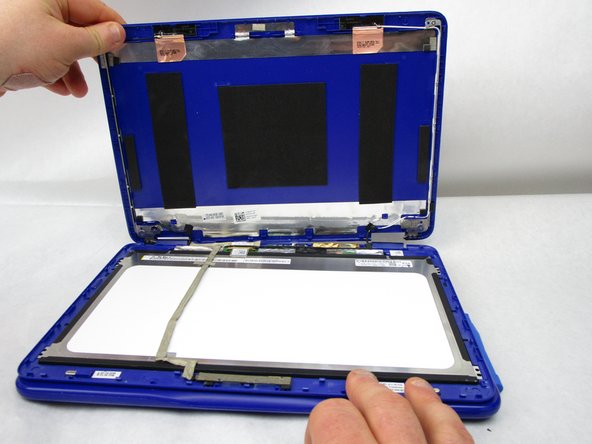
- Lift and remove the display screen from the top case.