Fujitsu Lifebook Stylistic Q584 MicroSD Card Replacement
ID: 122122
Description: This guide allows the user to access and...
Steps:
- Remove the white sticker covering the screws (if applicable).
- Use the PH1 screwdriver to remove the four 2 mm screws from the the backside of the device.
- Insert the plastic opening tool along the seam of the back case.
- Gently slide the plastic opening tool along the entire seam popping the clips free.
- Carefully lift the back case and remove the smartcard ribbon from the motherboard.
- Remove the ten 3mm screws with a PH00 screwdriver from the shield.
- Remove the grey docking station port cover.
- Gently slide the plastic opening tool along the entire seam popping the clips free.
- Lift the shield away from the device and remove the fingerprint scanner's ribbon from the motherboard.
- Pull up the cord that connects the battery to the motherboard
- Remove seven 1mm screws using a PH00 screwdriver.
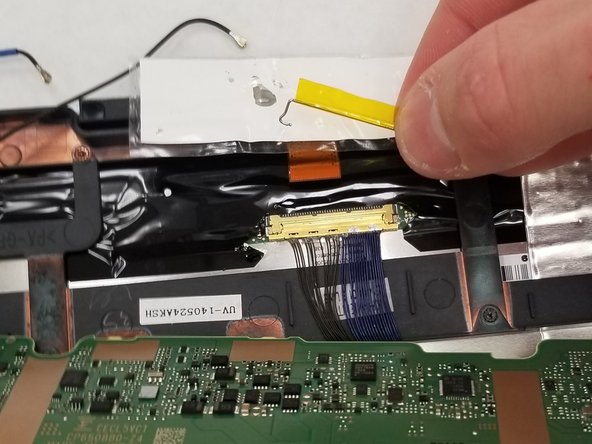
- Disconnect upper peripheral ribbons from motherboard.
- Disconnect left peripheral ribbon from motherboard.
- Gently lift the battery from the casing.
- Remove three 3mm screws using a PH00 screwdriver.
- Remove all of the ribbon connector cables from the motherboard using an ESD-safe spudger.
- Gently pry up the motherboard.
- Gently lift the foil tape under the motherboard to reveal the connector.
- Remove the clip holding in the connector with an ESD-safe spudger.
- Remove the connector with an ESD-safe spudger.
- After removing the motherboard, use an ESD-safe spudger to pry up the MicroSD card from the slot.
- Gently separate the MicroSD card from the device.