Lenovo IdeaPad Yoga 13 Wi-Fi Card Replacement
ID: 122174
Description: Replacing the Wi-Fi card is a semi-invasive...
Steps:
- Remove the ten screws on the back panel of the laptop using the T4 Torx screwdriver.
- Remove the back panel from the device.
- Use blue the opening tool to gently further separate the keyboard bezel.
- Carefully apply pressure to the keyboard. It should easily pop out.
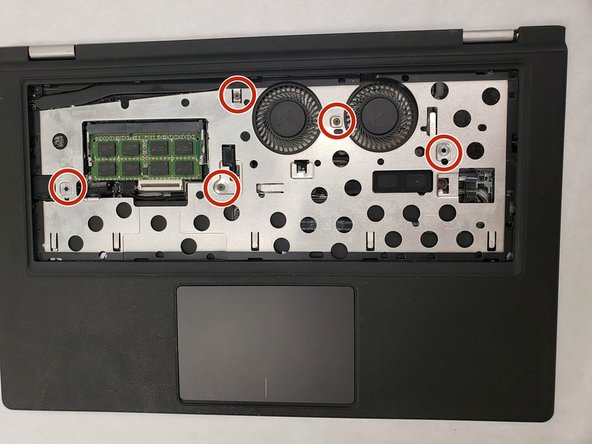
- To remove the keyboard bezel (black cover containing the mouse pad) remove the five screws using the Phillips #0 screwdriver.
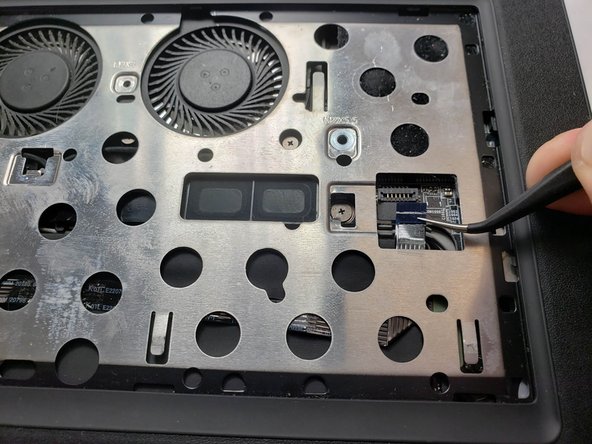
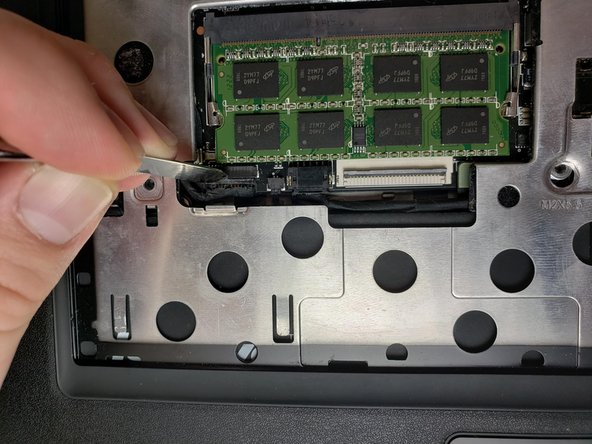
- Unplug the connections from motherboard, including the mouse and keyboard connections.
- Remove the outer bezel to reveal the entire internal layout of the computer.
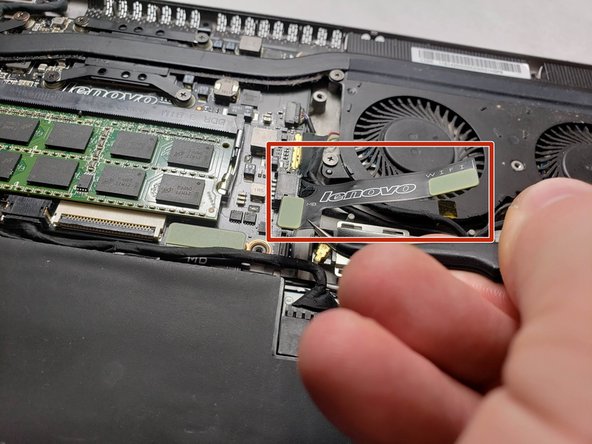
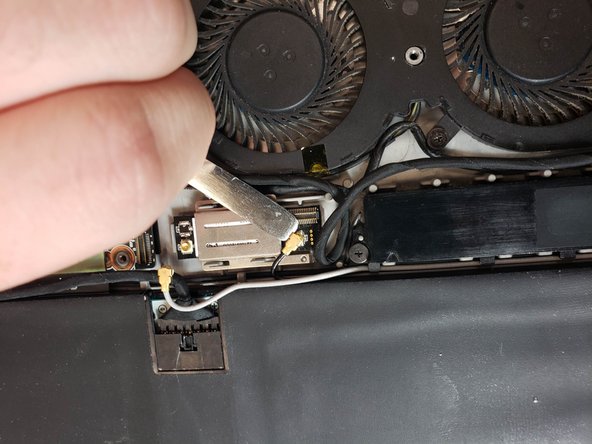
- Remove the ribbon cable covering the card by disconnecting the two connection points on either side.
- Disconnect the white and black antenna cables.
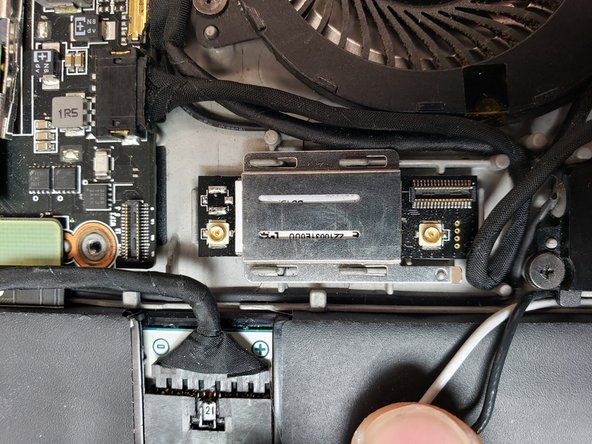
- Lift up the bottom right lever on the WiFi card metal bracket.
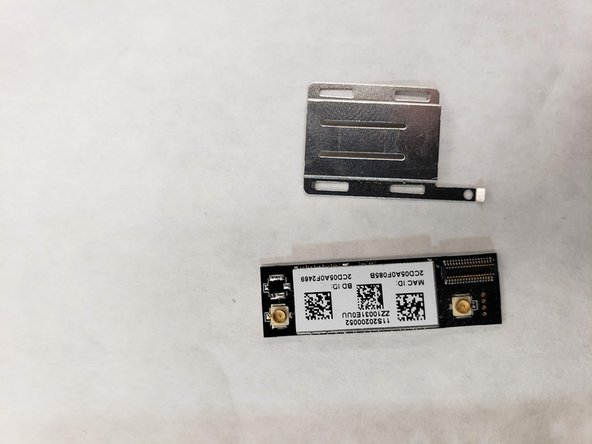
- Slide the bracket to the left to disconnect it from the 4 plastic legs holding it down.
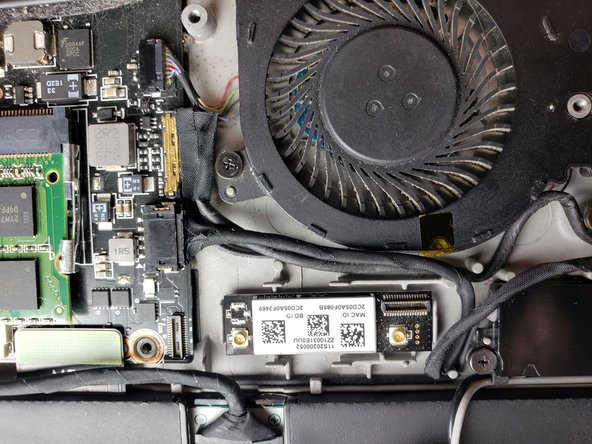
- Lift and remove the card.