HP Pavilion x2 10-n113dx Hinge Replacement
ID: 122228
Description: The hinge of the HP Pavilion X2 may need...
Steps:
- Separate the screen from the keyboard.
- Remove the grey rubber bar using plastic spudger or tweezers, exposing the four screw heads.
- The rubber bar is attached with an adhesive. A heat pad may be required to melt the adhesive and allow for easier removal.
- Unscrew the four screws using the Phillips #0 screwdriver.
- All four of these screws have a diameter of 4.3 mm and a height of 3.7 mm.
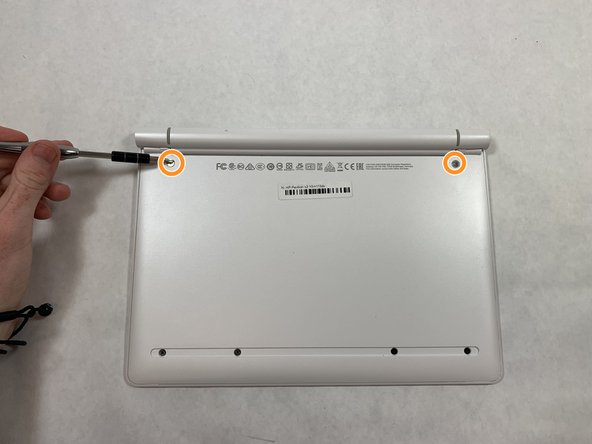
- Remove the circular rubber tabs exposing the screw heads below.
- A heat pad may be required to melt the tab adhesive and allow for easier removal.
- Unscrew the two screws using the Phillips #0 screwdriver.
- These two screws are 5.3 mm in diameter and 4.3 mm in height.
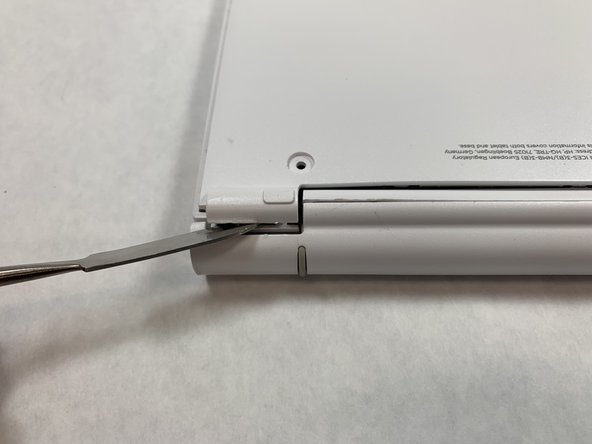
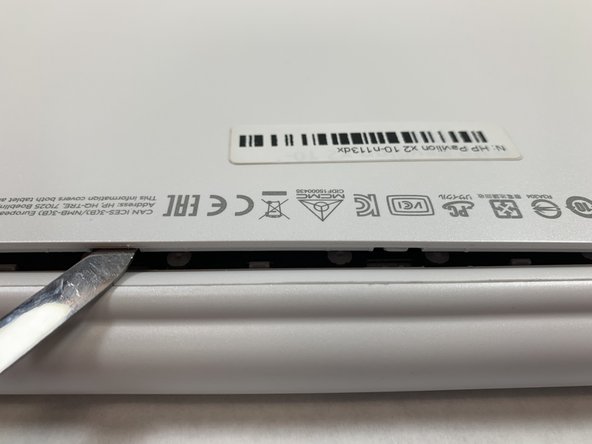
- Once all screws have been removed, gently pry open the back casing using a metal spudger.
- Be sure to use the spudger at the marked locations to avoid damage to the casing.
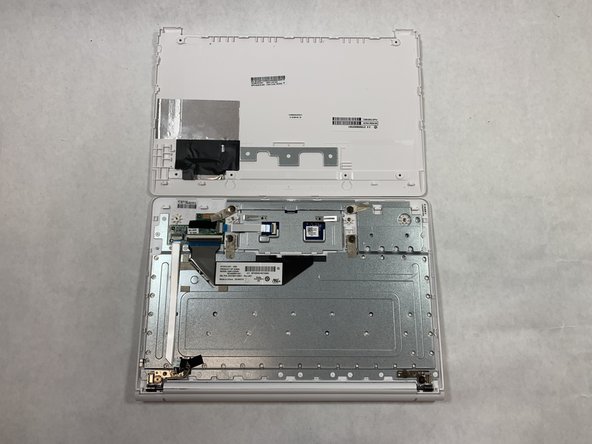
- Completely remove the back casing.
- Unscrew the four screws located at the marked locations using the Phillips #0 screwdriver.
- All fours of these screws have a 7.0 mm diameter an a 2.5 mm height.
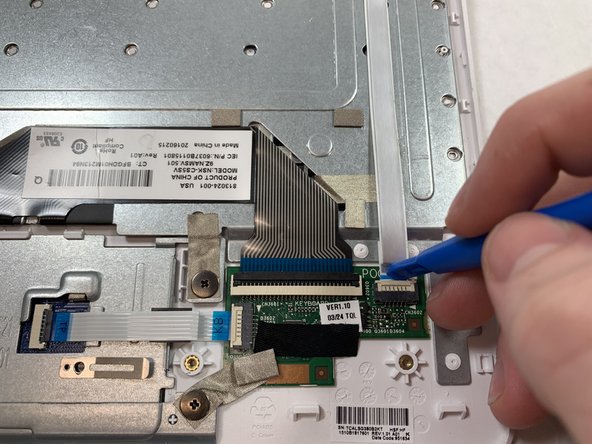
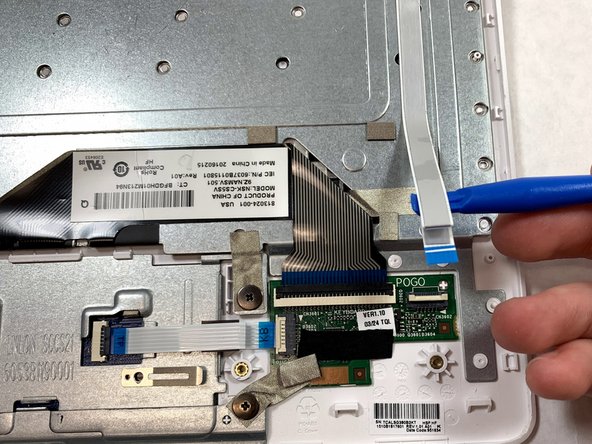
- Remove adhesive that secures the ribbon cable using tweezers.
- Using a plastic spudger, flip open the switch for the connection port, allowing the ribbon cable to be removed.
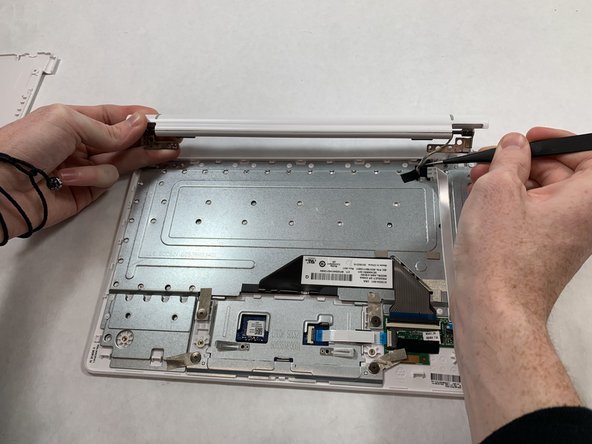
- Gently lift the hinge from the attachment points as shown in the picture.
- Tweezers can be also be used to ensure the ribbon cable does not get damaged in the process.
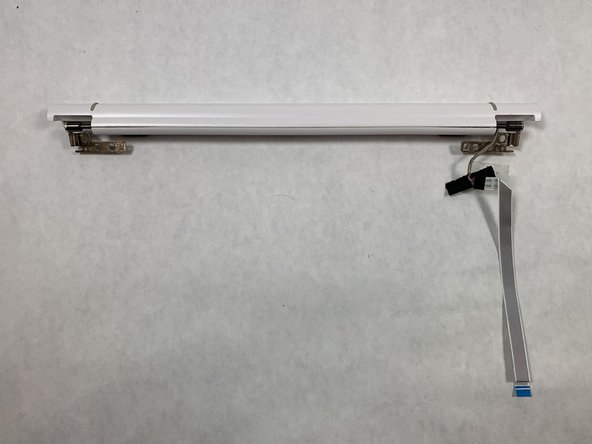
- The hinge can now be completely separated.