HP 15-R011DX Hard Drive Replacement
ID: 122275
Description: A hard drive can be the source of many issues...
Steps:
- Slide the lock mechanism on the left side of the laptop to the right.
- While holding the right slide mechanism, remove the battery from the laptop.
- The battery is not pictured here because it is missing from this particular device.
- Flip the laptop over to reveal screw locations.
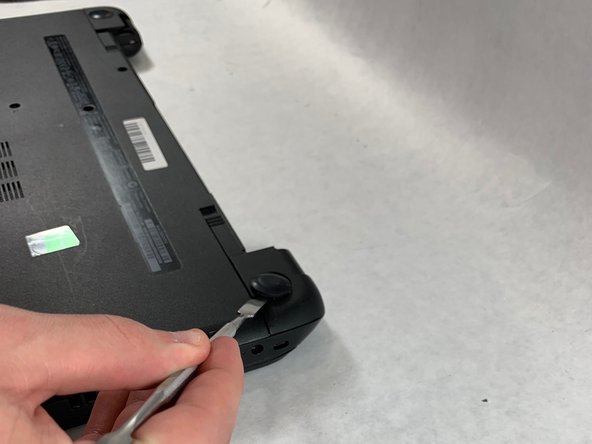
- Use a metal spudger to remove the two rear rubber feet. There are screws hidden underneath them.
- Remove the twelve 5mm Phillips #1 screws on the back of the laptop.
- Remove the DVD drive from the laptop.
- Remove the two 3 mm Phillips #1 screws underneath the DVD drive.
- Flip the laptop and open.
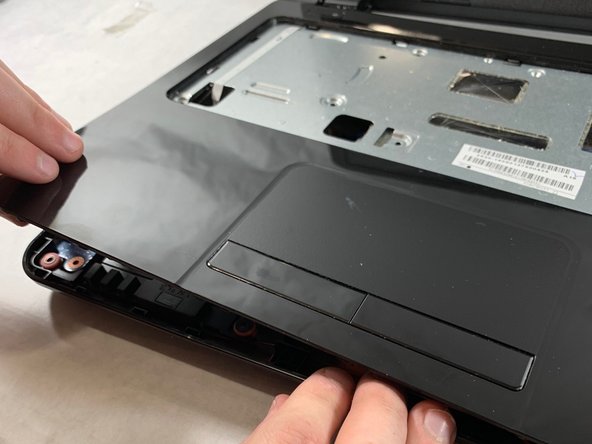
- Detach the keyboard by prying it free from the laptop using a spudger.
- Do not completely remove the keyboard yet. It is still attached by a ribbon cable.
- Disconnect the keyboard ribbon cable.
- Disconnect the two narrow ribbon cables to the left of the keyboard connection.
- Remove five 4 mm Phillips #1 screws from the metal tray for the keyboard.
- Pry open the plastic casing using a spudger.
- If struggling to remove the plastic case, check that all screws have been removed.
- Remove two 5 mm Phillips #1 screws located at the base of the hard drive.
- Pull the hard drive upwards and away from the laptop.
- The hard drive should disconnect from its port on the motherboard as shown in the second image.
- Flip the hard drive over.
- Remove the two 4 mm Phillips #1 screws from the base of the hard drive.
- Remove the mounting brace (silver bracket) from the hard drive.