USB connector repair
ID: 122346
Description:
Steps:
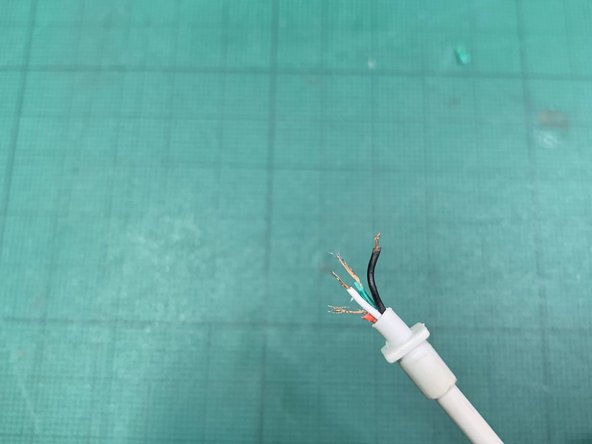
- before separating the parts pay attention to the colours of the wires, which ones goes to which connector. Always a good idea to take a picture. On this apple USB cable (30-pin first generation to USB) it goes, left ro right, black,white,green,red.
- Cut the wires to expose enough coper to be able to solder them to the connectors. Try to get all four to the same length.
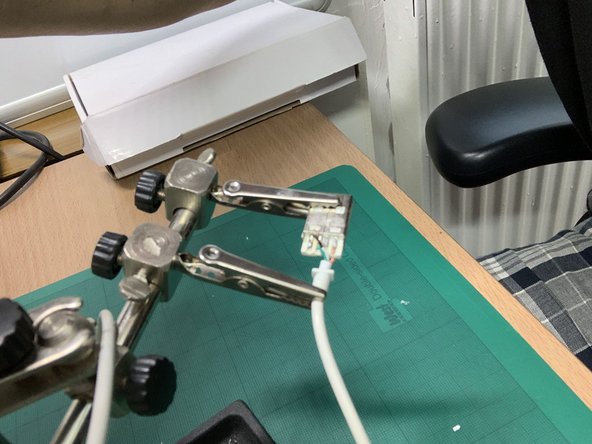
- Proceed with the soldering. Very likely just heating up the solder that was in the connector will be enough to push the wire when is melted. Otherwise, just add a tiny bit more of solder on top.
- A pair of soldering helping hands is very useful for this kind of soldering.
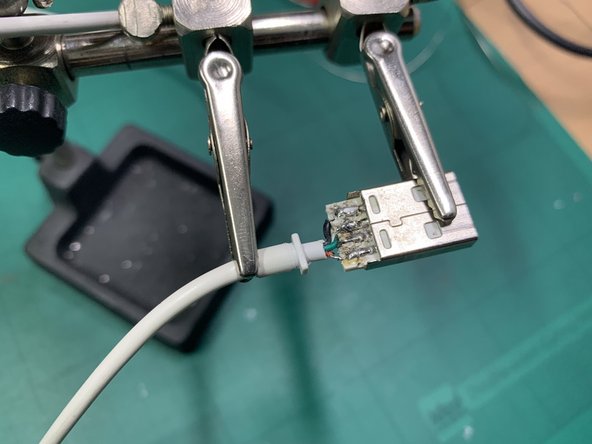
- With a multimeter, check that the pads are not in contact, either from overflowing solder or from loose wires.
- If there were any shorts, you might need to reheat the solder to make sure that stays within a single connector, or you might need to cut any wire that would be crossing from one connector to another.