HP Pavilion 15-n232nr Cooling Fan Replacement
ID: 122396
Description: This guide is for users who need to replace the...
Steps:
- Flip the laptop over.
- Slide the battery locks towards the center of the laptop. The battery will detach automatically.
- Remove the battery by sliding it away from the laptop housing.
- Remove the 6 mm Phillips #1 screw securing the optical drive.
- Use the iFixit opening tool to slide the optical drive away from the laptop housing.
- Unscrew the 6 mm Phillips #1 screw securing the keyboard.
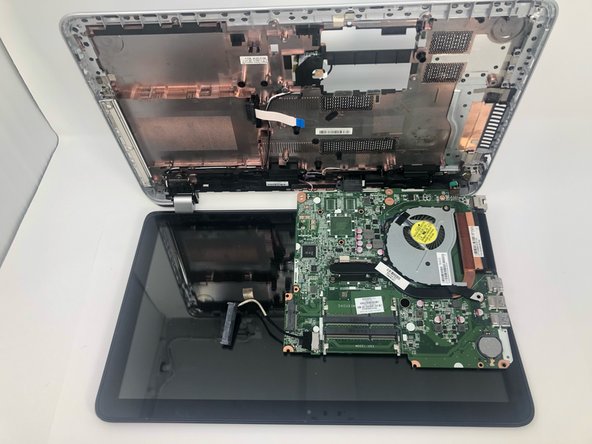
- Flip the laptop to the front side and open it up.
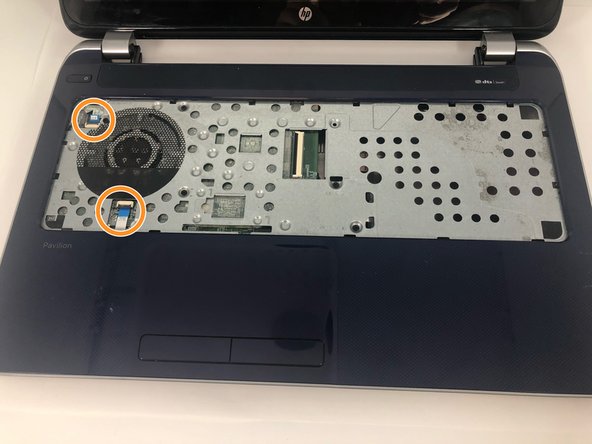
- Use the metal spudger to release the keyboard from the front panel.
- Flip the keyboard out and locate the connector.
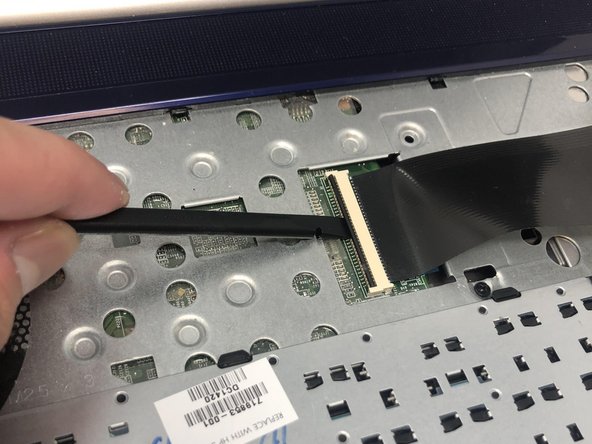
- Use the spudger to unhinge the the fastener and remove the connector.
- Keyboard should be completely detached after this step.
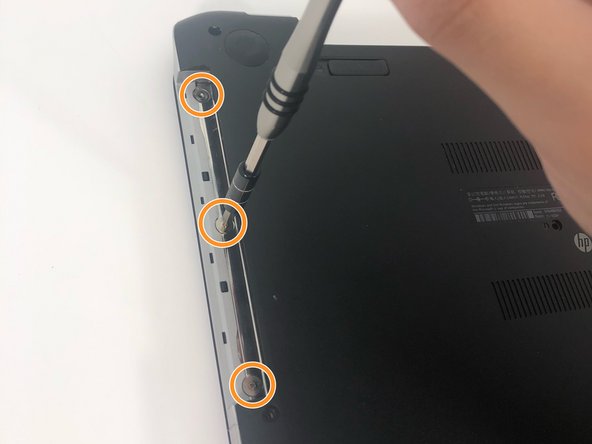
- Loosen the two 6 mm Phillips #1 screws on the back panel.
- These screws do not detach from back panel.
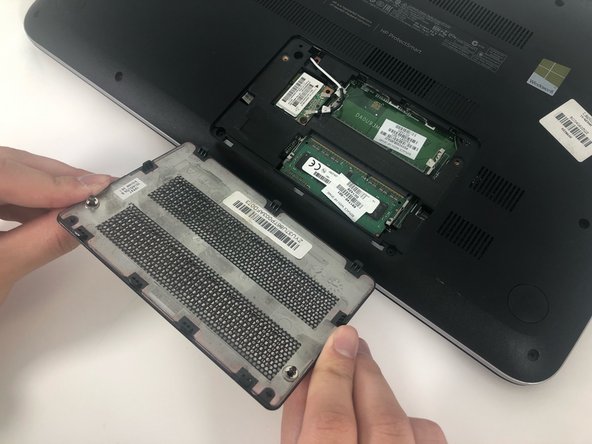
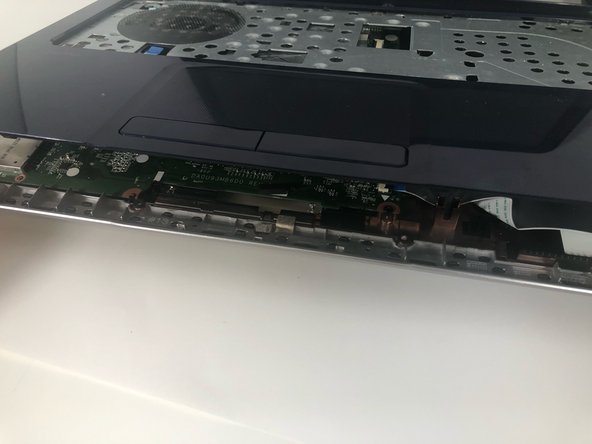
- Use the iFixit opening tool to remove the back panel.
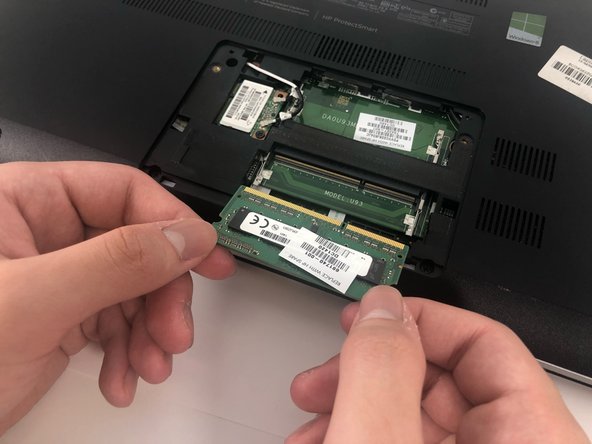
- Release the clips securing the RAM by slightly bending them until the RAM is free.
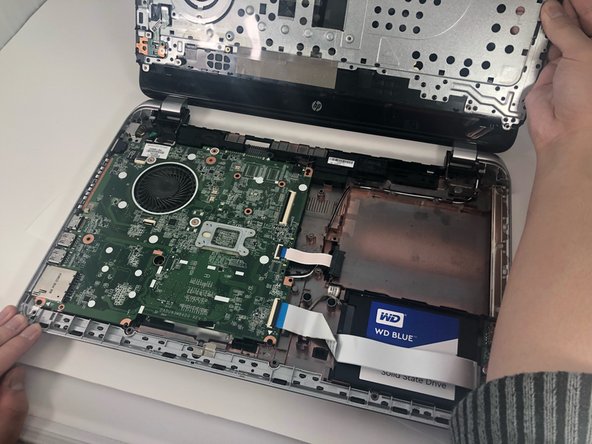
- The battery and optical drive should be removed at this point in the process.
- Remove the ten 6 mm Phillips #1 screws.
- Remove the three 1 mm Phillips #000 screws.
- Remove the five 2.5mm Phillips #1 screws.
- Use the spudger to unhinge the cable connectors. Use tweezers to complete removal.
- Carefully use the iFixit opening tool to release the front panel.
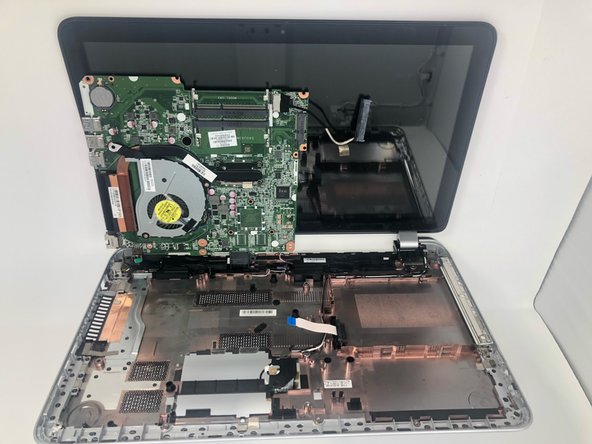
- Use the spudger to unhinge the daughterboard connector.
- Remove daughterboard connector.
- Remove the 2.5 mm Phillips #1 screw and remove the daughterboard
- Use the iFixit opening tool to remove the hard drive connector.
- Remove the hard drive by lifting the right side and pulling it out.
- Remove the four 6 mm Phillips #1 screws.
- Turn over the laptop to have easier access to the cooling fan.
- Unscrew the two 4 mm Phillips #1 screws.
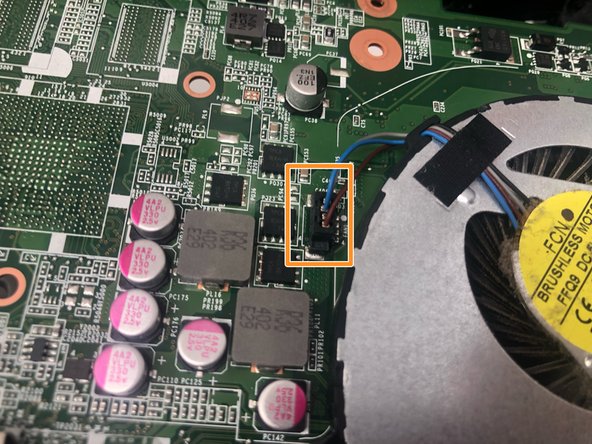
- Disconnect the cord for the cooling fan.
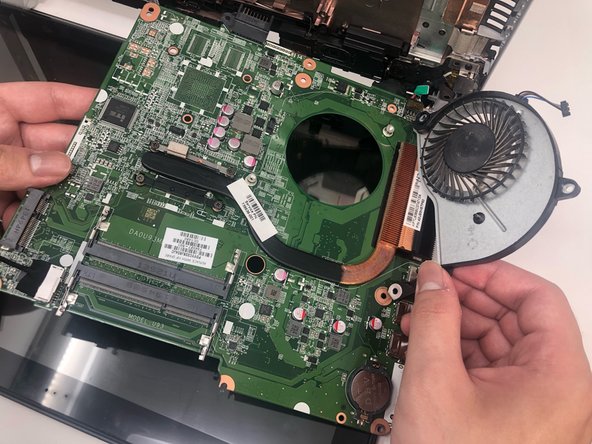
- Carefully lift the cooling fan from the motherboard.