Ridgid JobMax R2851 Series B Front Light Replacement
ID: 122402
Description: This guide is for replacing the front light on...
Steps:
- Unplug the device from the wall.
- Orient the device so that the trigger is facing downwards.
- Place your thumb and index finger on the two buttons located on the head of the tool.
- Press the two buttons in and pull the head of the tool off.
- Loosen all eight 15mm T10 Torx screws.
- You do not need to fully remove the screws yet; just loosen them enough that the device shell starts to open.
- Orient the device so that the cord end is facing upwards.
- Take a small cutting tool, and cut down the seam in the back, ensuring that you only cut the sticker.
- Make a shallow cut to avoid damaging internal hardware.
- Completely remove all eight 15mm T10 Torx screws.
- Pull the device case off, gripping at the back of the case and rotating it towards the front of the device.
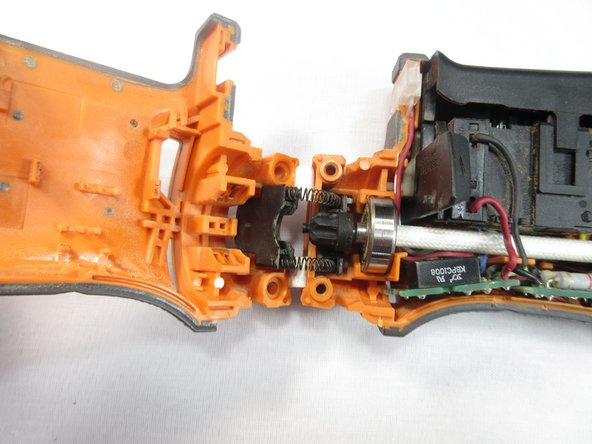
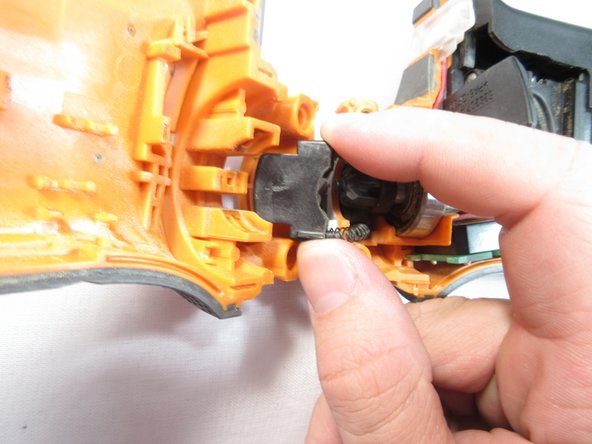
- Once the device has been separated gently pull on the trigger assembly to remove it from one side of the case.
- Watch out for the locking mechanism for the head of the device when removing.
- Once the device is apart, grab the LED light located in front of the trigger.
- Slide the light upwards and out, freeing it from the device.
- Once the light is free snip the wires and replace.
- A soldering iron will be needed when installing a new LED.