HP Chromebook 14-x010wm Charging Port Replacement
ID: 122447
Description: This guide will detail the process to remove...
Steps:
- Remove the thirteen 5.7mm screws from the back of the laptop using a Phillips #00 screwdriver.
- Remove rubber covers to reveal concealed screws, as needed.
- Flip the laptop over carefully and open the cover.
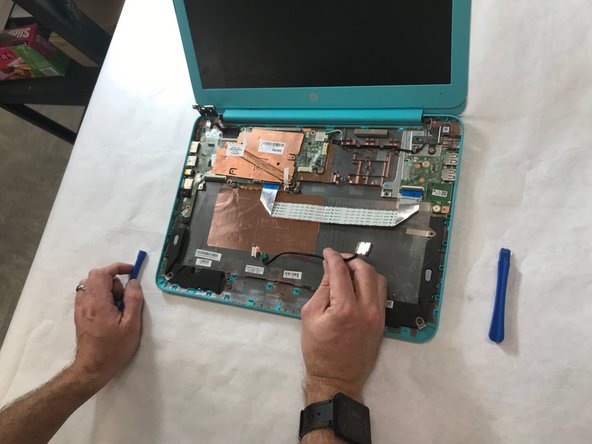
- Use a plastic opening tool to pry open the front edge and along the sides of the keyboard cover to separate it from the computer’s base.
- Lift the keyboard cover from the computer’s base carefully.
- Lifting the keyboard cover too much may damage the internal cables of the laptop.
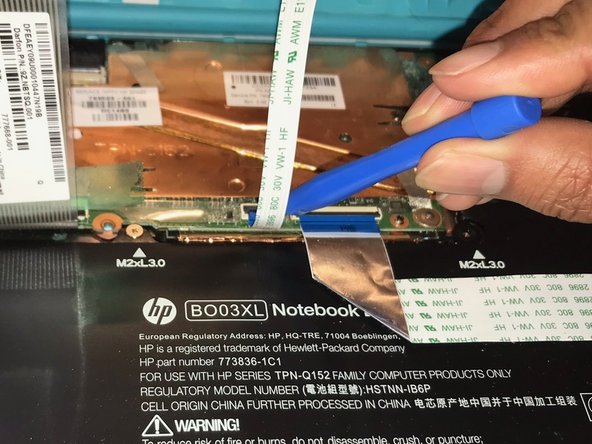
- Lift the black plastic flap, using a plastic opening tool, of the zero insertion force (ZIF) connector that holds the keyboard cable in place.
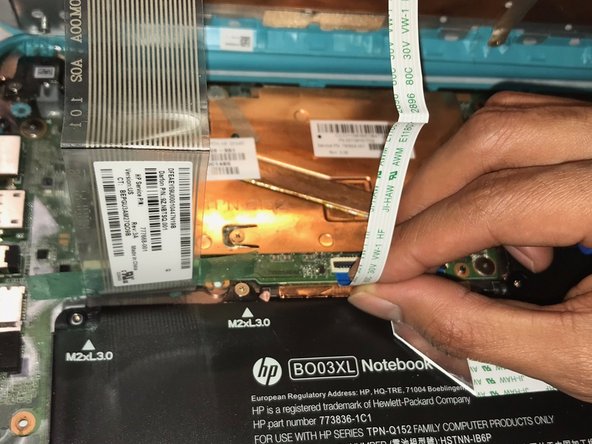
- Disconnect the keyboard cable by slowly pulling it from the system board.
- Lift the black plastic flap that holds the battery cable in place using a plastic opening tool.
- Remove the battery cable by slowly pulling the plastic connector towards you.
- Remove carefully and set aside keyboard panel.
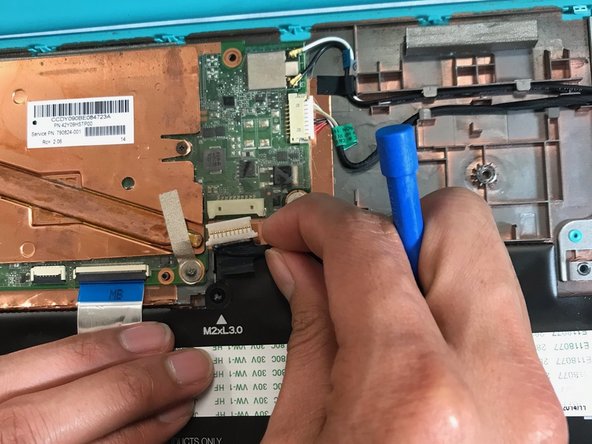
- Flip the plastic flap holding the battery cable using a plastic opening tool.
- Disconnect the battery cable by carefully pulling it from the system board.
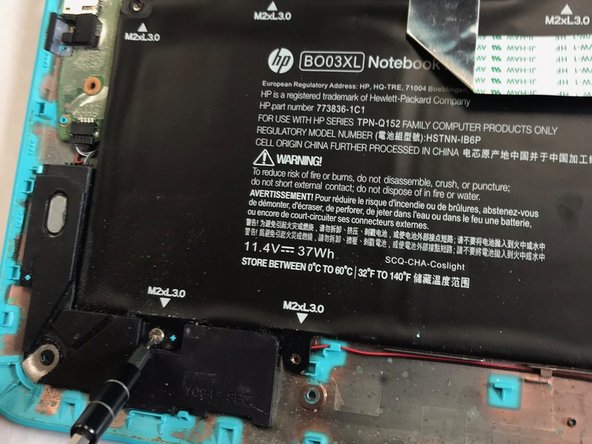
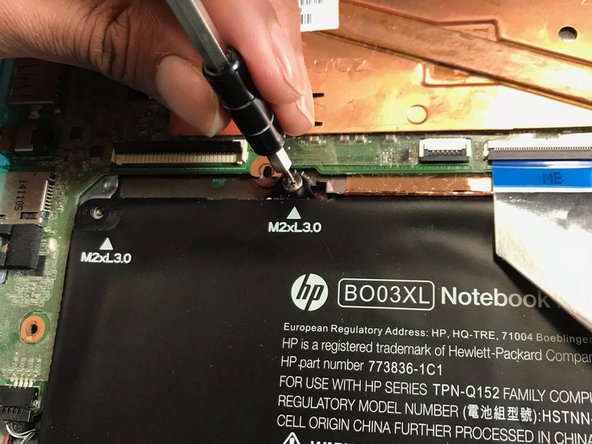
- Remove the seven M2xL3.0 screws from around the battery using a Phillips #00 screwdriver.
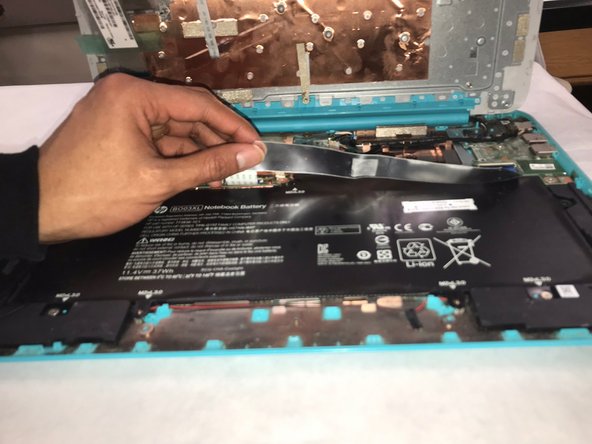
- Peel the wire band off of the battery carefully.
- Remove the battery by lifting slightly, then slowly pull it towards you.
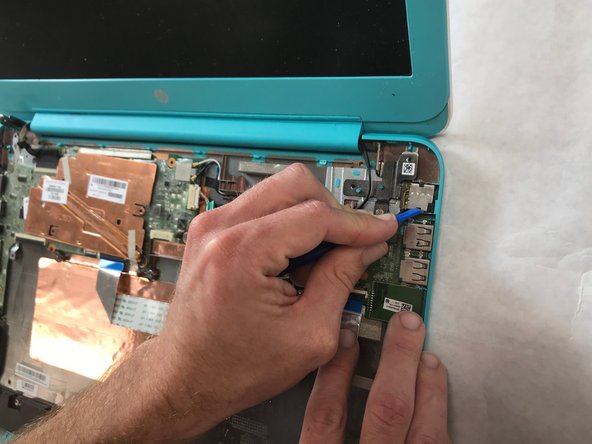
- Use a plastic opening tool to undo the tabs securing the charging port.
- Then gently lift the port up and away from the laptop edge.
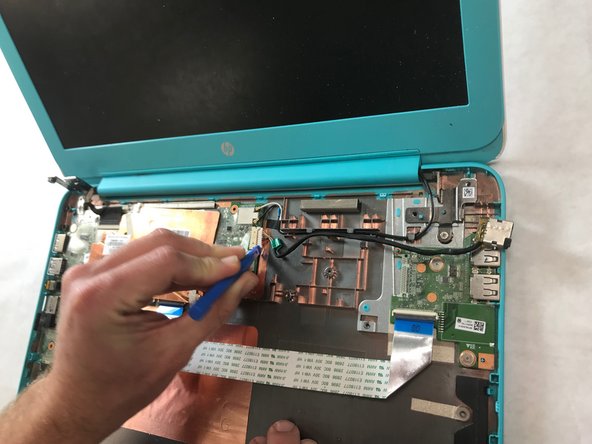
- Use a plastic opening tool to pry both ends of the corresponding white plug from it's port at the motherboard.
- Carefully pull the plug out of the port.