Milwaukee 5262-21 Reduction Gear Assembly Replacement
ID: 122467
Description: This guide will show you how to take the tool...
Steps:
- Remove the ten 19mm T20 Torx screws shown in red.
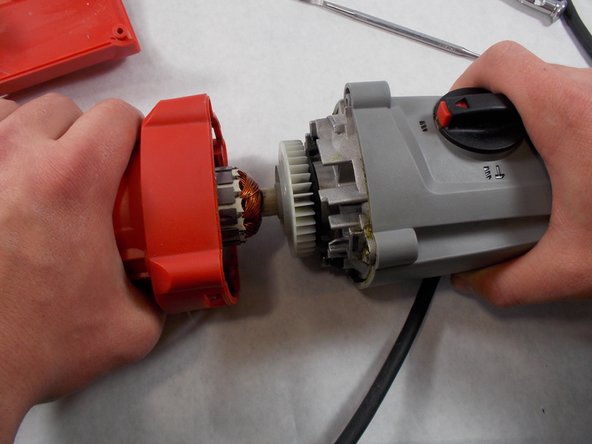
- Remove the red Housing Assembly by lifting it up off of the tool.
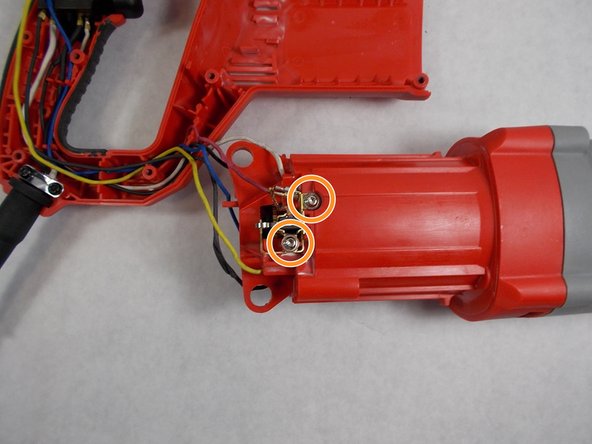
- Remove the two 10mm T-10 Torx screws that attach the top brush holders to the motor housing.
- Remove the two 10mm T-10 Torx screws that attach the bottom brush holders to the motor housing.
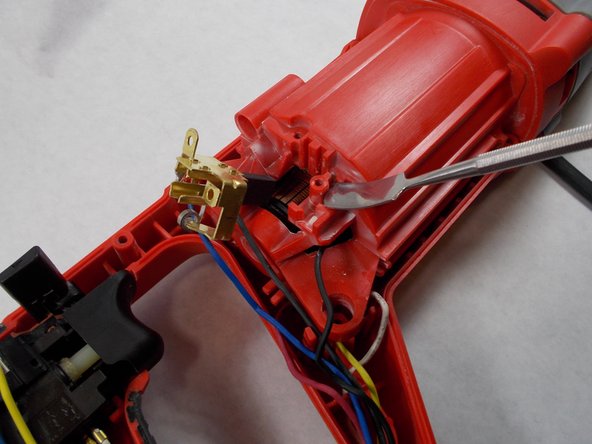
- Using a metal spudger, pry off each brush holder.
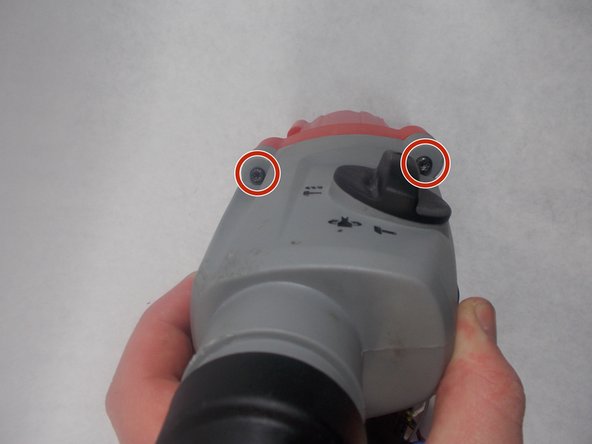
- Remove the four 37mm T20 Torx screws shown in red.
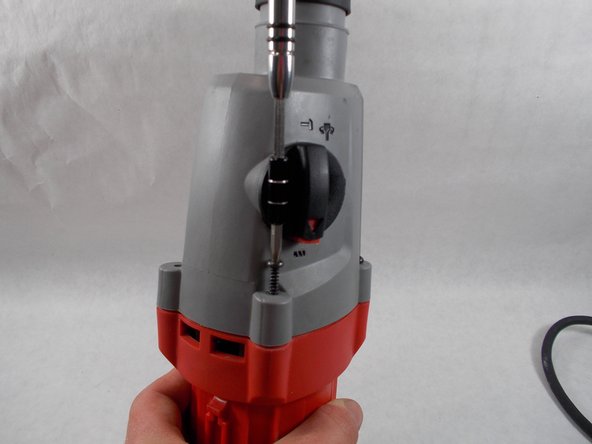
- Pull the front portion of the tool out from the motor housing.
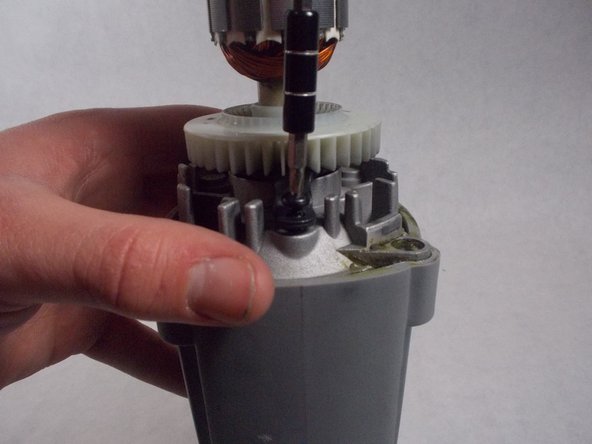
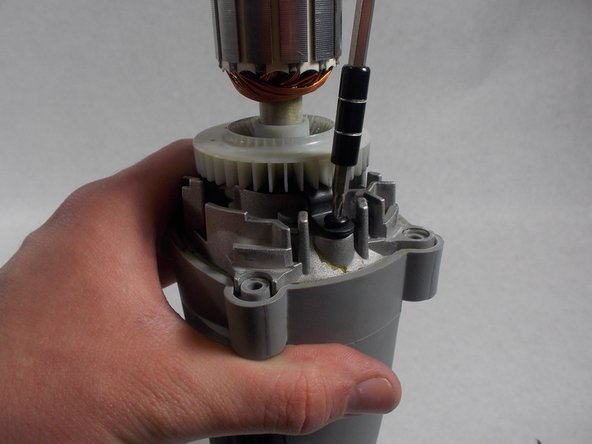
- Remove the two 11.5mm T10 Torx screws shown in red.
- Pull the 120V armature assembly out of the diaphragm assembly.
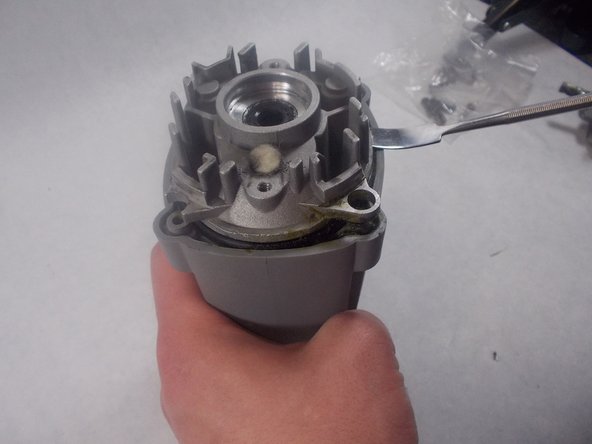
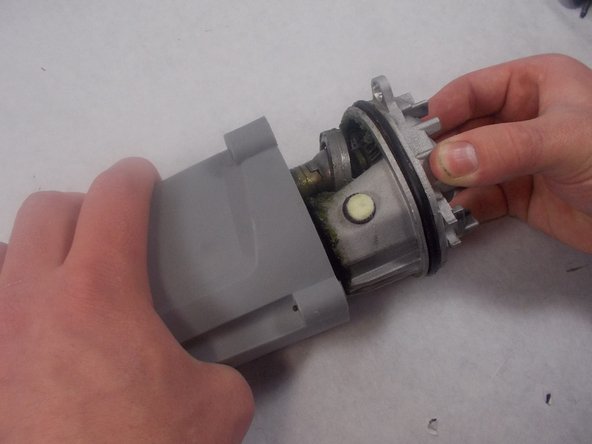
- Using a metal spudger, pry the diaphgram assembly out of the gear case.
- Now that you have loosened the diaphragm, you can now pull it out of the gear case.
- The diaphragm assembly will be lathered in grease. In order to move forward, you may want to give it a wipe down to remove any extra grease.
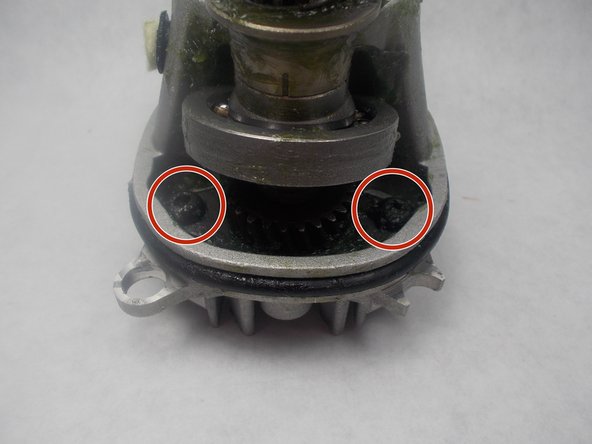
- After removing some grease (if needed), remove the two 15mm T20 Torx screws shown in red.
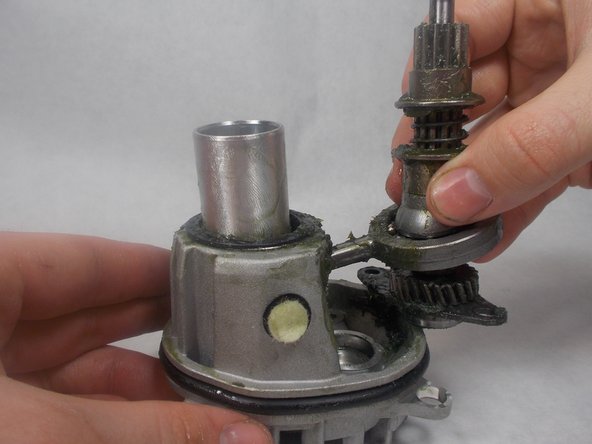
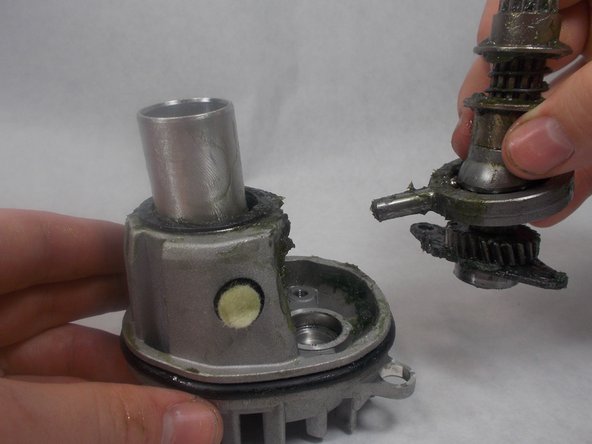
- Now pull the reduction gear assembly up and out of the diaphragm.