HP G71t-400 Cooling Fan Replacement
ID: 122470
Description: When assessing whether to replace a laptop’s...
Steps:
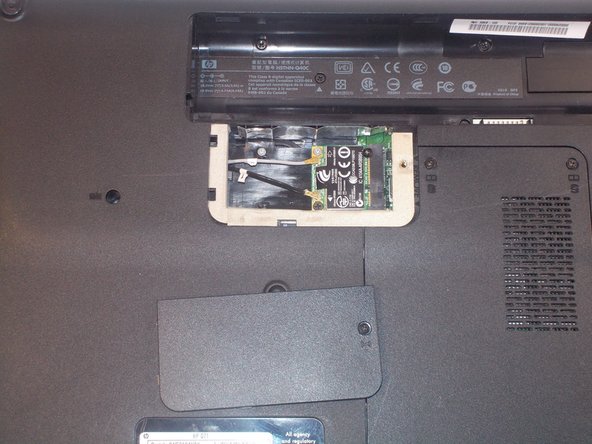
- Lay the laptop down so the bottom is facing up.
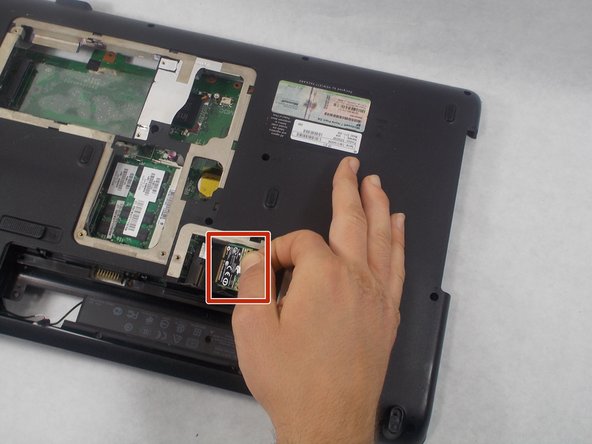
- Push the slide button, circled in photo 1, to release the battery.
- Action in picture 2 shows the direction and release.
- Tilt the battery back in the direction it popped up in and remove the battery.
- This ensures there is no power in the system that could potentially short out any components.
- Remove the circled screws.
- Remove the cover, exposing the hard drive and RAM.
- Remove the 2 circled screws.
- Use your pry to slide the hard drive over. This unplugs it from its connection and allows it to be removed.
- Remove the hard drive.
- Push the silver tabs in to release the RAM.
- When they pop up from the locked position they may be removed.
- Remove the circled screws to release the WiFi card and keyboard.
- Remove the panel, exposing the WiFi card.
- Remove the circle wire connections, make note to which port they were connected to.
- Remove the WiFi card.
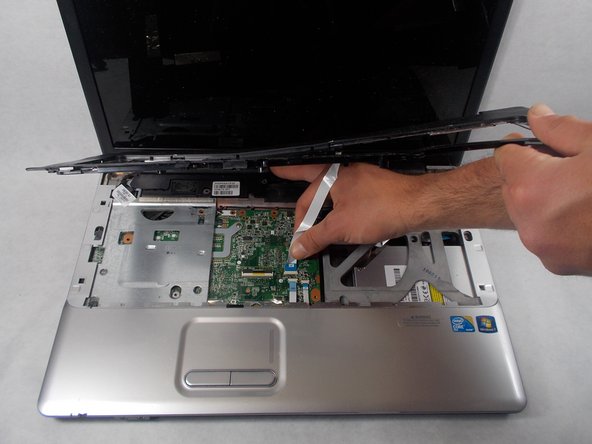
- Flip the laptop over and open it now that the keyboard has been unscrewed.
- Take your pry bar and go around the outer edge of the keyboard. Popping it free from the bezel.
- Lift the keyboard up.
- Remove the connections from the keyboard to the motherboard.
- Remember each attachments position because they will need to be connected again.
- Remove the circled screws to release the bezel from the faceplate.
- Lift the bezel from the face plate.
- Disconnect the power connection from the bezel to the motherboard.
- Remove the two screws side-by-side next to each in the red circle.
- This will be the last layer to remove before reaching the motherboard.
- Carefully detach the highlighted connections.
- Remove the motherboard from the device.
- Remove three screws to detach the cooling fan from the motherboard.
- Remove the last connection.