Asus Chromebook C300SA-DS02 Daughterboard Replacement
ID: 122475
Description: This guide will show the procedure to replace a...
Steps:
- Power the laptop off and make sure the charger is unplugged before starting.
- Remove the eight 8.0mm Phillips #0 screws on the bottom of the laptop.
- Remove the three 6.0mm Phillips #0 screws.
- Open the laptop.
- Using an iFixit opening tool, pry along the edges of the keyboard.
- Lift the keyboard and slide it gently towards you.
- Do not completely remove the keyboard. It is still connected to the back panel by a pair of ribbon cables.
- Disconnect the two ZIF connectors by prying up the locking bar with a spudger and removing the ribbon cable.
- Remove the keyboard from the laptop.
- Remove the six 5.6mm Phillips #0 screws around the battery.
- Using your thumb and index finger, pinch the multi-color cable and disconnect it from the motherboard.
- Lift the battery out of the laptop.
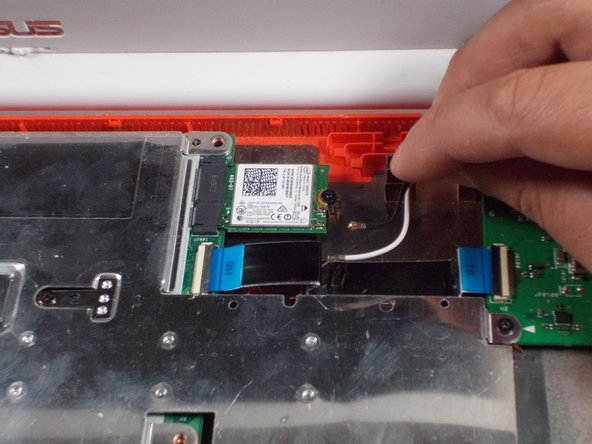
- Unplug the black and white cable from the motherboard.
- These two wires connect to the antenna within the display assembly. The white cable is longer and connects to the bottom import.
- Peel back the tape covering the display cable.
- Ease the cable towards the screen and out from the connector.
- Use a Phillips #0 driver to remove the six 5mm screws on the top right and left display hinges.
- Gently lift the display assembly up and away from the laptop.
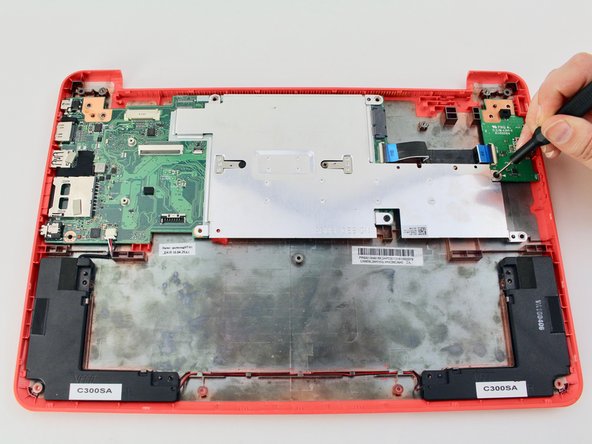
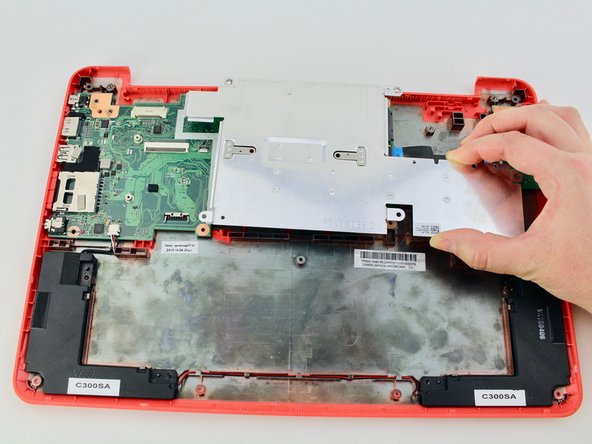
- Using your Phillips #0 screwdriver, unscrew three, 3.6mm screws from the silver heat sink.
- Remove the heat sink from the motherboard.
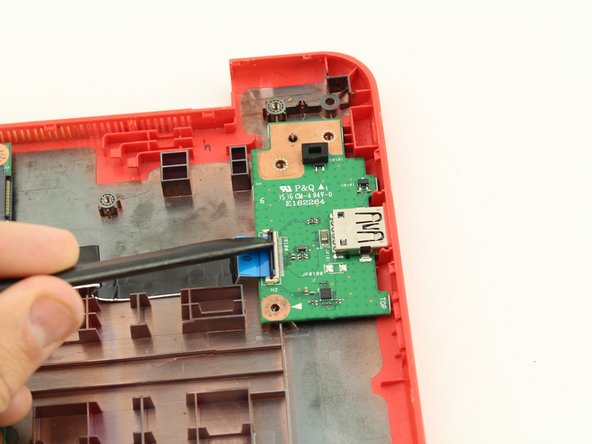
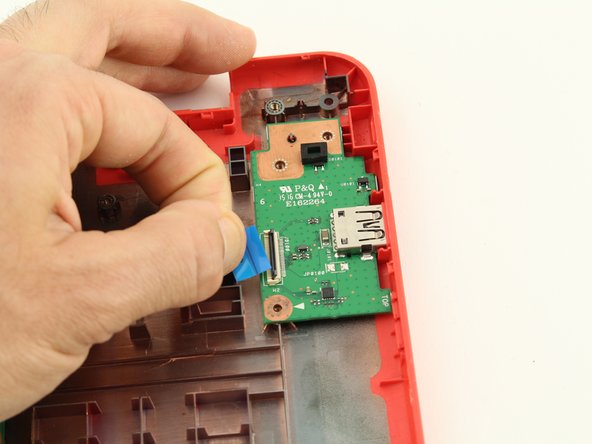
- Use a spudger to flip up the locking tab on the ZIF connector of the daughterboard.
- Slide the ribbon cable from the connector.
- Remove the daughterboard by lifting it from the bottom case.