Jura Z7 brewing unit replacement
ID: 124875
Description: When the machine is open, replacing the brewing...
Steps:
- Position the machine with the water tank side facing you.
- The panel covering the brew group is fixed at the top edge with two oval head screws.
- These screws have an oval head and look like rivets. They require a special tool or bit for unscrewing. Here is a DIY guide . In a pinch you can also use needle nosed pliers. Jura wants to keep us out of our own machines!
- Remove the two oval head screws and lift the panel out.
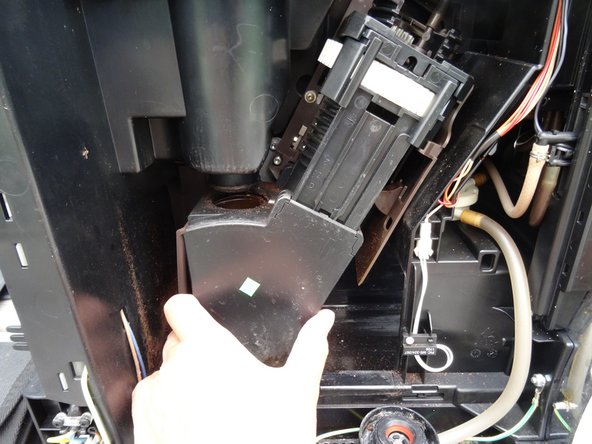
- There it is: the brewing unit.
- The photo is from a Jura J5, but the brewing unit is basically the same and you can easily see how the brewing unit is attached:
- Two Torx T20 screws with fine thread
- One Torx T15 screw
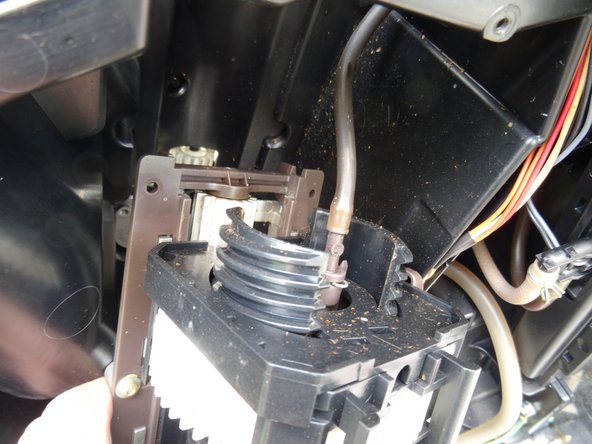
- The hot water inlet is plugged in.
- The hose with the coffee spout is plugged on top.
- Unscrew the two Torx T15 machine screws.
- Unscrew the Torx T15 screw at the bottom of the hot water inlet.
- Pull the brewing unit out to you. The hose to the coffee spout is still attached at the top.
- Pull off the hose to the coffee spout.
- Start now with the replacement or revision of the brewing unit.
- If you want to disassemble the brewing unit for cleaning and installing new seals, follow this or this guides.
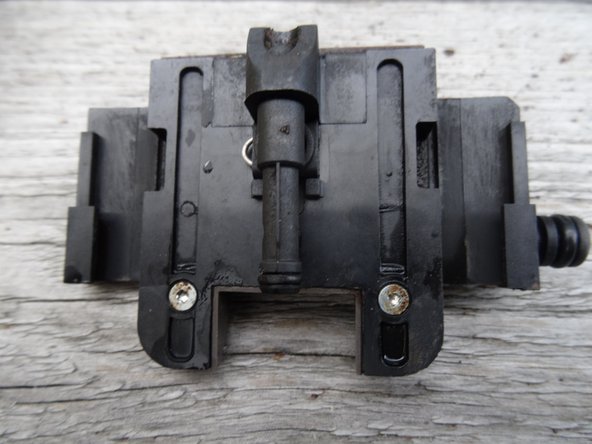
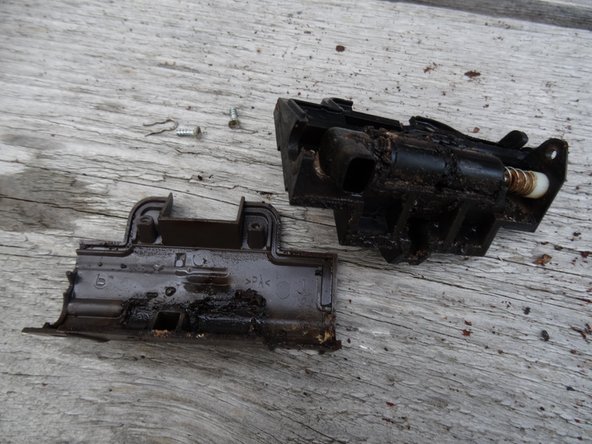
- There is one small difference with this brewing group: the drainage valve is fitted with a cover, but this is easy to remove. Unscrew the two Torx T8 screws.
- Use these instructions to overhaul the drainage valve.