Lenovo Ideapad Y700 Touch-15ISK (Type 80NW) LCD+Digitzer Assembly (a.k.a screen) Replacement
ID: 124937
Description: Before you move on, make sure you have the...
Steps:
- You are going to need the pick here. I chose the right edge, but either is fine.
- Get the pick into the assembly as shown and firmly push it from your chosen side to the opposite one until the plastic housing falls forward.
- You may feel like you're breaking things if this is your first disassembly, but don't worry too much. It should look like this.
- At this point, after pulling the plastic away, you'll see a set of 11 screws, 3 of which are smaller than the others. These are the ones we need to remove. They are the ones on the furthest ends and the one in the middle.
- Only remove these screws (as shown), as the rest hold the back to the hinges. When you know which ones to unscrew, grab your 000 philips screwdriver and get to work. Place these 3, small screws somewhere safe, as you need them for reassembly.
- If it doesn't come off easily, use the opening tool on the top as shown. When it is loose, DO NOT pull it away. There are delicate wires still attached. Lower the screen face-down onto the keyboard.
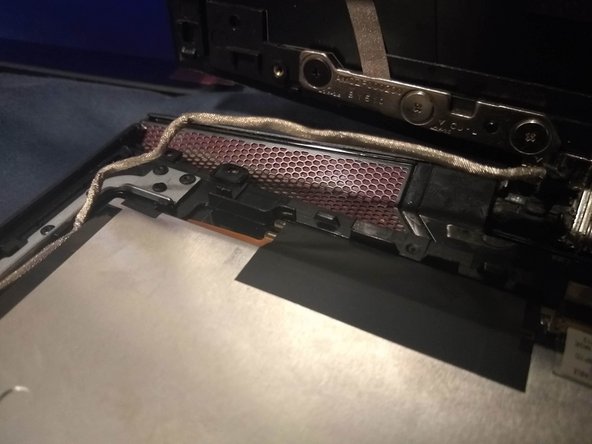
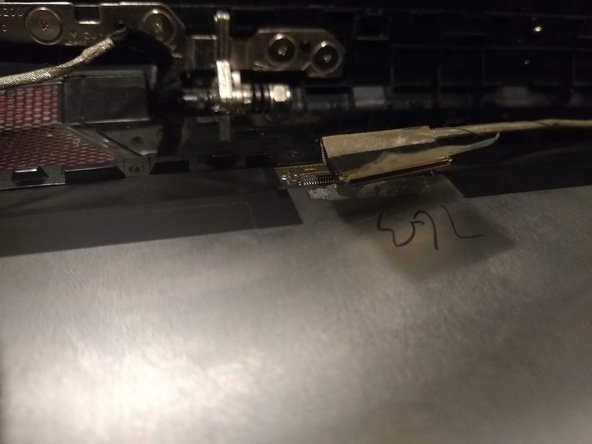
- There are 2 wires still connecting your broken display - signal to/from the screen and the cam/mic - that need to be detached.
- For the cam/mic, use the pick as shown to remove the ribbon cables. Then work your way along the wire to remove it. The cam/mic is stuck on with adhesive, so it'll take a bit to get it off. Use the small tab to help. Same for the other wire, once you lift the sticker (no need to remove it).
- Follow the previous step in reverse. Pro-tip: attach the ribbon cables before placing the camera/mic part into place. After that, just do everything else in reverse. You may find it helpful to tilt the laptop back, as shown. If everything was done correctly, the screws will line up and you'll have reattached the display. Turn laptop on to verify.