Insignia Flex 8 NS-P08A7100 Screen Replacement
ID: 125000
Description: Tablet screens often need replacement. This...
Steps:
- Begin by using the opening tool to pry open the back cover. Continue around the edge until the back cover pops off.
- Use the opening tool to flip the LCD flex circuit plug upwards. The flex circuit should now be loose. Remove flex circuit by pulling outwards.
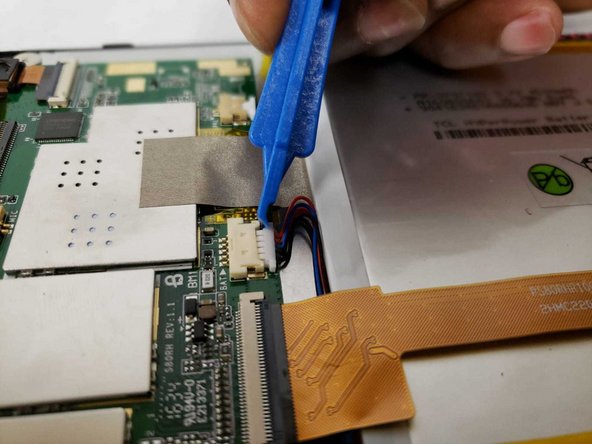
- Use the opening tool to remove the battery cable from the circuit board.
- Remove the adhesive tape from the bottom of the battery.
- Remove plastic adhesive tape from the side of the battery.
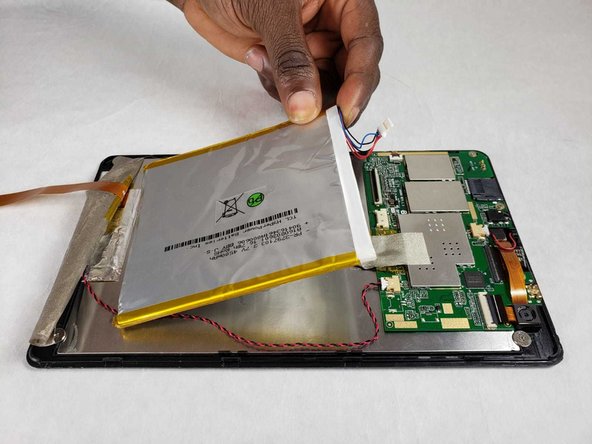
- Pry the battery from the back of the LCD screen using the opening tool. Due to the strong adhesive between the battery and screen, this may take some time.
- Begin removing the screws on the circuit board using the phillips-head bit driver. Start with the top left corner.
- Remove the next screw to the right using the phillips-head bit driver.
- Remove the next screw to the right using the phillips-head bit driver. This one is slightly hidden under the flex circuit of the camera.
- Remove the next screw in the right top right using the phillips-head bit driver.
- Remove the next screw in the bottomeright corner using the phillips-head bit driver.
- Remove the next screw in the bottom left corner using the phillips-head bit driver.
- Remove the flex circuit on the left side of the circuit board using the opening tool.
- Remove the speaker cable from the circuit board using the opening tool.
- Remove the camera cable from the circuit board using the opening tool.
- Flip the camera flex circuit clip upwards using the opening tool. Detach the camera flex circuit from the circuit board
- Remove the adhesive tape holding the circuit board to the LCD screen. The circuit should now be free.
- Pull the circuit board forward for clearance and begin removing the screen with the opening tool.