Lenovo IdeaPad Flex 14API Upgrade Guide
ID: 125246
Description: Guide for the 2019 Lenovo Flex 14API (Ryzen...
Steps:
- Shut down system and remove everything plugged into laptop.
- Make sure you have a T5 Torx screwdriver and a couple spudgers or credit cards to pry the body off.
- There are ten screws, all are the same thread and length. No screws are hidden under feet or warranty stickers.
- The screws at the bottom are on an angle
- It's a little difficult, but once you've got the screws odd you can start to pry the back off.
- I started with the section of the hinge by the power plug, then left the card there to hold it open.
- After that I used a second card to pry the rest of the hinge section open, and then worked my way around the sides of the laptop.
- Once you've got it worked around, the back will pop right off. There's no adhesive holding it together.
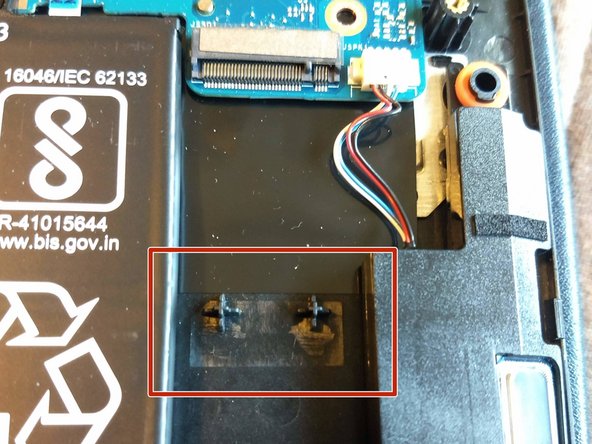
- Before doing anything else to the laptop, unplug the battery.
- The connector is difficult to work off (do not pull it out by the wires). The best way I found was to work it off by pushing on alternating sides (firmly, but controlled). I just used my screwdriver.
- Once it's unplugged, press and hold on the power button for a few seconds to drain any residual power.
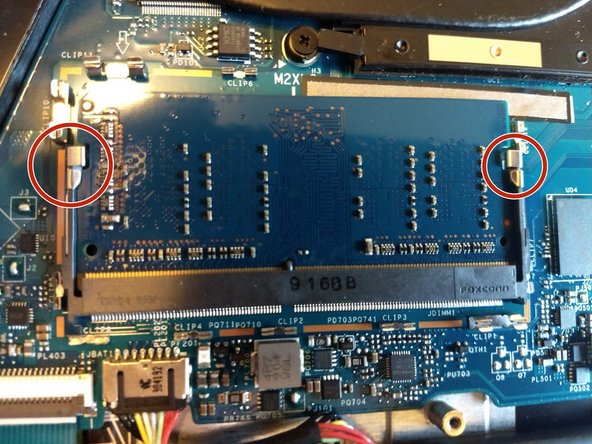
- On the right are the four soldered DRAM modules. Interestingly, they (and the Ram stick) are both rated for 2666 mhz, but the bios locks the speed to 2400mhz.
- The stick is under the metal box on the left. I have no idea what the box is for.
- The box is held in by friction clips. It's tricky, but if you pull straight up it should just slide off.
- Once you have the box pulled off, you can remove the ram. It is held in by two metal clips - push these outwards and it'll pop up so you can pull it out.
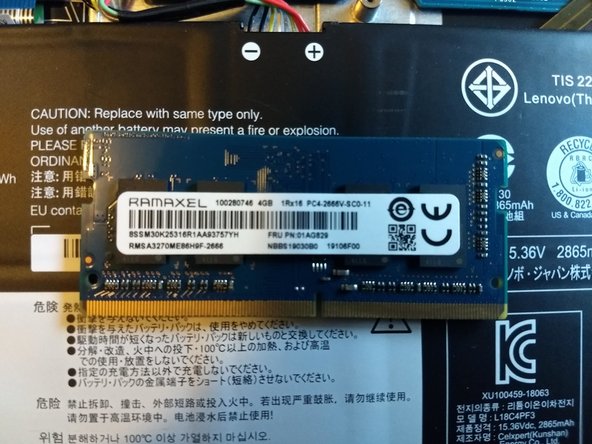
- To replace the ram, slide it in at an angle until the gold contacts are almost covered. After this, you should be able to push it down and the clips will snap it back into place. If the clips aren't doing this, it's not in the slot far enough.
- The SSD is a regular ol' m.2 slot. You do have to peel back the Lenovo sticker in order to unscrew it (Phillips). It doesn't say anything about warranty void if removed on the sticker, but remove at your own risk.
- The SSD is a Samsung 961. Decent enough module. It is single sided, so I'm not sure if the standoffs will cause compatibility issues with double sided modules. The standoffs are plastic, so could be filed down if absolutely necessary.
- There should be enough room for those thin "sticker" heatsinks, but not for anything more than a mm or two.
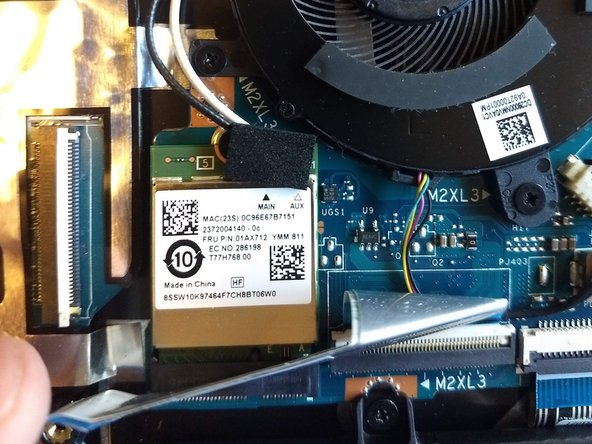
- The WiFi module is underneath a ribbon cable. To pull it back, flip up the white latch and it'll come right out easily. (Do not attempt to remove it without first lifting the latch).
- I have no idea what module this. Device manager in windows says it's a Realtek.
- To upgrade it or replace it, you just need to remove the black pad, unscrew the screw underneath, and disconnect the antennae. After that, it should come out like the m.2 drive.