eMachine T5234 RAM Disks Replacement
ID: 125619
Description: Has your eMachine been running slow lately?...
Steps:
- Shut down the computer.
- Disconnect all cables from the computer.
- Static electricity can damage the hardware on your motherboard. Use the iFixit Anti-Static Wrist Strap or discharge the electricity by touching the metal of the case frame before unpacking the RAM disks.
- Note: Do not remove the RAM disks from their casing until Step 8.
- Place the computer upright at standing position.
- Using a Phillips #1 Screwdriver:
- Remove the two 1cm combination screws located on the right of the casing.
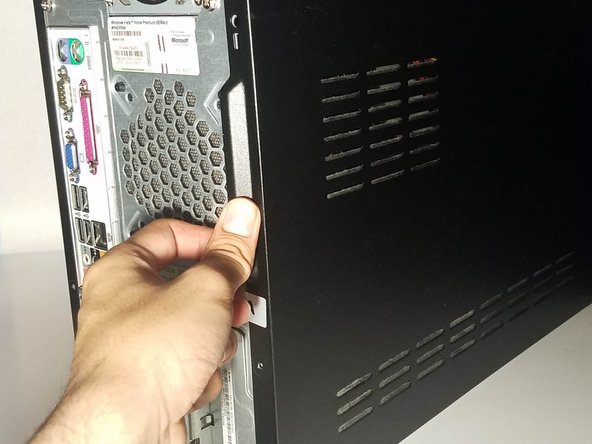
- Using your hands, dislodge the casing and pull the case panel towards you until the panel comes off.
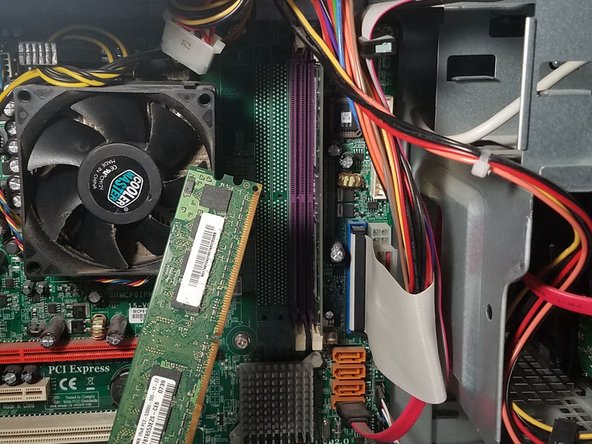
- With the case panel open, locate the two RAM disk slots on the right side of the motherboard.
- Do not touch the motherboard with your hands. The oil on your skin can damage or destroy the hardware modules.
- Locate the tabs on the RAM disks.
- Use your index finger to release the tab at the bottom of the left RAM disk slot.
- Release the tab at the top of the left RAM disk.
- Note: The RAM disk will pop off the motherboard when you release the bottom tab. Use the edges of the RAM disk to pick up and store the memory disk.
- If the RAM disk does not pop off, use the edges of the disk to pull it off.
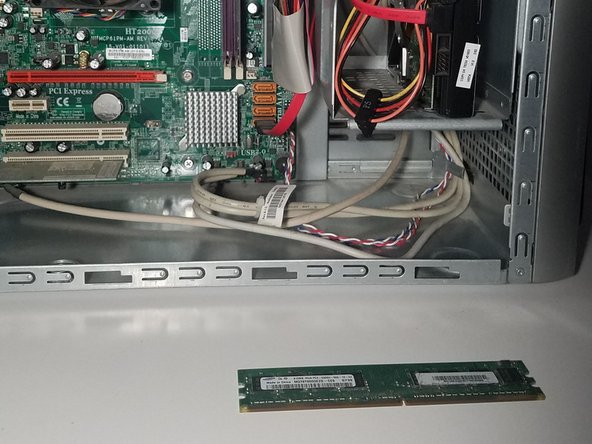
- Store the unused RAM disk in a plastic container for future use or go to a recycling center for proper disposal.
- Release the top tab and the bottom tab to dislodge the right RAM disk.
- Remove your new RAM disks from their casing.
- Hold the RAM disk along the sides and avoid skin contact with any of the gold components.
- Align the RAM disk to match the slot and insert the disk to the right memory disk slot.
- Gently push the disk in to secure.
- Secure the tabs at the top and bottom of the memory disk slots to lock into place.
- Now it's time for the second disk. Retrieve the second RAM disk from it's casing.
- Hold the RAM disk along the sides and avoid skin contact with any of the gold components.
- Align the RAM disk to match the slot and Insert the RAM disk to the right memory disk slot
- Gently push the disk in to secure.
- Secure the tabs at the top and bottom of the RAM disk to lock into place.
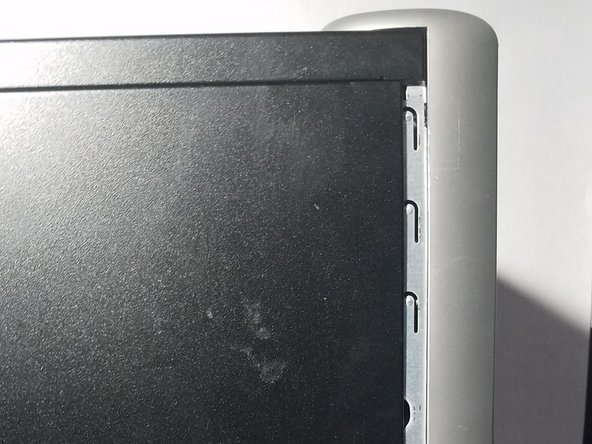
- Use both hands to align the case panel to the case frame.
- Once in place, push the case panel forward until it secures in place.
- Using your Phillips #1 Screwdriver:
- Screw the two 1cm combination screws back into place on the right side of the case panel.


