Replacement of the motherboard of Xiaomi Redmi Note 7 Pro Motherboard Replacement
ID: 127659
Description: This guide will show you how to remove or...
Steps:
- Before you begin, switch off your phone.
- Heat your phone to about 195 degrees Fahrenheit (90 C).
- Lift the back cover to create a gap between the glass and the frame.
- Insert an opening pick into the gap.
- Start sliding the opening pick from the lower left corner along the side of the device to cut the adhesive
- Leave the opening pick in the side to prevent the adhesive from resealing.
- Lift the cover open like a book, but be careful to make sure you do not damage the flex cable while it’s still connected.
- Using a screwdriver (1.5 mm ), unscrew 4 screw and remove the bracket holding the connector.
- Disconnect the connector to avoid a possible short circuit during disassembly.
- Disconnect connectors and remove the inter-board cable.
- Using a screwdriver (1.5 mm), unscrew the 7 screws.
- Remove the cover.
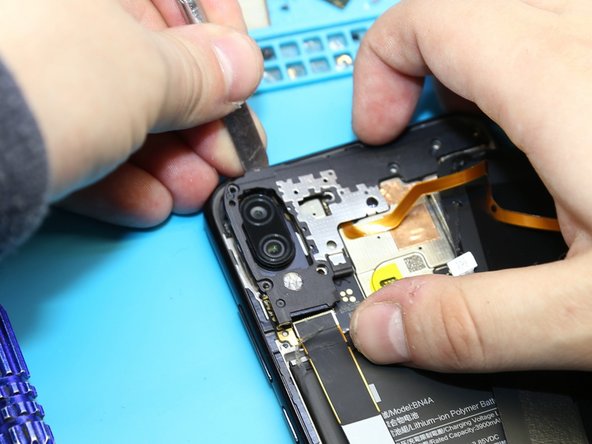
- Pry up on the connector and remove the fingerprint sensor cable.
- Disconnect the connector on PCB, and remove the front facing (selfie) camera.
- Disconnect the connectors on the PCB.
- Pull off and remove the PCB.