Sony α6500 LCD Screen Replacement
ID: 127688
Description: In order to interface with the camera and...
Steps:
- Verify the camera is powered off by setting the switch to OFF.
- Flip the camera upside down.
- Slide the battery compartment lock to OPEN to unlock it.
- Push the blue lever aside to release the battery.
- Remove the released battery from the compartment.
- To access the LCD assembly we need to remove the screws attaching its hinge to the camera body.
- Remove four 3mm JIS 000 screws.
- Remove one 3mm JIS 00 screw.
- After dismounting the screen hinge be careful to not tear the black wire ribbon connecting the screen to the camera body.
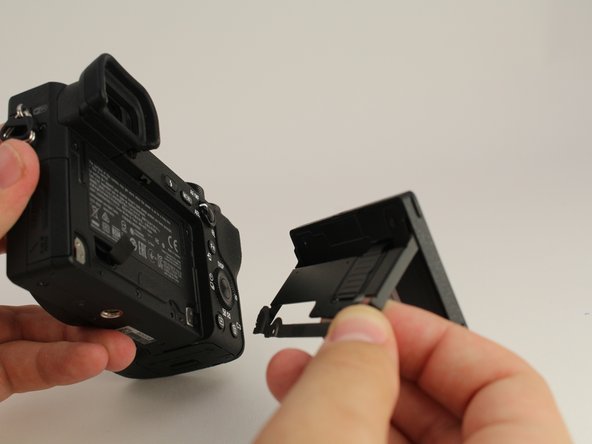
- Remove the screen hinge from the camera.
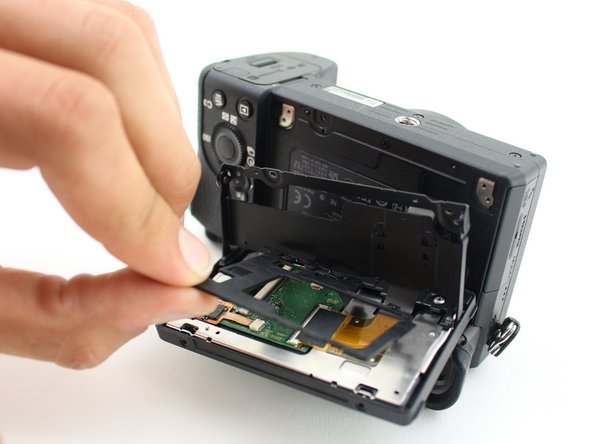
- Be careful to not tear the black flat cable connecting the lcd screen to the main body of the camera. This particular camera's cable has been cut for demonstration purposes.
- Flip the LCD screen up.
- Remove two 2mm JIS 000 screws on the bottom edge.
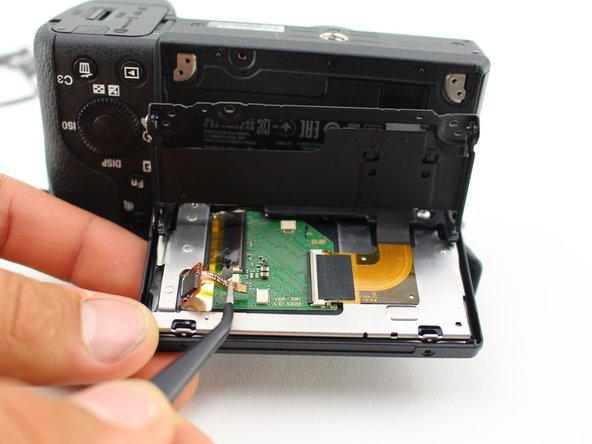
- Flip the LCD screen down to access the back side.
- Remove two 2mm JIS 000 screws to release the back panel of the screen.
- Use the opening tool to pry open the back panel.
- Remove the black plastic spacer laying on top of the circuit board.
- Carefully unplug the three wire ribbons from the circuit board with tweezers.
- Likely you will need to wiggle the ribbons for a while before they come loose.
- The ribbons can rip very easily, grasp the black plastic with the tweezers, on the two top ribbons, not the orange wires.
- Slide the spudger around all sides of the screen's plastic frame, gently breaking the adhesive.
- Remove the screen from the camera by prying it out.