Milwaukee 2780-20 Rotor Assembly Replacement
ID: 127772
Description: Here is a guide that will show you how to...
Steps:
- Using a Torx T20 screwdriver, unscrew the four 16mm screws from the case.
- Switch to the Torx T10 screwdriver, and remove the last 16mm screw from the hilt.
- Using the Torx T20 screwdriver, unscrew the four 28mm screws located at the bottom (and top) of the gearcase assembly.
- Remove the two 12mm screws with a Torx T20 screwdriver in order to get to the others.
- Pull apart the housing handles.
- Lift the trigger assembly off of its mount.
- Dispose of the old trigger assembly and install the new one.
- Using a Torx T20 screwdriver, unscrew the four 6mm screws located at the top of the gearcase assembly.
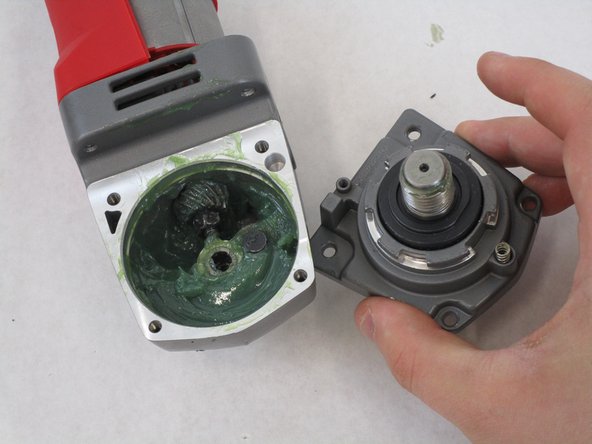
- Pull apart the top of the gearcase assembly to expose the inside of it.
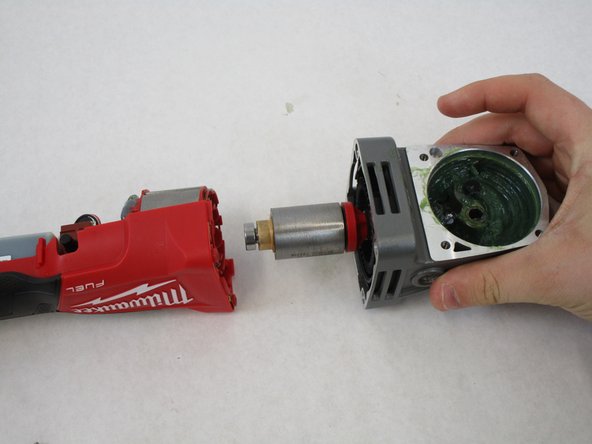
- Pull the Gearcase Assembly away from the electronic kit.
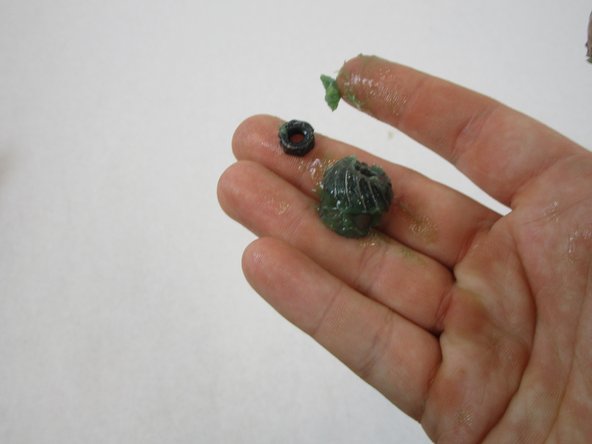
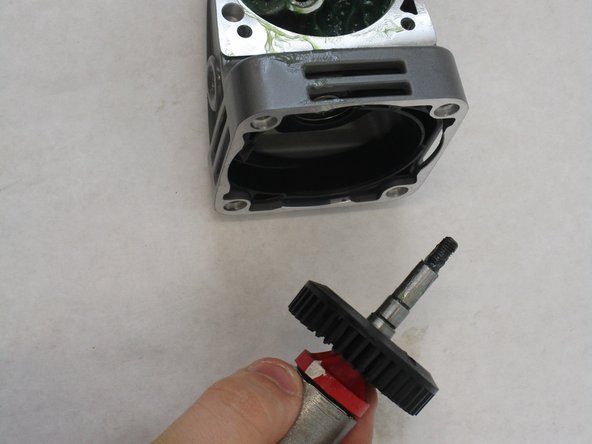
- Using a 3/8 wrench, remove the nut located in the center of the Gearcase.
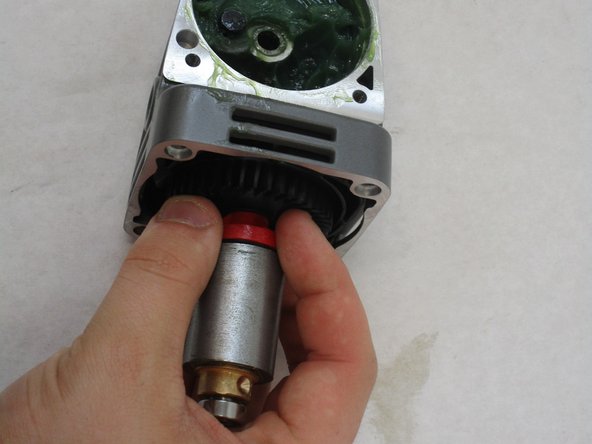
- The nut and pinion will immediately come apart from the Rotor assembly.
- Pull the rotor assembly away from the gearcase assembly.