Hover 1 Eclipse Charging Port Replacement
ID: 127796
Description: This guide will show you how to replace the...
Steps:
- Using a Phillips #1 Screwdriver, remove the four 11mm screws that surround the edge of the left side bottom shell piece.
- Using a Phillips #1 Screwdriver, remove the four 13mm screws that surround the edge of the left side bottom shell piece.
- The order and placement of the 2 types of screws is mirrored for both sides of the bottom shell.
- Pull back and set aside the left bottom shell halve. This shell half is still wired to rest of the hoverboard.
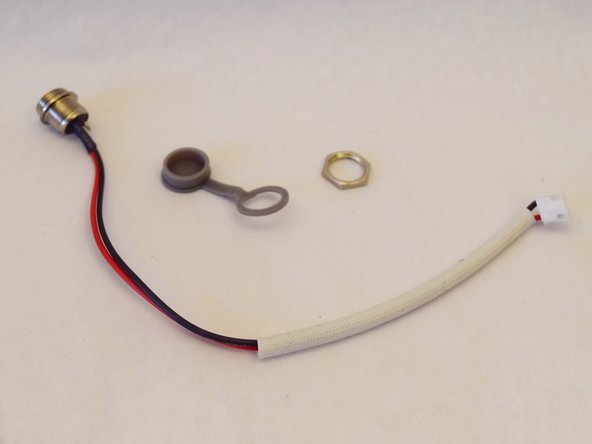
- Unscrew the ring around the inside section of the charging port.
- Follow the wire back from the charging port to where it plugs into the board.
- Unplug the wire from the board, and pull it through the ring you previously unscrewed from the charging port.
- Pull the charging port and wire attached to it out through the front side of the port.
- Take the plastic protector off of the charging port.