Hover-1 Charger Outer Shell Replacement
ID: 127802
Description: If the outer shell of your Hover-1 Charger...
Steps:
- Flip the hoverboard over so that the warning label is facing up.
- Remove the twelve 12 mm screws with a Phillips #2 screwdriver.
- Remove the four 10 mm screws with a Phillips #2 screwdriver.
- The screws nearest to the wheels may be hard to access. Be sure to use a long, thin screwdriver.
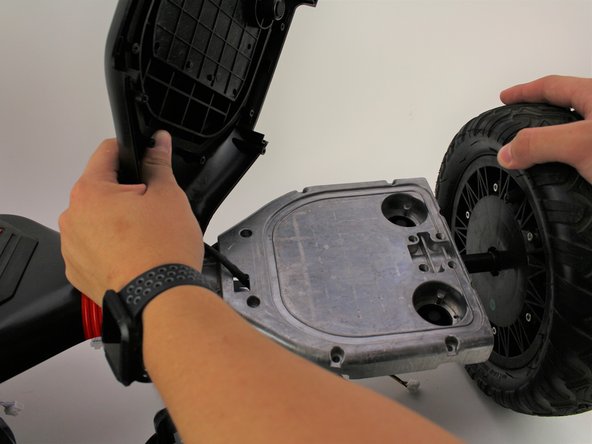
- Pull the right cover away from the hoverboard.
- Unscrew four 12 mm screws that hold the right foot pad with a Philips #2 screwdriver.
- Unscrew the four 18 mm screws with a Philips #2 screwdriver.
- Use a long, thin screwdriver to access the two 12 mm screws nearest to the wheel.
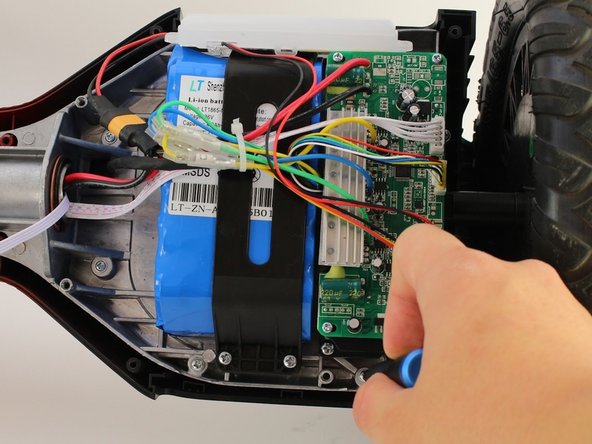
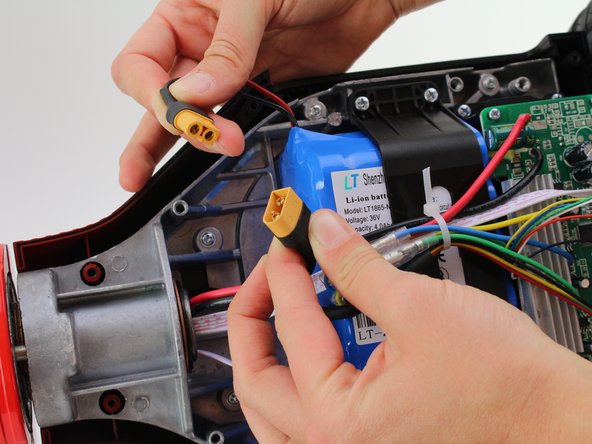
- Unplug the battery by disconnecting the two pronged black and yellow cable.
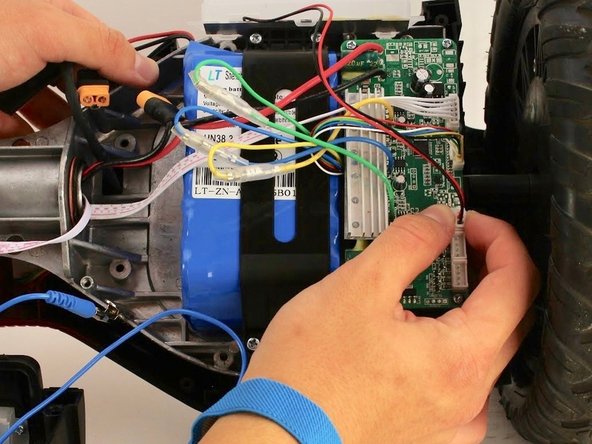
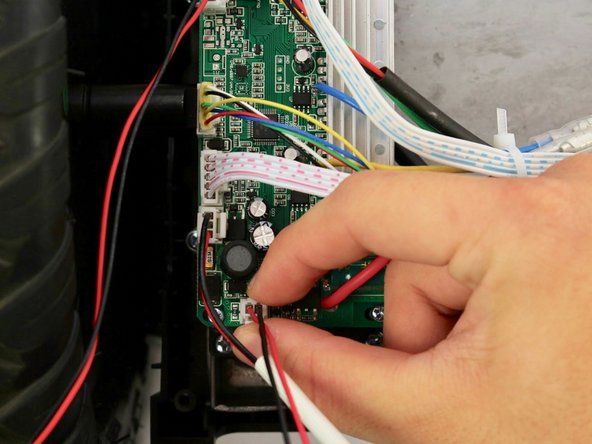
- Unplug the black, yellow, green and red four pin connector from the circuit board.
- Unplug the red and black two pin connector from the circuit board.
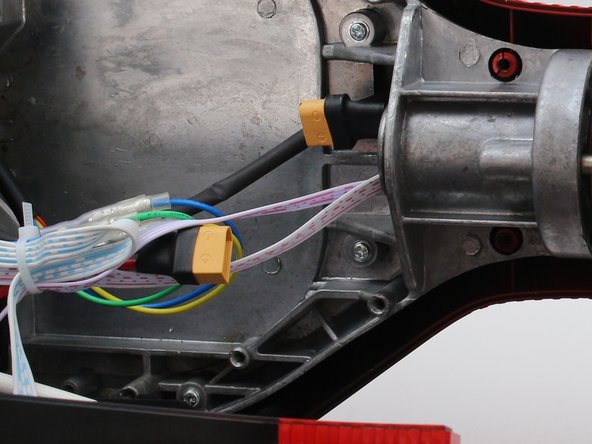
- Thread the black, yellow, green, and red four pin connector through the opening to the left of the battery.
- Remove the right foot pad from the hoverboard.
- Pull the left cover away from the hoverboard.
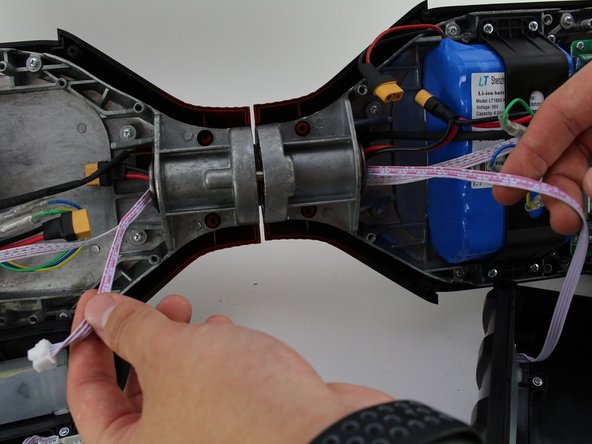
- Unplug the red and white five pin connector from the circuit board.
- Thread this connector through the middle cylinder.
- Remove the right cover from the hoverboard.
- Unplug the red and white four pin connector from the speaker circuit board.
- Unplug the blue and white three pin connector.
- Unplug the blue and white two pin connector. This is photographed as an example.
- Remove the left cover from the hoverboard.
- Disconnect the two pronged black and yellow cable.
- Remove three black and red two pin connectors from the left circuit board.
- Remove the red, yellow, and black three pin connector.
- Remove zip tie if present.
- Unscrew four 12 mm screws from the sides holding the left foot pad with a Phillips #2 screwdriver.
- Unscrew four 18 mm screws with a Phillips #2 screwdriver.
- Use a long, thin screwdriver to access the two 12 mm screws nearest to the wheel.
- Remove the left foot pad from the hoverboard.