Blu Grand M Motherboard Replacement
ID: 127913
Description: Follow this guide to replace the motherboard on...
Steps:
- Remove the two plastic plates with a plastic opening tool.
- Using a Phillips #000 screwdriver, remove the 3mm screws. Be sure to do this for the top and bottom of the phone.
- Remove SIM card tray with paperclip or SIM card tray removal tool.
- Push down on the phone beside the camera and up on the backplate with your thumbs to remove the back plate. Remove adhesive if necessary.
- There is a patch of adhesive underneath the battery, which can make it difficult to remove.
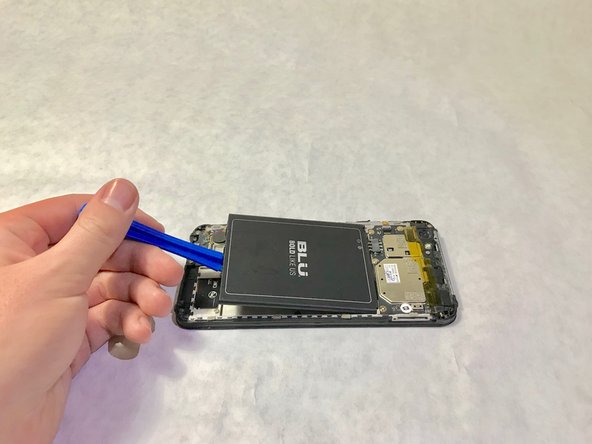
- Place the plastic opening tool in the highlighted indent, and push up on the battery to remove it.
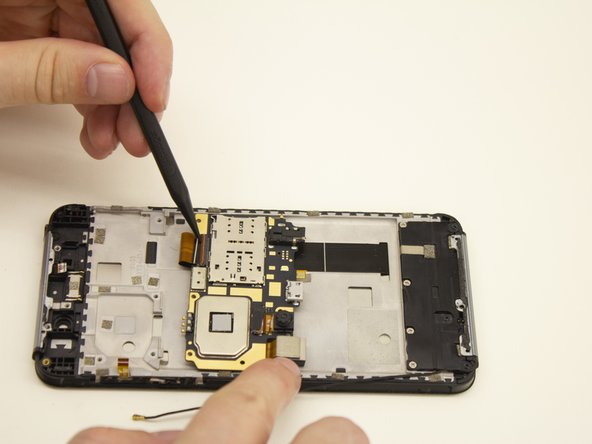
- Remove the yellow plastic tape using a pair of tweezers.
- Use a Phillips #000 screwdriver to remove two black 4.0mm screws.
- Use a Phillips #000 screwdriver to remove 2 silver 4.0mm screws
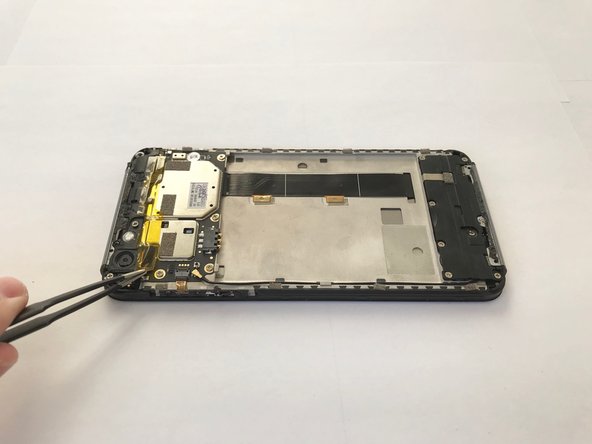
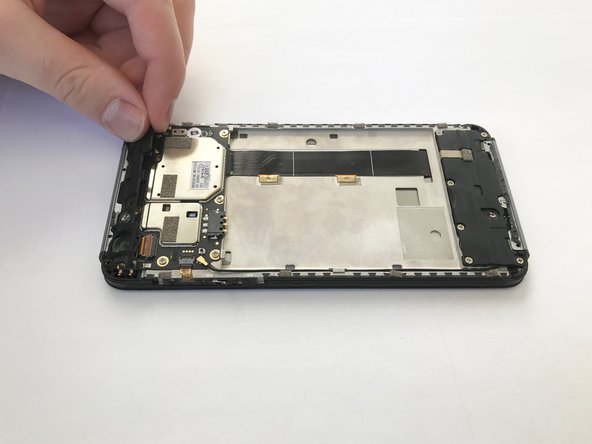
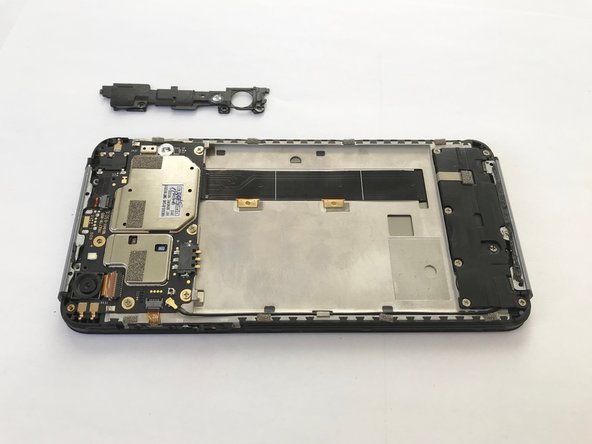
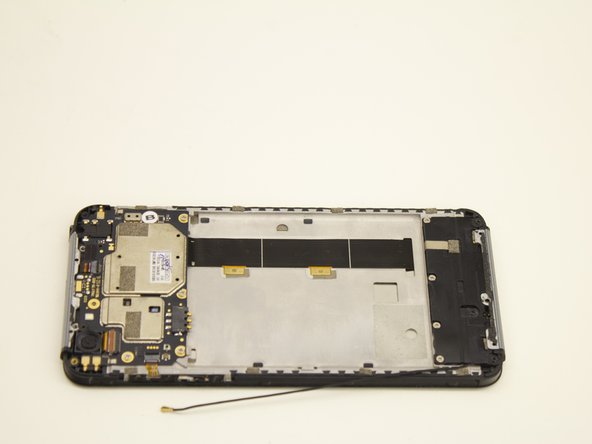
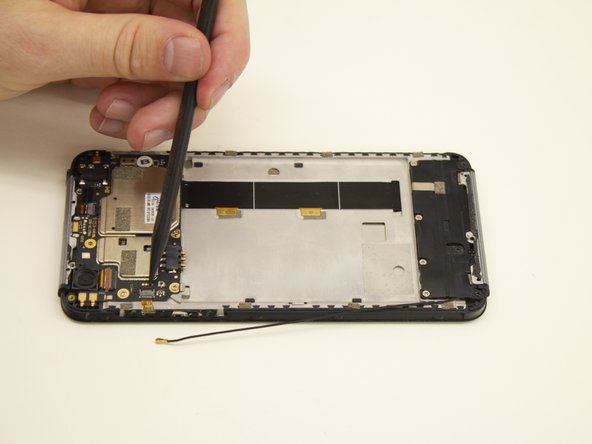
- Remove the plastic cover along the top by tugging on it on the corner as shown.
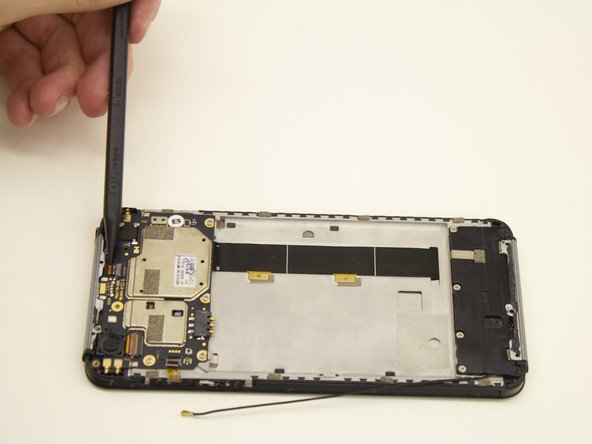
- Place a spudger or other tool underneath the black wire.
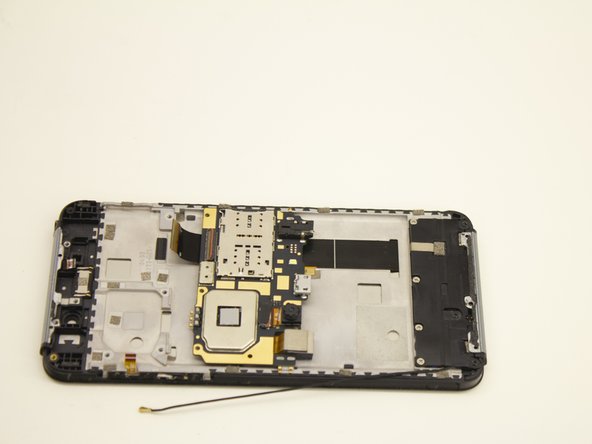
- Lift up on the gold coaxial cable connector so it disconnects from the motherboard.
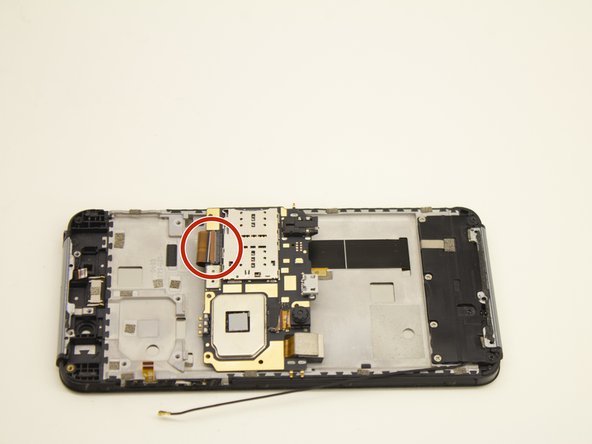
- Using the the narrow tip of a nylon spudger, open the two cable connector ports.
- Insert the spudger underneath the ribbon cable.
- Pull the ribbon cable away from the gray connector.
- The cable should pull away free from the gray connector without any resistance.
- If you encounter resistance, check to see that the black cable connector port is open.
- Remove the four 4.0mm screws with a Philips #000 screwdriver.
- Lift the motherboard up and slightly away from the smartphone frame using the nylon tipped tweezers or other ESD safe tool.
- The motherboard is still connected to the frame via a large black ribbon cable. Do not lift higher than this ribbon allows.
- Flip the motherboard upside down to reveal the ribbon cable connector.
- A large black ribbon cable is connected to the underside of the motherboard.
- Use the spudger to open the orange plastic ribbon connector.
- Insert the spudger into the folded ribbon cable loop.
- Pull the ribbon cable away from the black plastic connector.
- The ribbon cable should pull away from the black connector without any resistance.
- Remove the motherboard with the nylon tweezers.
- Place the motherboard on an electrostatic discharge (ESD) safe material.