Samsung Galaxy Note 10.1 Motherboard Replacement
ID: 127923
Description: In this guide, you will learn how to replace...
Steps:
- This is the back of the device and where you will begin to take it apart
- It is neccesary to remove this piece first before removing the bigger back piece.
- Use the plastic opening tools to pry along the indicated box.
- Lift up the silver piece to reveal the rest of the back cover.
- Unscrew the three 5 mm screws indicated by the red circles with the Philips #00 screwdriver.
- Using the plastic opening tools pry along the bottom of the device, moving to the sides of the cover to the top.
- Remove the back cover.
- At this point use anti-static gloves or do NOT take it apart on carpet.
- Carefully remove all of the ribbons that connect over the battery.
- Remove all of the 3 mm screws indicated by a red circle with the #00 Philips Screwdriver.
- Disconnect the battery connector from the motherboard.
- Now you may remove the battery. The replacement battery should be 3.7 Volts and 25.9 kWh.
- Flip the tablet 180 degrees for this step so the motherboard is easier to access.
- Disconnect the cable connectors from the motherboard by gently lifting the connection hubs.
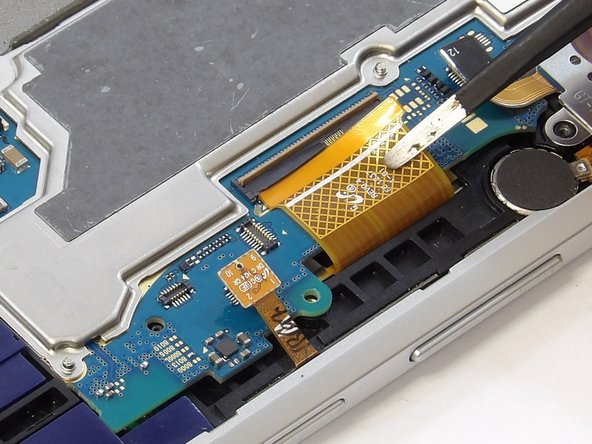
- Remove each ribbon cable by lifting the locking mechanism on the casing holding the cable.
- Gently pull the ribbon cable from the casing with your fingers or tweezers.
- Carefully remove ribbon cables. Ribbon cables are easy to damage and may not always appear damaged. Any damage could potentially cause your device not to work.
- Remove the motherboard by gently sliding it out of its casing.