HP Chromebook 14-ca061dx Daughterboard Replacement
ID: 127964
Description: Follow this guide if the USB-A or USB-C port on...
Steps:
- Flip the Chromebook to the underside with the hinge at the top.
- Remove the seven, small rubber stoppers using angled tweezers.
- Remove the two bigger rubber stoppers using a metal spudger.
- Remove the seven 6mm Phillips #00 screws found underneath the stoppers.
- Remove the two 9mm Phillips #1 screws.
- Flip the Chromebook over and open the cover.
- Insert the iFixit opening tool into the edge of the keyboard, near the mouse pad.
- By lifting the tool at an angle, work the tool around the entire perimeter of the keyboard.
- You will hear a popping noise when you disconnect the keyboard.
- Lift the keyboard from the mouse pad.
- Lift the keyboard carefully, because there are cables connecting the keyboard to the base and they may break.
- Use your finger or the spudger tool to flip up the black locking flap.
- Grab the black cable and pull away from the motherboard.
- Carefully lift the black piece up, because it is fragile and can break easily.
- Flip up the white locking flap with your finger or spudger tool.
- Remove the white cable from the motherboard.
- Carefully lift the white piece up, because it is fragile and can break easily.
- Lift the rest of the keyboard up from the base of the Chromebook.
- Peel back the plastic covering the cables connecting the motherboard to the daughterboard.
- Use the spudger tool to flip up the black plastic pieces from both cables.
- Pull both cables toward the right to remove from the daughterboard.
- Be sure to remove the cables carefully because they are fragile.
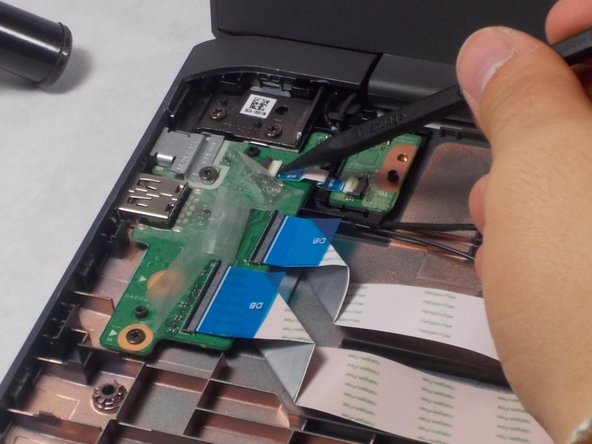
- Peel back the plastic covering from the smallest blue and white cable.
- Flip up the white plastic piece using the spudger.
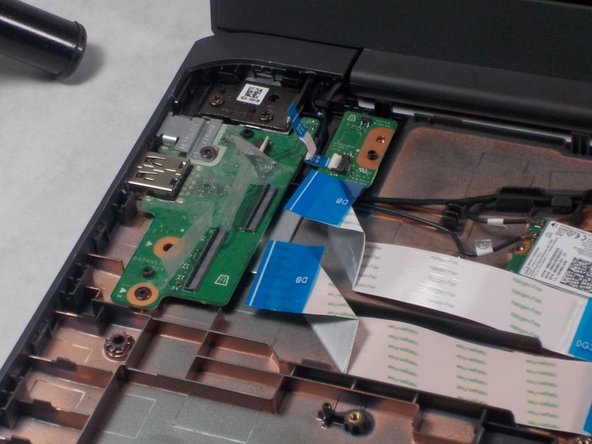
- Pull the blue cable toward the right to remove it.
- Be sure to remove the cable carefully because it is fragile.
- Remove two 4mm Phillips #0 screws.
- Remove the daughterboard from the Chromebook.