Electrical Outlet/Receptacle Replacement
ID: 128029
Description: Common reasons to replace an outlet are for...
Steps:
- Before beginning this guide, read your local laws to decide if you are legally allowed to replace an outlet
- Turn off the power to the outlets by switching off all breakers that are labelled "receptacle."
- Alternatively, you can switch off all breakers.
- Using a flat-head screwdriver, remove the outer cover plate of the outlet by unscrewing the middle screw.
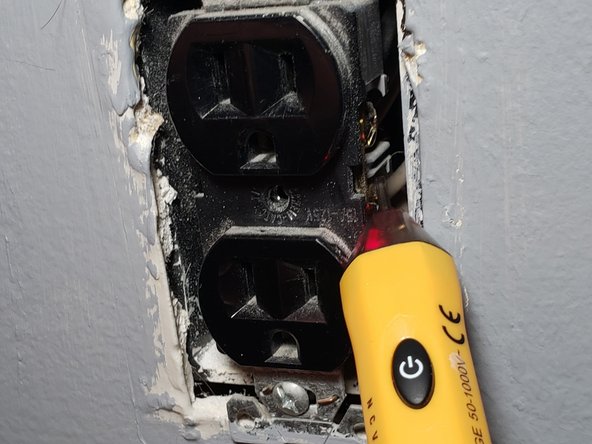
- Use a Duspol or any other Voltmeter to test if there is voltage at the contacts.
- You can also use a single pole phase tester, but that's not the proper way to do it.
- Do not work on live circuits if you are not an experienced professional.
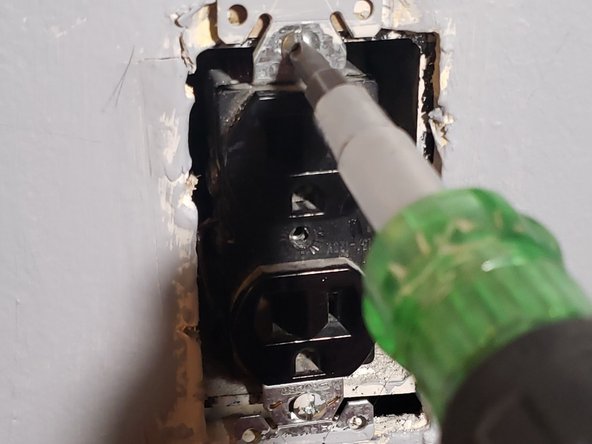
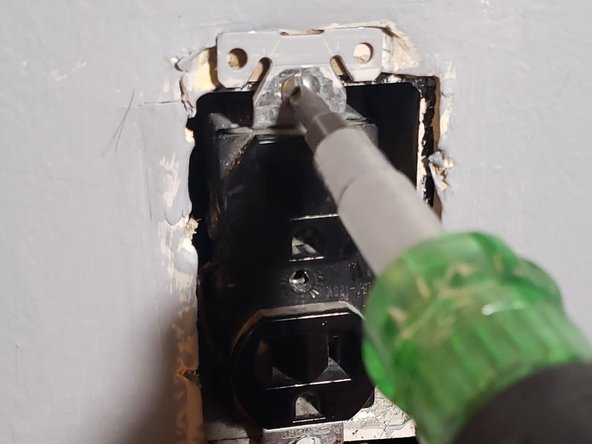
- Unscrew the top and bottom screws holding the outlet into the interior electrical box.
- The screws on outlets vary. They may have either a phillips head or a flat head, so use the screwdriver that works with your screws
- Holding the top and bottom tabs of the outlet, pull the outlet away from the wall, exposing the wires inside the electrical box.
- Unscrew each screw and free the wire from under it.
- Styles that have wires inserted into the back of the outlet will require you to pull and twist the outlet to free the wires.
- If your wires already have hooks on the ends, you may skip to step 10.
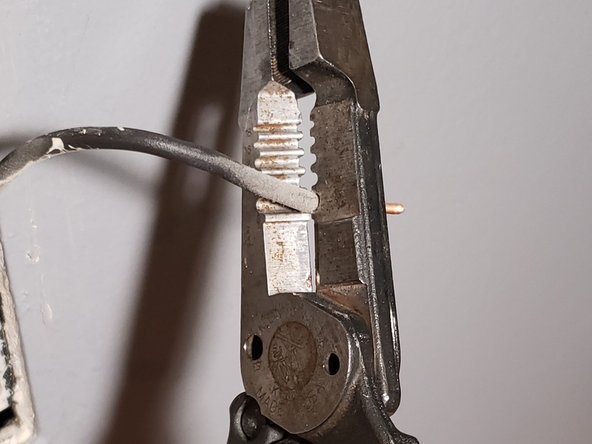
- Using a pair of wire strippers, place the wire into each groove, closing the wire strippers around the wire to find the size that barely does not fit around the wires.
- In the United States, residential wires are typically 12 gauge or 14 gauge, denoted by 12 and 14 on the wire strippers.
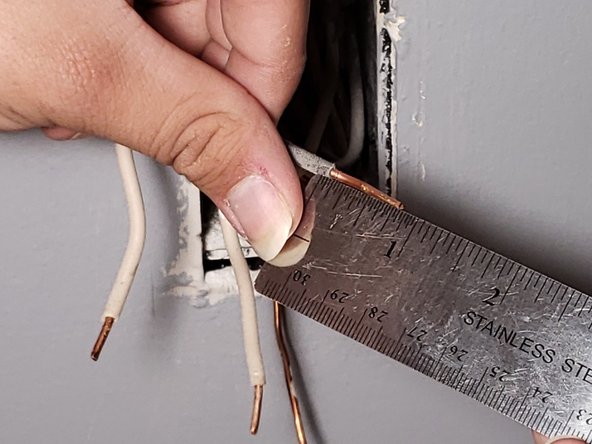
- For each wire, approximately 0.75 inches (2 centimeters) away from the clipped end of the wire, clamp the strippers down on the wire and pull the strippers toward the clipped end of the wire, revealing the bare wire underneath.
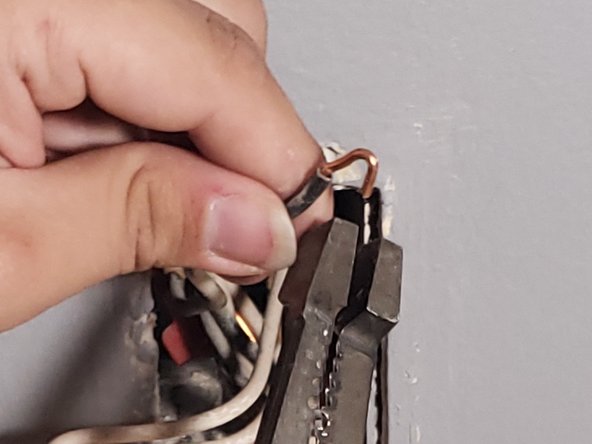
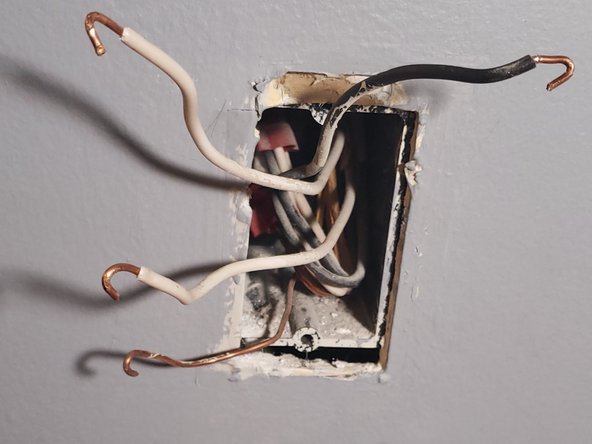
- For each wire, using a pair of wire strippers or pliers, take hold of the exposed tip of the wire, and curve the tip of the wire, making a small hook.
- Separate the wires so that the black wires are on the right and the rest are on the left, with the ground wire at the bottom.
- Retrieve the new outlet.
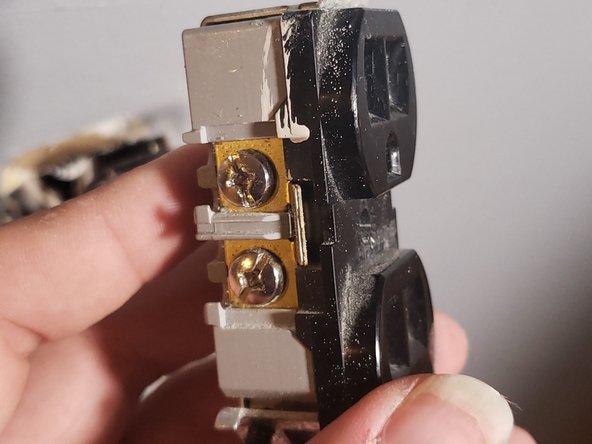
- Loosen all of the screws on the new outlet
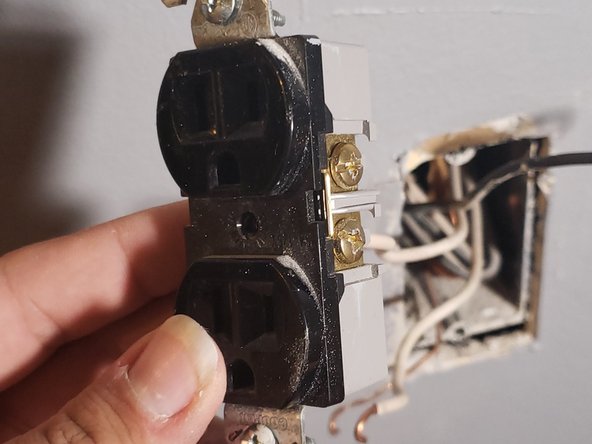
- Hold the outlet with face of the outlet pointing toward you, with the copper screws on the right, and the silver screws on the left.
- Hook each black wire around a copper screw, with the hook clockwise, and tighten the screw down.
- Hook each white wire around a silver screw, with the hook clockwise. Tighten the screws down completely
- Hook the ground wire around the screw that is separate from all other screws, and tighten the screw down.
- Push the outlet and wires back into the electrical box.
- Fully tighten the screws on the top and bottom tabs, positioning the outlet so that it is straight, vertically.
- Retrieve the outlet cover plate, and tighten the middle screw to the middle of the outlet.
- Switch on all the breakers that you turned off in step 1.