Graco Paint Sprayers 17C325 2015 Pump Rebuild
ID: 130026
Description: Follow this guide to disassemble and rebuild a...
Steps:
- Before you begin, make sure to follow the pressure relief procedure documented in the user manual before powering down the paint sprayer and disconnecting the pump.
- Use your fingers to unscrew the jam nut securing the suction tube to the bottom of the pump.
- You may need to use groove joint pliers to loosen the nut.
- Pull the suction tube straight down to disconnect it from the bottom of the pump.
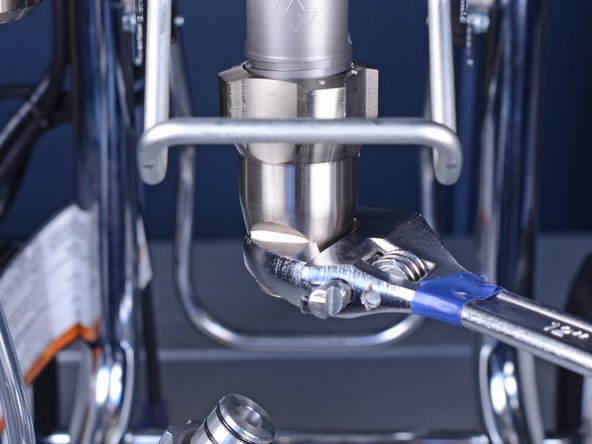
- Use an adjustable wrench to loosen the intake valve on the pump.
- Do not completely unscrew and remove the intake valve. You will perform this in a later step.
- During reassembly, torque the intake valve to 70-80 ft. lbs.
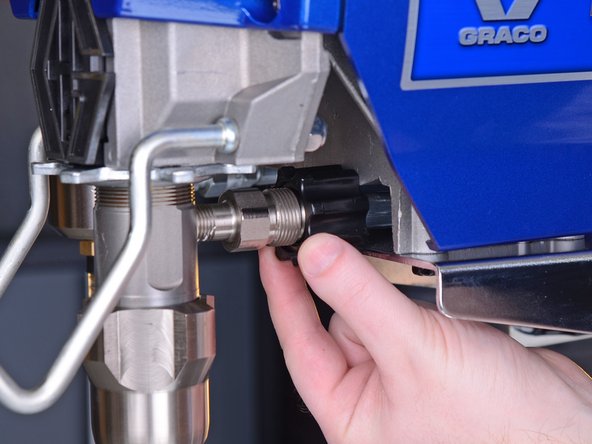
- Use your fingers to unscrew and loosen the connector securing the hose to the pump.
- You may need to use groove joint pliers to loosen the connector.
- Once unscrewed, push the connector back to reveal the hose connection.
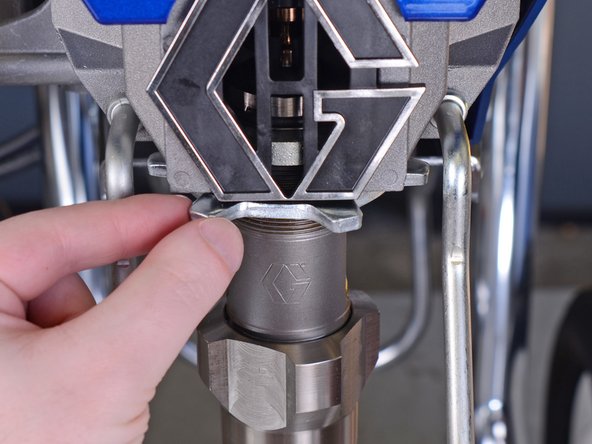
- Use your fingers to unscrew and loosen the jam nut securing the pump to the paint sprayer.
- You may need to use a mallet to gently tap on the nut's teeth to loosen it.
- During reassembly, tap on the teeth using a mallet until the jam nut is snug.
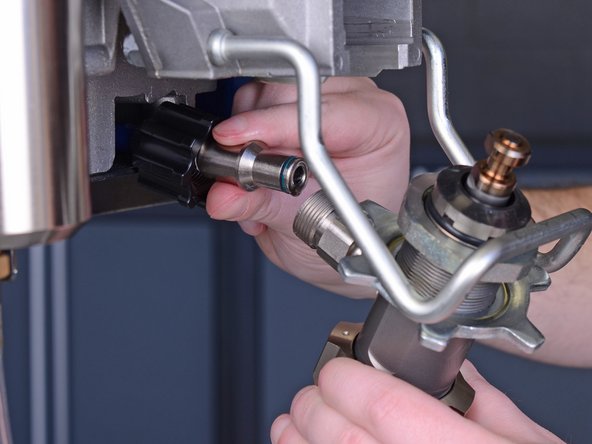
- Lift up the pump rod cover to reveal the pump's connection to the paint sprayer.
- Pull the pump straight out of the drive housing.
- The back of the pump is still connected to a hose. You'll remove it in the next step.
- Pull the rear pump hose straight off of the pump.
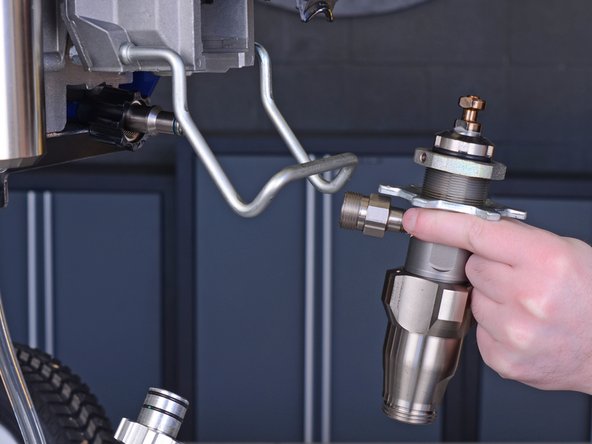
- Remove the pump from the paint sprayer.
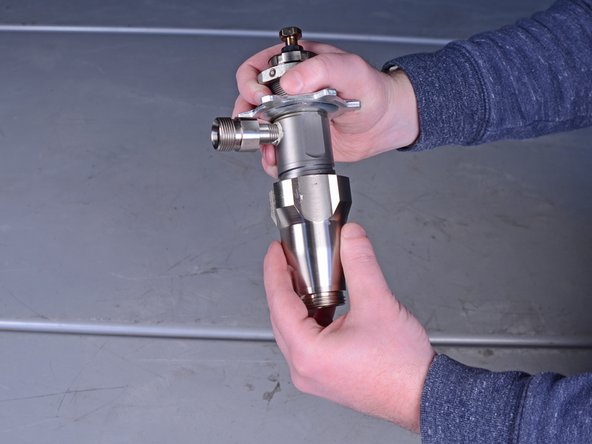
- Unscrew and remove the intake valve from the pump cylinder.
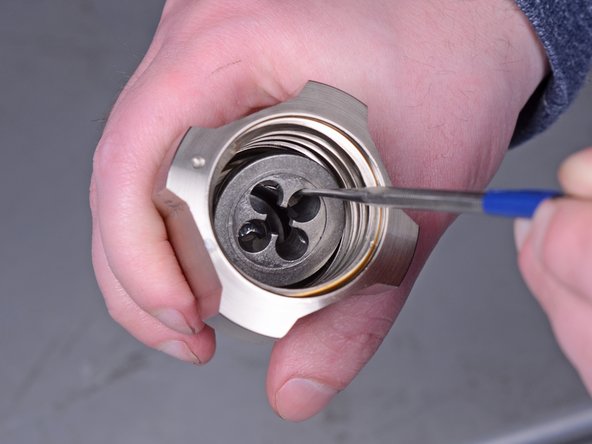
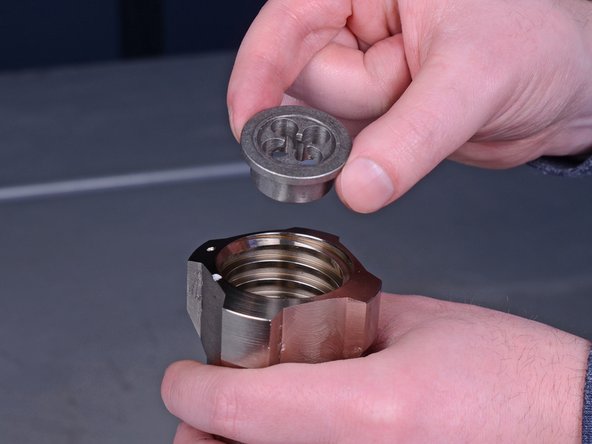
- Use a pick tool to remove the metal ball seat from the bottom of the intake valve.
- Tip the intake valve upside down to remove the inlet ball.
- Replace the inlet ball with the new inlet ball included in the pump repair kit.
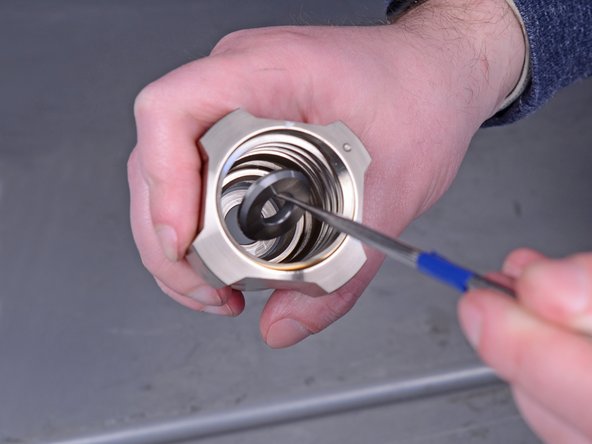
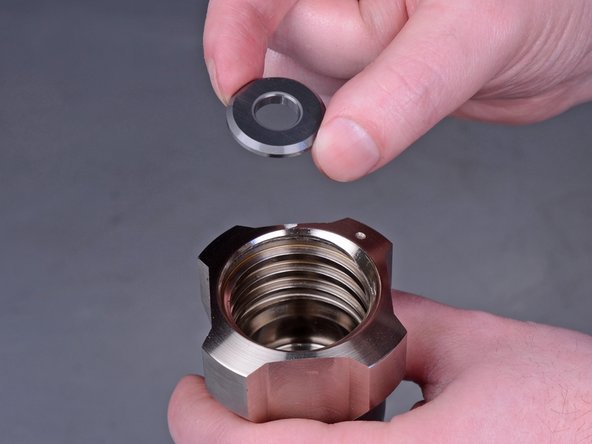
- Use a pick tool to remove the ball seat washer from the bottom of the intake valve.
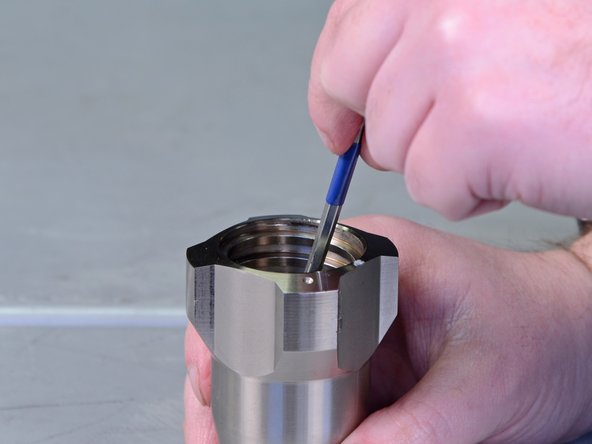
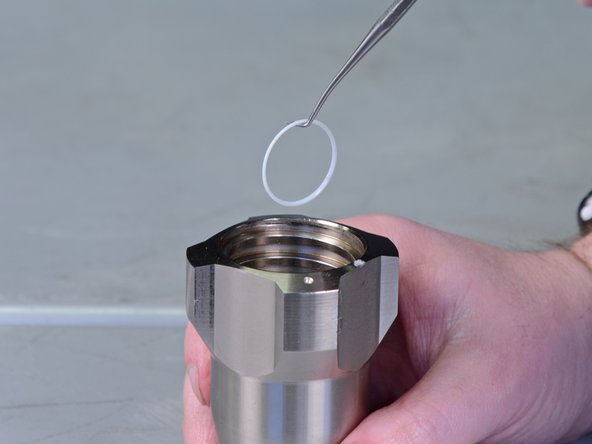
- Use a pick tool to remove the thin white O-ring at the bottom of the intake valve.
- Replace this O-ring with the new O-ring included in the pump repair kit.
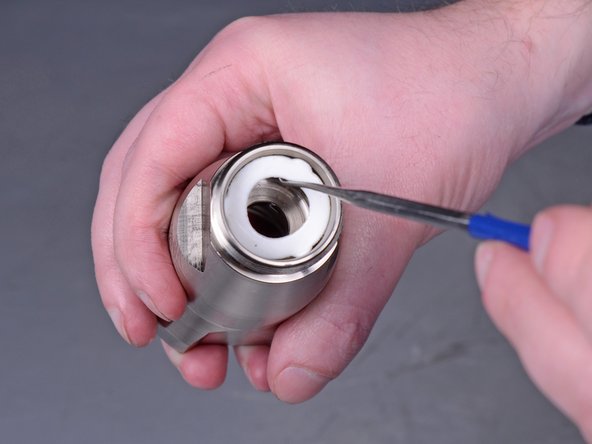
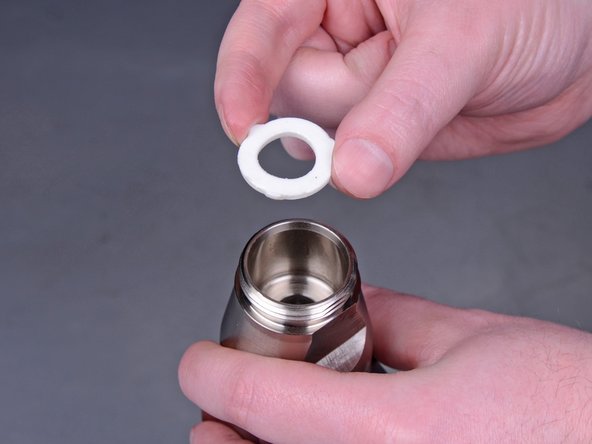
- Turn the intake valve upside down and use a pick tool to remove the white gasket.
- This gasket doesn't need replaced, but be sure to clean it before reinstallation.
- Place the pump cylinder into a vise.
- Wrap the cylinder in a rag to prevent scratching the outside of the cylinder.
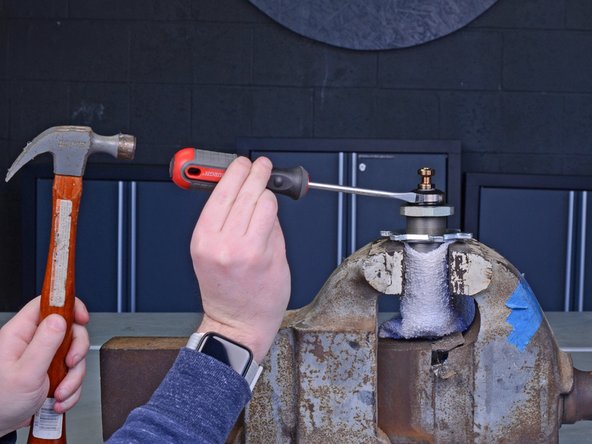
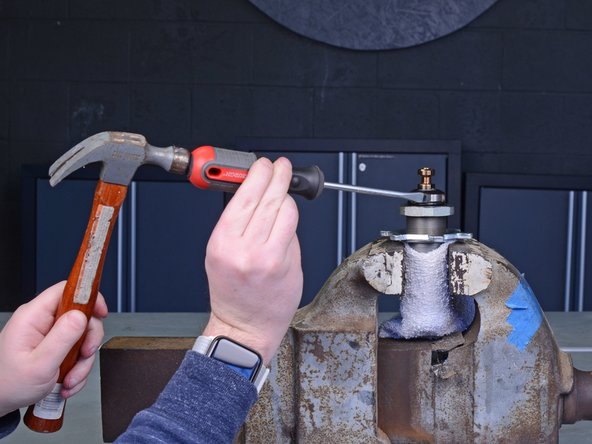
- Use a flathead screwdriver and mallet to unscrew and loosen the top jam nut.
- Continue unscrewing the top jam nut with your fingers to remove it.
- During reassembly, torque the top jam nut to 70-80 in. lb.
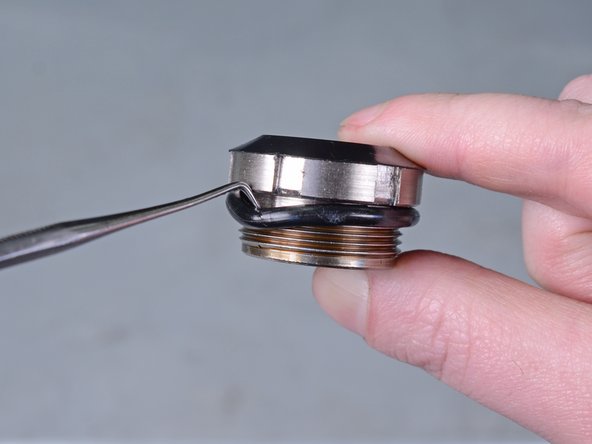
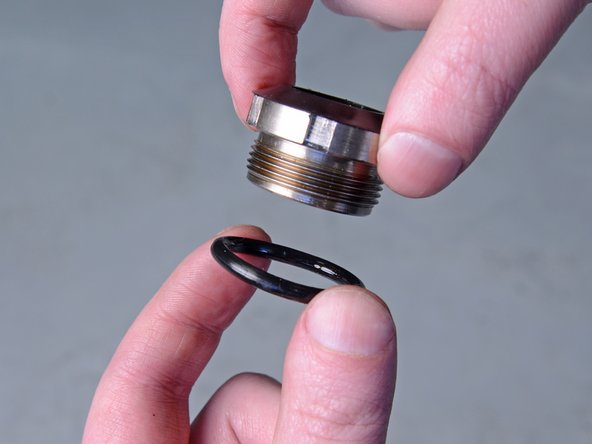
- Use a pick tool to remove the black O-ring from the top jam nut.
- Replace this O-ring with the new O-ring included in the pump repair kit.
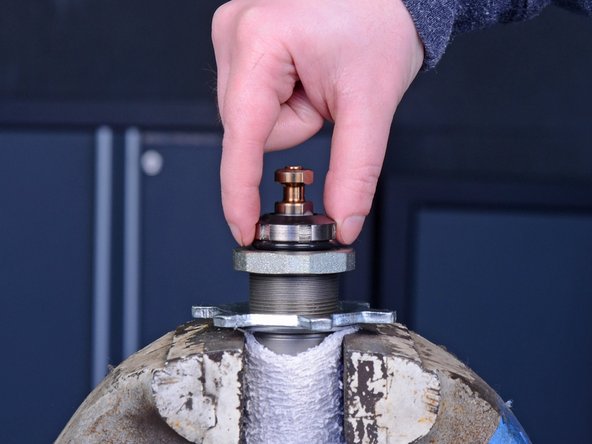
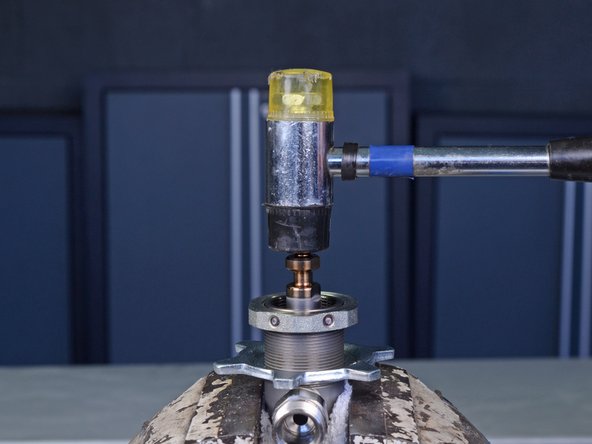
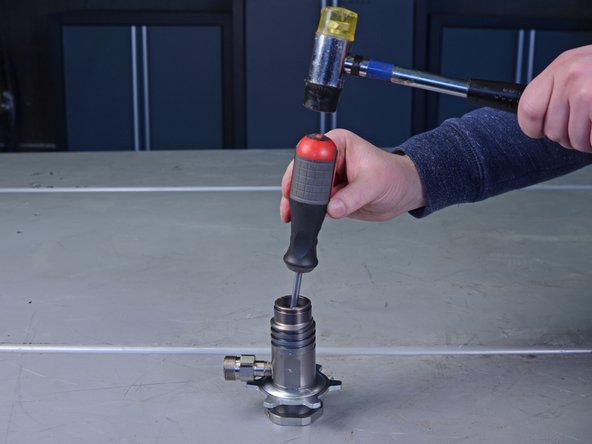
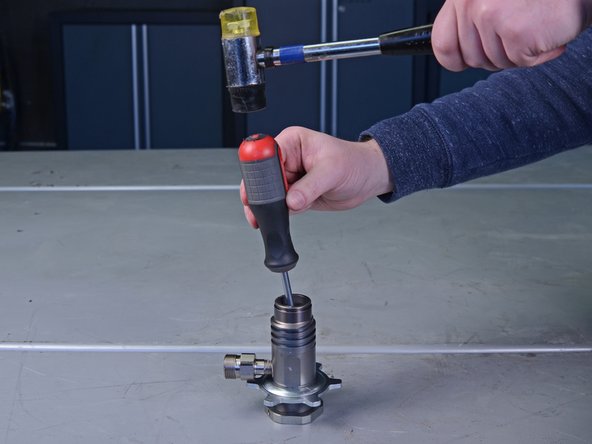
- With the pump cylinder still in the vise, use a mallet to gently tap down on the top of the piston rod to loosen it from the pump cylinder.
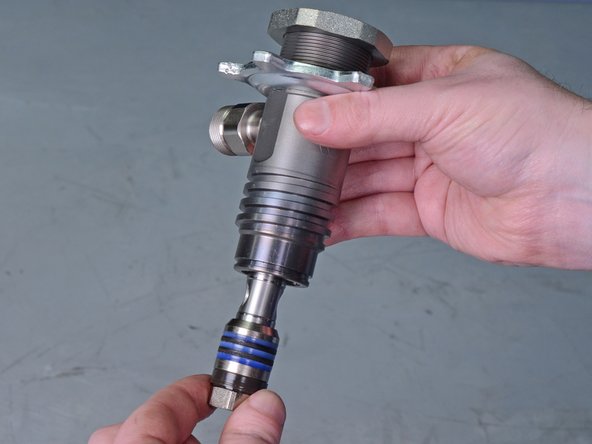
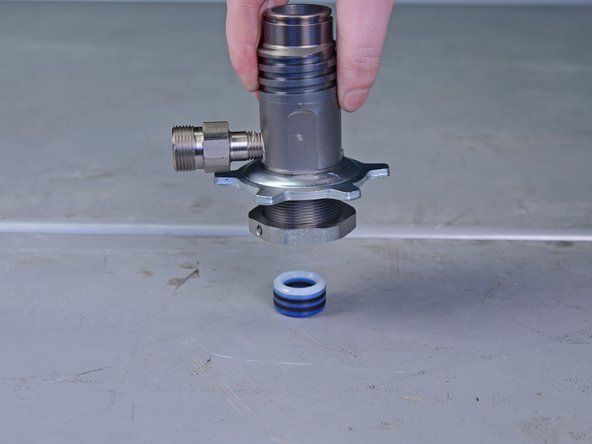
- Remove the pump cylinder from the vise and pull the bottom of the piston rod completely out of the pump cylinder to remove it.
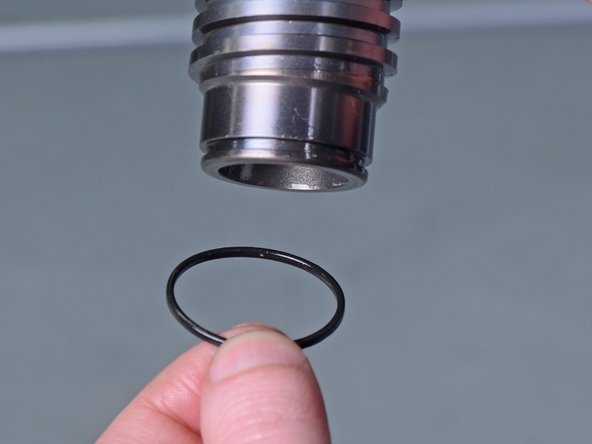
- Use a pick tool to remove the black O-ring from the bottom of the pump cylinder.
- Replace this O-ring with the new O-ring included in the pump repair kit.
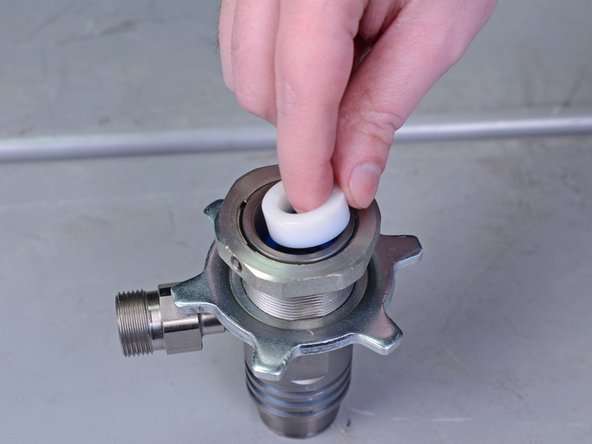
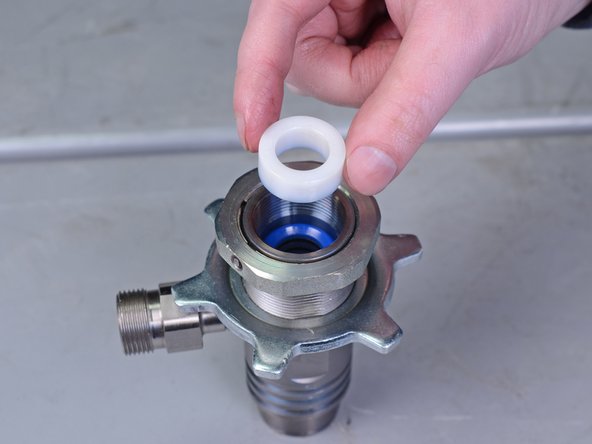
- Use your fingers to grab and remove the white plastic gland from the top of the pump cylinder.
- If the gland doesn't easily come out, skip to the next step.
- Replace this plastic gland with the new plastic gland included in the pump repair kit.
- Flip the pump cylinder upside down and use a flathead screwdriver and mallet to gently tap the throat packing O-rings, loosening them from the cylinder.
- Lift up the pump cylinder to remove the throat packing O-rings.
- There are a total of six O-rings stacked on top of each other. Take note of their orientation and order.
- Replace all six O-rings with the new O-rings included in the pump repair kit.
- The black O-rings are leather, and the new replacements need to be soaked in SAE 30 motor oil for an hour before reassembly.
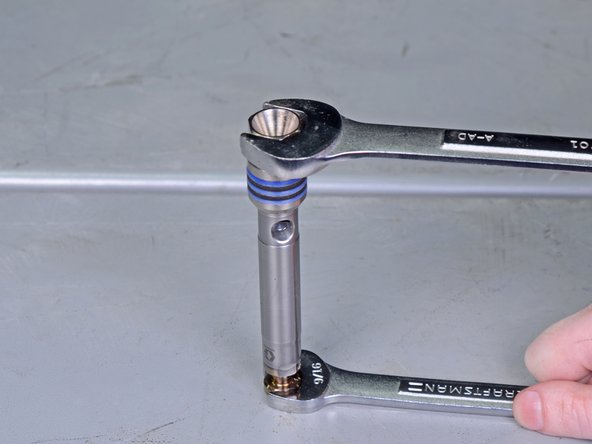
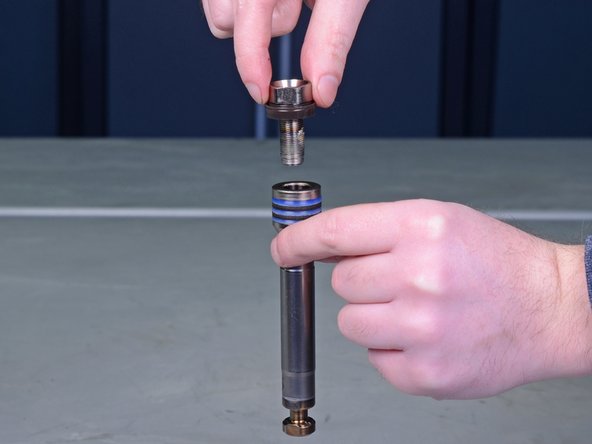
- Use a 3/4" wrench to remove the piston valve bolt from the piston rod.
- You can secure the piston rod in a vise, or use a 9/16" wrench to secure the bottom of the piston rod as you unscrew and loosen the bolt.
- Remove the piston valve bolt from the piston rod.
- Remove the wiper bushing from the piston valve bolt.
- Note the orientation of the wiper bushing. The flat side should point down.
- Replace the wiper bushing with the new wiper bushing included in the pump repair kit.
- Use your fingers to remove the piston packing O-rings from the bottom of the piston rod.
- If the O-rings are difficult to remove with your fingers, use a pair of groove joint pliers to remove them.
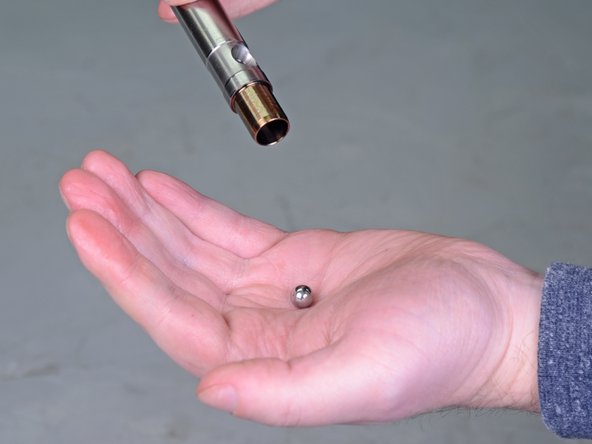
- Tip the bottom of the piston rod over to remove the piston ball.
- Replace the piston ball with the new piston ball included in the pump repair kit.
- Not counting the wiper bushing, there are a total of five O-rings stacked on top of each other, placed in between two metal glands. Take note of their orientation and order.
- Replace the six O-rings with the new O-rings included in the pump repair kit.
- Replace the two metal glands with the new glands included in the pump repair kit.
- The black O-rings are leather, and the new replacements need to be soaked in SAE 30 motor oil for an hour before reassembly.