One Education Infinity Webcam Replacement
ID: 130059
Description: This guide details the process of removing and...
Steps:
- Always power off your device before beginning disassembly.
- Remove the screw covers and rubber feet from the bottom of the laptop with a metal spudger.
- Using a Phillips #00 screwdriver, remove the sixteen 5.0 mm black screws from the back panel.
- Using the iFixit plastic opening tool or spudger, start near the white hinge of the device and lift along the outer edges of the device until all clips are released.
- Lift the back case off of the device.
- Removing the back may create a loud snapping noise.
- There may be black tape inside your device covering components or holding down wires. This tape is unimportant for the function of the device, and can be removed.
- Carefully wiggle the battery cable to the right and out of the port with a plastic spudger.
- Wedge a plastic spudger underneath the battery from the upper edge and slide it carefully along the length of the battery to separate it from the case.
- There is a mild adhesive holding down the battery. Take care not to puncture or excessively bend the battery while freeing it from the adhesive.
- Lift the battery out from the internal case.
- Flip open the laptop so that the screen is exposed.
- We found it convenient to flip the laptop into tablet mode for added support.
- Using a spudger, remove the six screw covers along the bezel of the screen.
- Remove the six 2.8 mm Phillips #00 screws along the bezel.
- Use the two tabs on the top edge of the screen to pry the case apart.
- Once the two top clips have been disengaged, start to work your way around the rest of the screen.
- Once all the clips have been popped off, remove the upper case from the back of the display assembly.
- You may want to close the laptop while disconnecting the hinge-side edge, as it will give you extra clearance for the upper case.
- Remove the two 3.3 mm Phillips #00 screws holding down the webcam mount.
- Peel off the two pieces of tape holding down the webcam wire just to the left of the webcam.
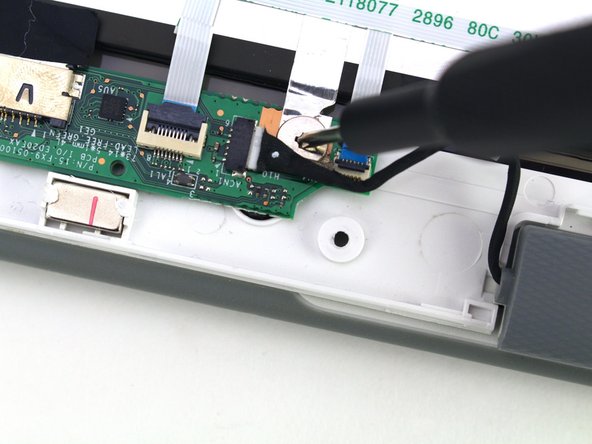
- Remove the silver 2.7 mm screw from the circuit board beside the webcam with a Phillips #00 screwdriver.
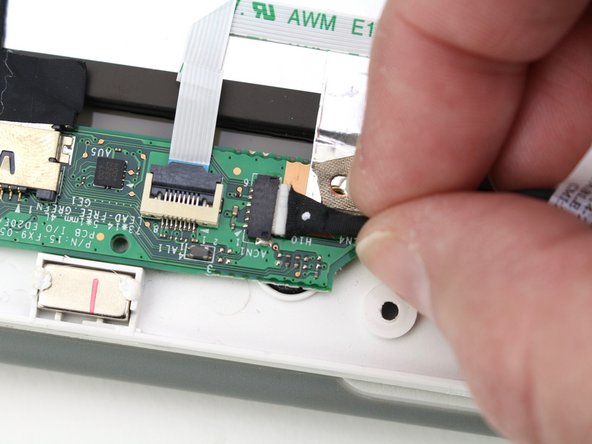
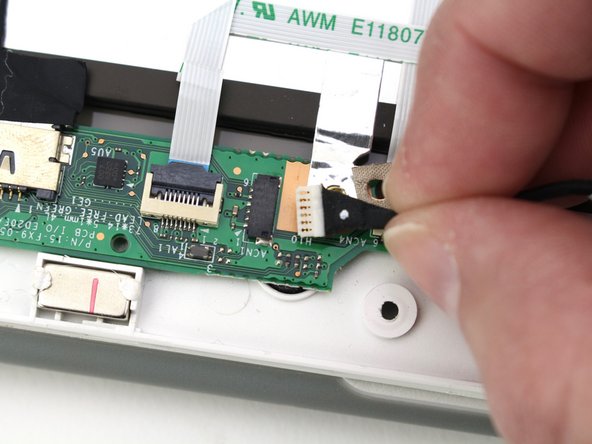
- Unplug the webcam cable from the circuit board by pulling it horizontally from its connector.
- Lift the webcam up from the upper case assembly to remove.