Treblab Xfit Teardown
ID: 130140
Description: The Treblab Xfit are great budget earbuds with...
Steps:
- Let's start by the basics, take the earbud(s) out and remove the silicone tip by pulling the cup outwards
- Identify the real gap.
- The real gap is marked in red in this image
- The blue line is just the mold's line. Do not attempt to open the earbud on this line.
- Now that we have identified the real gap between the two parts of the earbud. Use the Jimmy tool in the marked square.
- Push firmly on the area marked by the square
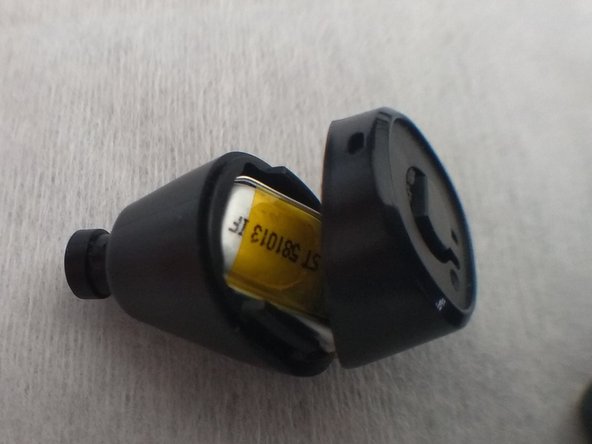
- This will open the earbud
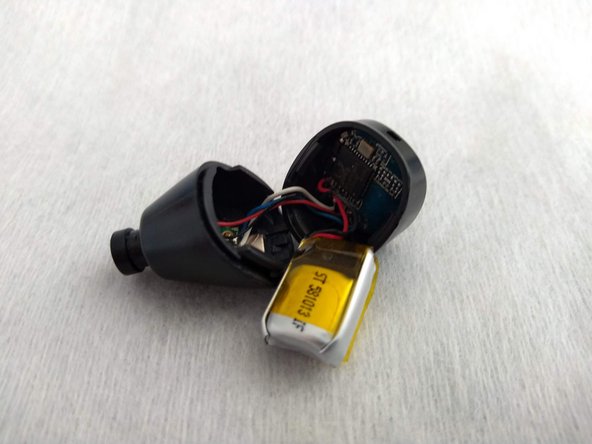
- Move the battery out of the way
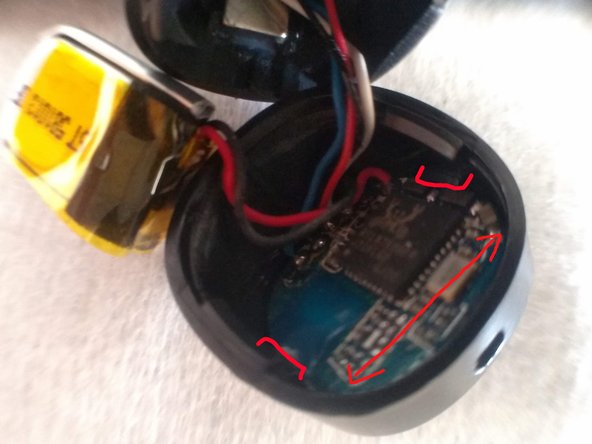
- For repairs such as battery replacement you only need to remove the PCB from the top component
- This PCB is held on by two plastic tabs. Which are marked in red.
- In the second image you can see how the upper case looks after removing the PCB
- In order to remove the PCB you will need to use your fingers to push the case from the inside outwards. And another finger to push from the top
- The PCB will come out one side first. Place your Halberd Spudger on the lifted side to keep in there
- Then with the Spudger tip push the rest out
- Once the PCB is out, if you need to replace your driver:
- Take out the dust cover using your tweezers
- Identify the holes in the driver. This will be four.
- Position the pointy end of your spudger in an area without holes and push firmly until the driver is out.
- To take the charging ports out just push your spudger firmly against the charging spots
- After this all of your components are out! Congratulations you have completed the teardown part of it
- The only thing left in the case will be the magnet used for easy popping in the case
- This is the solder points layout. From the left it is: + Battery, - Battery, + Charging, + Audio, - Audio, - Charging.
- If you want to replace your battery. This device uses a 581013 lipo which can be found in several chinese online stores for around 5usd
- You have to line up the LED with the top part opening for it. This has a little nylon piece for it
- Then put it back in kind of in reverse order of how you took it out. One side first opening the case with your fingers and pushing the PCB
- After putting the PCB back in, put the audio driver in aligning it with your fingers and pushing with the flat end of the spudger
- It is important to note that the magnet for charging will make this tricky but you'll get the hang of it
- To put the charging port in. Just push it in with your fingers and do a two tap with the spudger
- Line the battery inside again
- To close it, put it upside down on a hard surface and push firmly