Moto G6 Plus Battery Replacement
ID: 130142
Description: Use this guide to replace a dead or low...
Steps:
- Power your phone off before you begin.
- If possible, drain the battery before disassembly. When the battery is charged, there's increased risk of a dangerous thermal event if the battery is overheated or damaged during repairs.
- If the rear glass is cracked, completely cover it with packing tape to contain the glass shards and avoid injury.
- Prepare an iOpener and heat the back of the phone along its bottom edge for about two minutes, or until it's slightly too hot to touch. This will help soften the adhesive securing the rear glass.
- You may need to reheat and reapply the iOpener several times to get the phone warm enough. Follow the iOpener instructions to avoid overheating.
- A hair dryer, heat gun, or hot plate may also be used, but be careful not to overheat the phone—the display and internal battery are both susceptible to heat damage.
- Apply a suction cup to the bottom edge of the rear glass.
- Pull up on the suction cup with firm, constant pressure to create a slight gap between the rear glass and the case.
- If the glass is cracked, the suction cup may not stick. Try lifting it with strong tape, or superglue the suction cup in place and allow it to cure so you can proceed.
- This may require a significant amount of force, but you only need to open a very slight gap with the suction cup to insert your tool.
- If you have trouble, apply more heat to further soften the adhesive, and try again. The adhesive cools quickly, so you may need to heat it repeatedly.
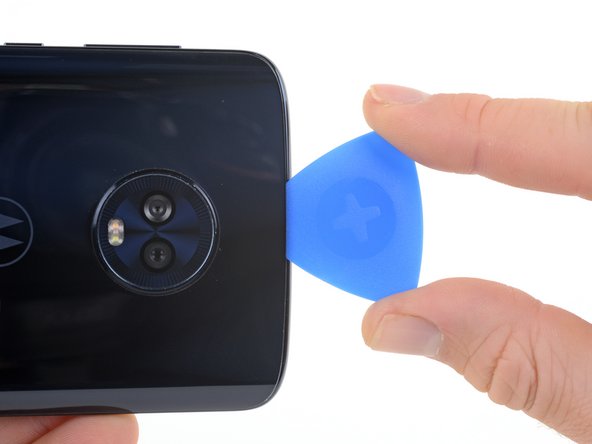
- Insert an opening pick into the gap you created under the rear glass.
- Slide the pick all along the bottom edge of the phone to slice through the adhesive securing the rear glass.
- Slow down and slice very gently as you get to the corners. The curved part of the glass along the left and right edges can crack very easily if the pick pushes up against the curved glass.
- After being cut, the adhesive will sometimes stick back together as it cools. To prevent this you can leave the pick in this edge after cutting, and continue the next steps with a new pick. You can repeat this with each edge, leaving a pick and continuing with a new one.
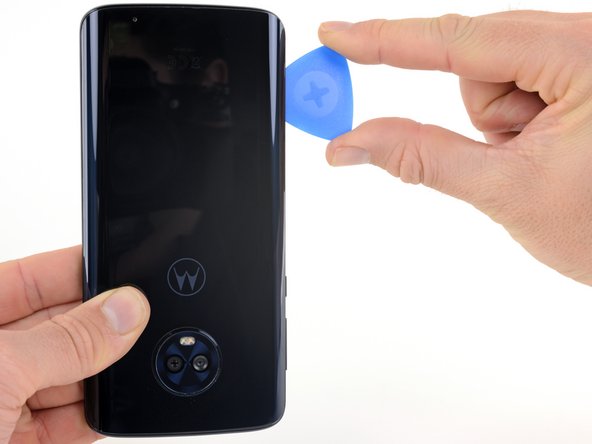
- Heat the right edge of the back of the phone to soften the adhesive underneath.
- Slide the pick along the right edge of the rear glass to separate the adhesive underneath.
- Heat the top edge of the back of the phone to soften the rear glass adhesive.
- Slide the pick all along the top edge of the phone to slice through the adhesive securing the rear glass.
- Slow down and slice very gently as you get to the corners. The curved part of the glass along the left and right edges can crack very easily if the pick pushes up against the curved glass.
- Heat the left edge of the back of the phone to soften the adhesive underneath.
- Slide a pick along the left edge of the phone to slice through the rear glass adhesive.
- If the glass remains stuck, re-heat and slice the adhesive repeatedly as needed.
- Lift the rear glass carefully, making sure it's fully separated from any adhesive.
- Remove the rear glass.
- During reassembly, pause here to replace the adhesive on the rear glass using a precut adhesive card or high-strength double-sided adhesive tape, such as Tesa 61395.
- Use a Phillips driver to remove ten screws securing the upper plastic cover.
- Seven 3.2 mm-long screws
- Three 2.7 mm-long screws
- Insert the flat end of a spudger into the notch on the right edge of the upper plastic cover.
- Pry up with the spudger to lift the edge of the upper cover and release the clips holding the cover down.
- Remove the upper plastic cover.
- When reinstalling the plastic cover, make sure the tab on the black sticker gets properly seated over the two small posts on the inside of the cover.
- Use the flat end of a spudger to pry up the battery connector and disconnect it.
- During reassembly, this is a good point to power on your phone and test all functions before sealing it up. Be sure to power your phone back down completely before you continue working.
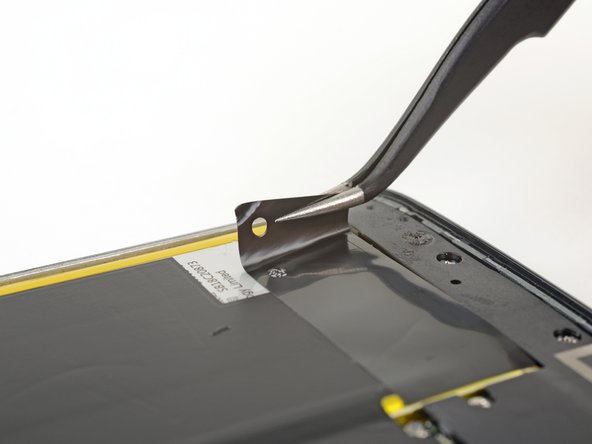
- Very carefully peel up all the black stickers covering the battery.
- The largest sticker, which covers the battery and the motherboard, does not need to be removed from the motherboard for battery removal—just peel it off of the battery.
- If possible, keep the tape intact so it can be reused during reassembly.
- Prepare an iOpener and apply it directly to the battery for at least two minutes. Reheat and reapply the iOpener as needed.
- Be careful not to overheat the battery with the iOpener. If you notice the battery swelling at all, immediately remove any heat and let the battery cool down.
- Alternatively, apply some isopropyl alcohol under each corner of the battery and allow it to penetrate for several minutes to help weaken the adhesive.
- Use an opening pick to steadily pry the battery up, starting from the right edge of the battery.
- You may need to reheat and reapply the iOpener repeatedly to further soften the adhesive. The adhesive is tough and it may take a few tries to get the pick started under the battery.
- Try your best not to deform the battery during this process. Soft-shell lithium-ion batteries can leak dangerous chemicals, catch fire, or even explode if damaged. Do not use excessive force or pry at the battery with metal tools.
- Lift the battery out of the phone case.
- Do not reuse the battery after it has been removed, as doing so is a potential safety hazard. Replace it with a new battery.
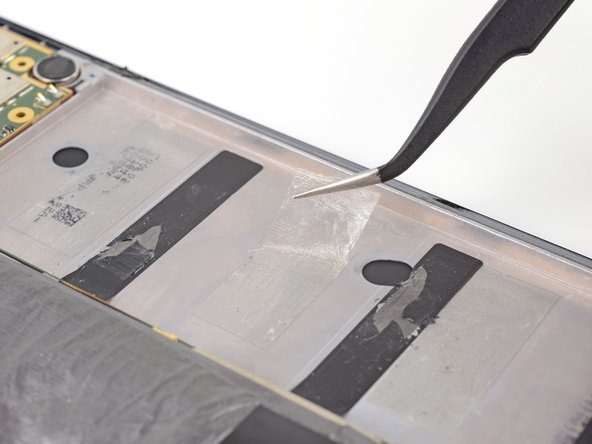
- Before installing your new battery, peel up all the old adhesive and remove it from the phone.
- For best results, clean the area underneath the battery with isopropyl alcohol and a lint-free cloth or coffee filter. This helps prep the surface so the new battery can adhere more strongly. Replace old adhesive with stretch release adhesive strips, double-sided tape, or pre-cut adhesive strips.
- If you're also replacing the screen assembly, which includes the midframe, the new midframe may have battery adhesive pre-installed. In that case, don't apply any more adhesive—just peel the backing off the preinstalled adhesive and install the battery.