Microsoft Lumia 950 XL Screen Replacement
ID: 130241
Description: Use this guide to replace a shattered or...
Steps:
- The Lumia 950 XL back cover is super easy to remove. There is a dent at the bottom of the phone to guide you to where you should start working.
- Crack the back cover open using your fingers.
- Lift the battery out using your fingers.
- Everything should pop out easily since there is no glue or adhesive to worry about.
- Make sure to remove the SIM card or microSD card if they are inserted.
- Unscrew the 12 Torx screws (T5) in the back panel.
- Lift the back plate from the bottom of the phone.
- To remove this back panel, there is a clasp hidden beneath the round camera cut out. Use a tweezer to gently remove it. No force is required.
- Now that the back plate is off, it shows various interesting components like the heat pipe, earpiece & loud speaker.
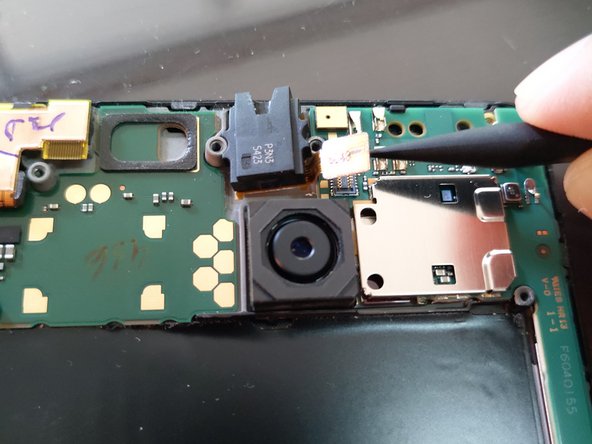
- Remove the headphone jack connector using a spudger. Then lift using a tweezer.
- There are three connectors that need to be disconnected before working with the motherboard.
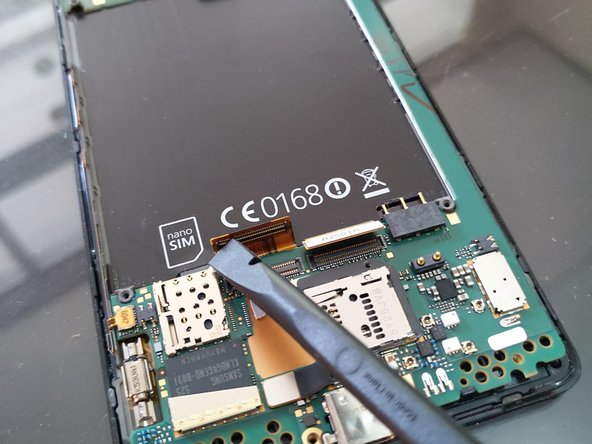
- With a spudger, remove the first two connectors.
- Another small connector is connected with the side buttons. Again, disconnect them using a spudger.
- The motherboard is clipped with the back of the display panel.
- Start working with the top right of the phone. Remove the motherboard from the clip by hand or use a Jimmy to leverage in little force to make it easier.
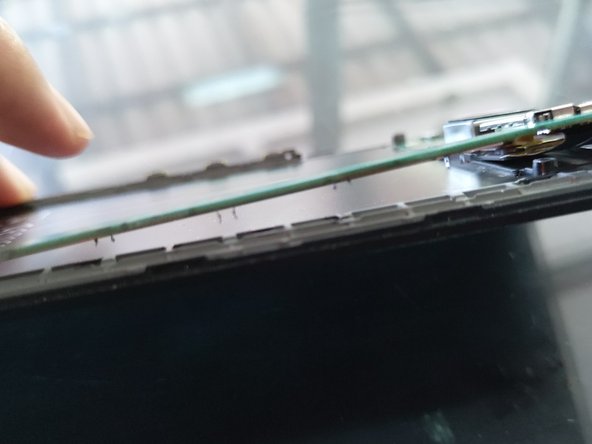
- Use tweezers to lift the motherboard up. This may require a little force since this part of the board has little clips underneath.
- Continue working with the motherboard all the way around till the bottom half of the phone. Straightforward!
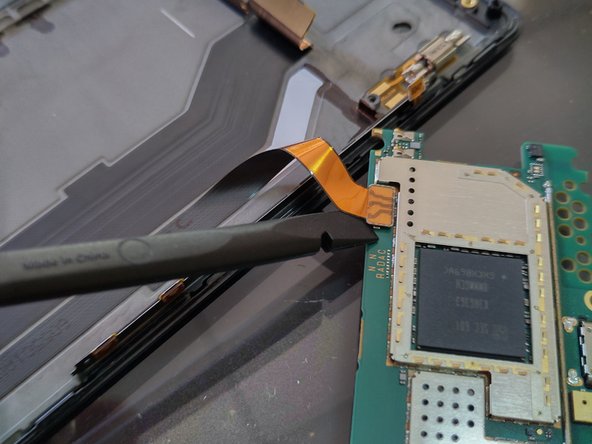
- One last connector needs to be disconnected on the back of the motherboard.
- Start by peeling of the sticker beneath the battery.
- Lift the motherboard up, starting from the bottom of the phone, and flip it gently. You will see the hidden connector.
- This connector also connect the motherboard to the daughter board.
- Disconnect it with a spudger
- Now the motherboard can be removed.
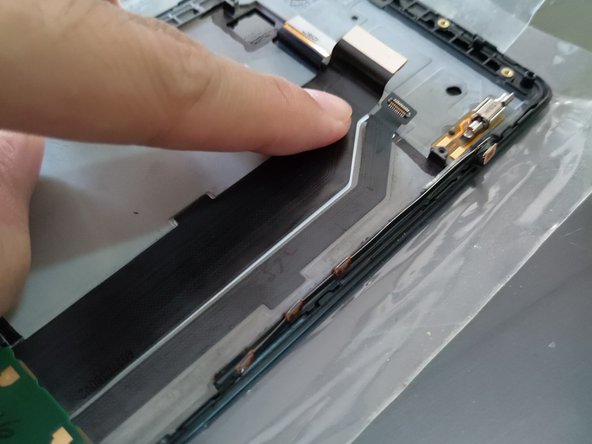
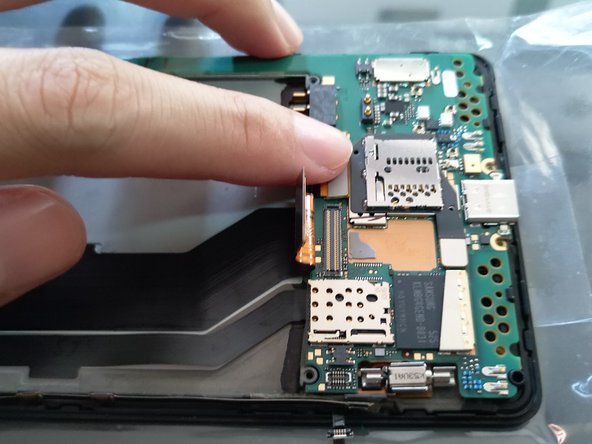
- Remove the two connectors that connect the daughter board with the motherboard. They are lightly adhered in place and can be peeled off easily by hand.
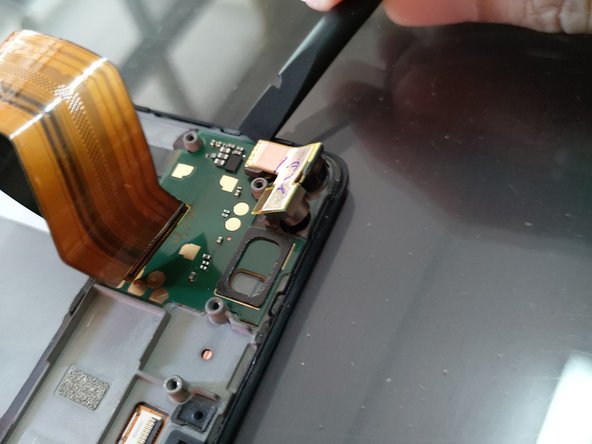
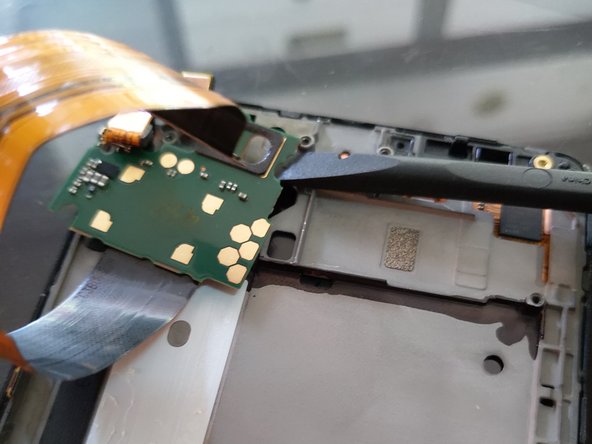
- Remove the daughter board by using a spudger.
- Remove the vibrating motor using a spudger.
- Remove the side panel with a spudger. It is lightly adhered but can be lifted by fingers or a tweezer.
- Start the assembly process by placing the daughter board into the new screen
- Place the vibrating motor back into its place.
- The new screen should come with a light adhesive to hold the two cables from the daughterboard.
- Reconnect a connector on the back of the motherboard, clipping the board in place. Start with the top right corner of the phone and push the motherboard into the clips using a spudger.
- Reconnect all 3 connectors.
- Place the headphone jack and connect it to the motherboard.
- Reapply the sticker beneath the battery
- Well, this can be done later after trying to turn on the device.
- Place the back panel on top of the motherboard, and screw in all 12 screws!
- After closing of the back cover, try turning the phone on!!
- This replacement part is an OLED screen. It is much higher quality compared with the LCD replacement screen.