Fixing dripping de'Longhi coffee machine
ID: 130242
Description: The De’Longhi Icona range of home espresso...
Steps:
- My Icona coffee machine.
- These machines use a solenoid pump and a pressurised boiler.
- WARNING!!! BEFORE STARTING, MAKE SURE THAT THE MACHINE IS TURNED OFF AND FULLY COOLED DOWN. RELEASE ANY PRESSURE BY OPENING THE STEAM VALVE. THESE MACHINES HAVE A LOT OF PRESSURE STORED UP IN THE BOILER.
- One common problem with these machines is dripping from the outlet.
- Before attempting this repair, it is worth de-scaling the machine first, as that can often cure it. De-scaling solutions are available on-line or in hardware stores, and are easy to use. You can also just use a vinegar and water mixture.
- The parts involved are a conical valve spring, a brass collar and a silicon rubber valve head. The valve stops water coming through before there is sufficient pressure. Sometimes the collar is missing, they can corrode away over time.
- The second picture shows the 3 parts assembled correctly.
- You may be able to do this without removing the coffee maker's base, but it is a lot easier with it out of the way, and the pictures are clearer.
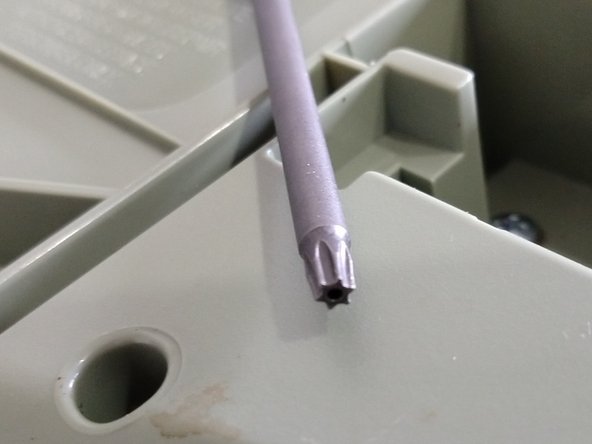
- There are 8 screws, indicated by arrows in the pictures 4 Phillips No2 in the central area, and 4 Torx T20S2 security screws in recesses around the sides.
- To remove the Torx screws, you can use a Torx security screwdriver as pictured. If you do not have one, it is possible to remove the screws by using a 2.5mm flat bladed screwdriver which is just the right size to fit between 2 lobes and the central pin in the screw head.
- Next, undo the Phillips No2 screw in the centre of the diffuser plate and remove the plate.
- Now we can see the brass dowel screw. (you may have to clean the area first). Remove it using a wide flat bladed screwdriver.
- We can now see the base of the valve spring. Remove it, but be careful not to lose the valve head or collar
- Cleaning all the parts, and perhaps just stretching the spring a little before reassembling, may be sufficient if the mushroom shows no sign of wear.