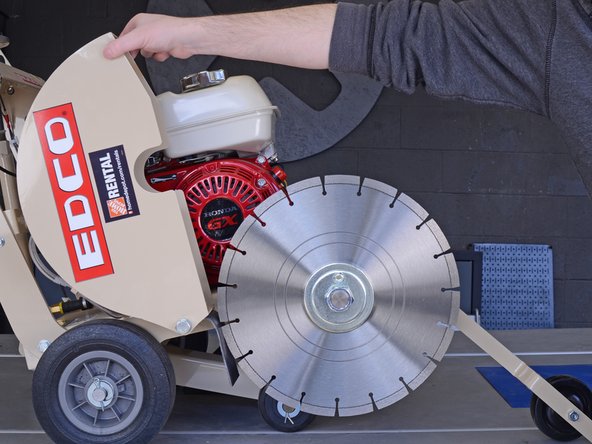
Edco KL14 Arbor Replacement
ID: 130271
Description: Follow this guide to replace a damaged arbor...
Steps:
- Before you begin, ensure that the machine is powered down and cool to the touch.
- Disconnect the spark plug to prevent the engine from accidentally starting up during service:
- Grab the plastic spark plug cap at the end of the spark plug wire.
- Firmly pull to disconnect the spark plug cap from the spark plug.
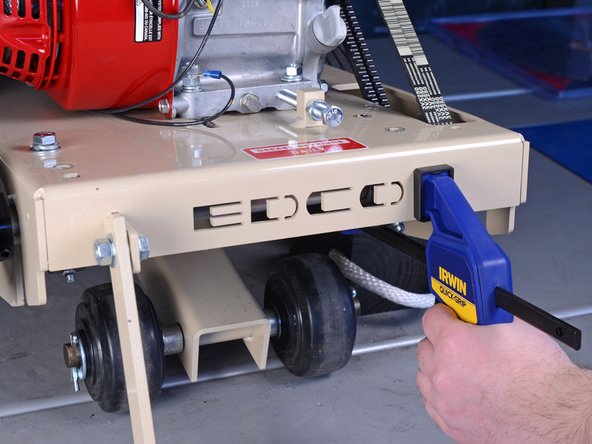
- To prevent the concrete saw from rolling during service, place wheel chocks in front of and behind a rear wheel.
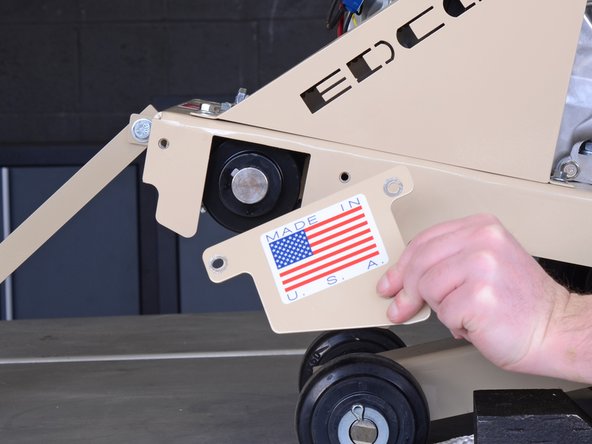
- Use a 3/8-inch wrench to remove the two bolts securing the arbor guard.
- Remove the arbor guard.
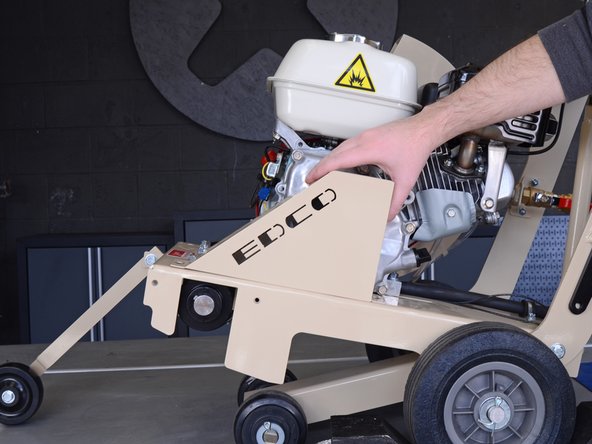
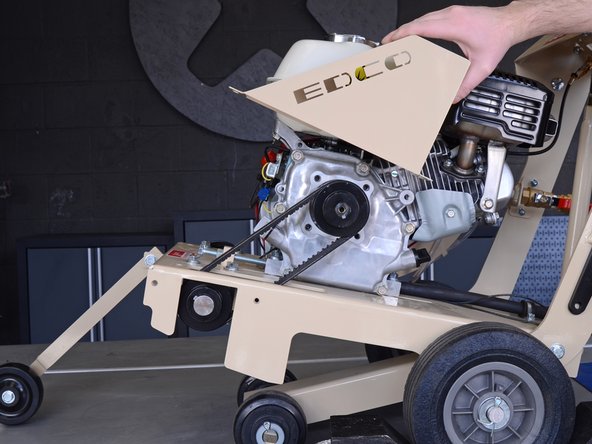
- Use a 3/8-inch wrench to remove the two bolts securing the belt guard.
- Remove the belt guard.
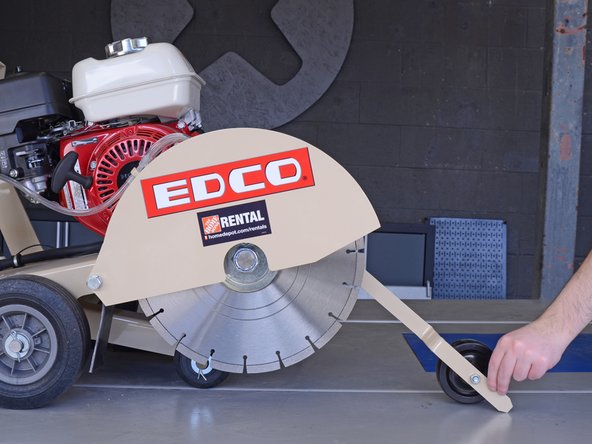
- Lower the guide bar all the way down until it rests on the work surface.
- Use a 9/16-inch wrench to remove the bolt securing the blade cover.
- Use a 3/4-inch wrench to loosen the blade cover pivot bolt, but do not remove it.
- Raise the blade cover all the way up to expose the cutting blade.
- Work slowly and take extra precautions when working around the exposed cutting blade.
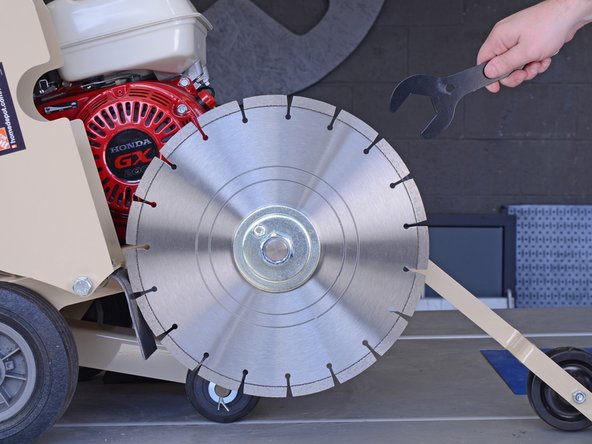
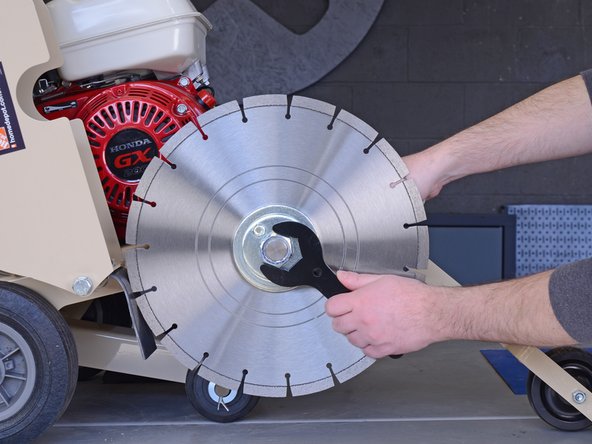
- Use the included wrenches to remove the jam nut securing the cutting blade to the arbor.
- Use one wrench behind the blade to secure the arbor in place as you use the other wrench to remove the jam nut.
- The jam nut is accompanied by a lock washer. Be sure to retain it for reinstallation.
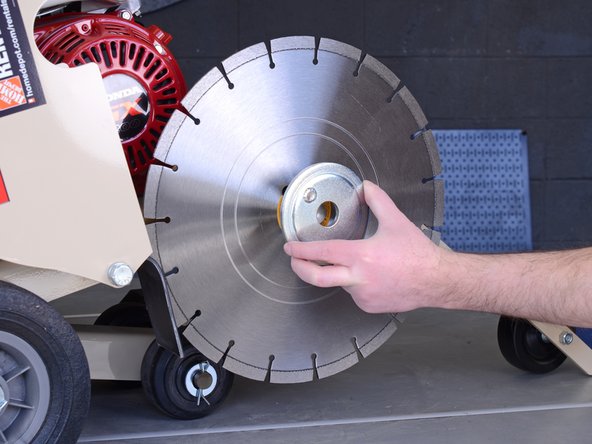
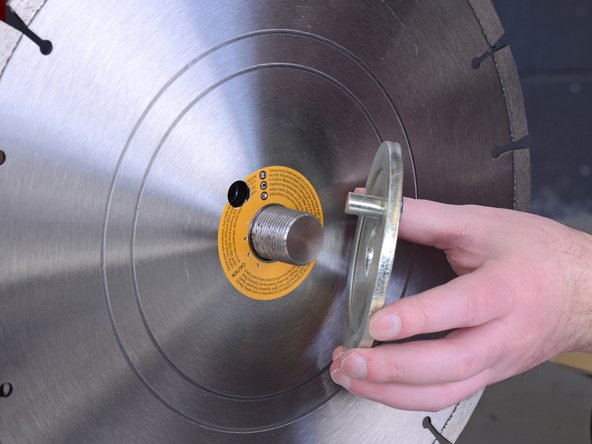
- Remove the blade cap.
- Reassembly Tip: Make sure the pin on the blade cap lines up with the holes on the blade and arbor.
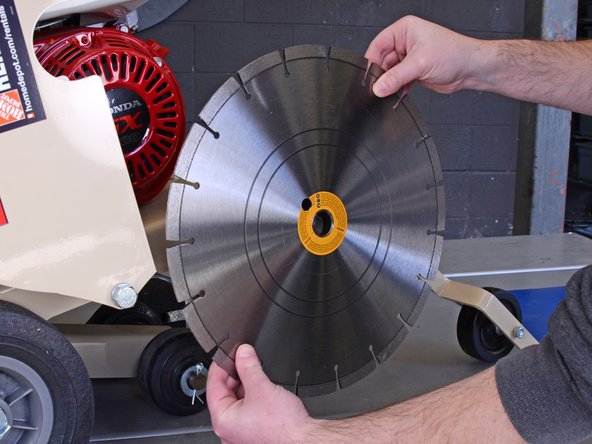
- Remove the blade from the arbor.
- Use extreme care while removing the blade to avoid injury.
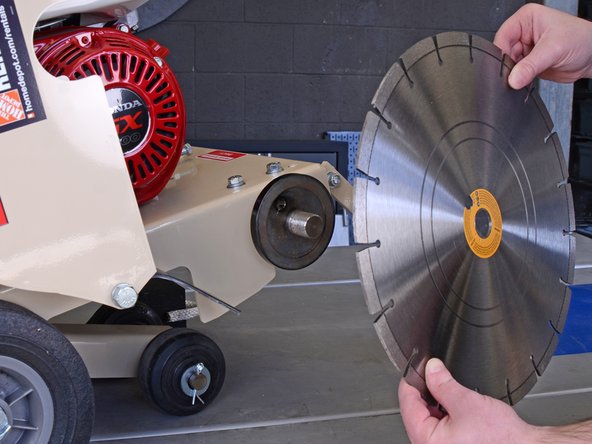
- Use a 9/16-inch wrench to remove the four bolts securing the arbor assembly to the concrete saw.
- Support the arbor assembly from the bottom and tilt the left side down to remove it from the belts.
- Remove the arbor assembly.
- Reassembly Tip: Reinstall a mounting bolt on the blade side to hold the arbor assembly in place. Then use a clamp to help line up the remaining mounting bolt holes, as the tension of the belts will make it difficult to do this by hand.