Edco KL14 Engine Replacement
ID: 130274
Description: Follow this guide to replace a damaged engine...
Steps:
- Before you begin, ensure that the machine is powered down and cool to the touch.
- Disconnect the spark plug to prevent the engine from accidentally starting up during service:
- Grab the plastic spark plug cap at the end of the spark plug wire.
- Firmly pull to disconnect the spark plug cap from the spark plug.
- To prevent the concrete saw from rolling during service, place wheel chocks in front of and behind a rear wheel.
- Use a 3/8-inch wrench to remove the two bolts securing the arbor guard.
- Remove the arbor guard.
- Use a 3/8-inch wrench to remove the two bolts securing the belt guard.
- Remove the belt guard.
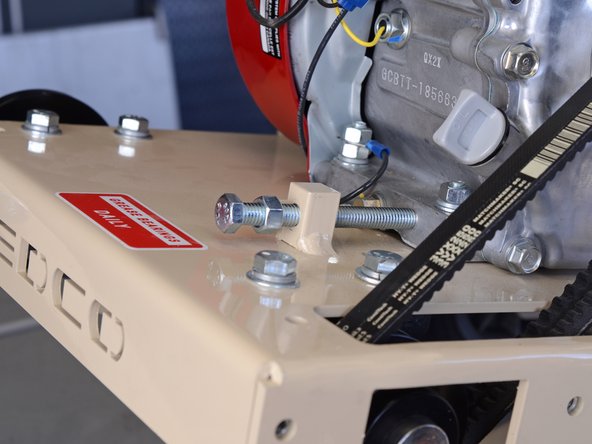
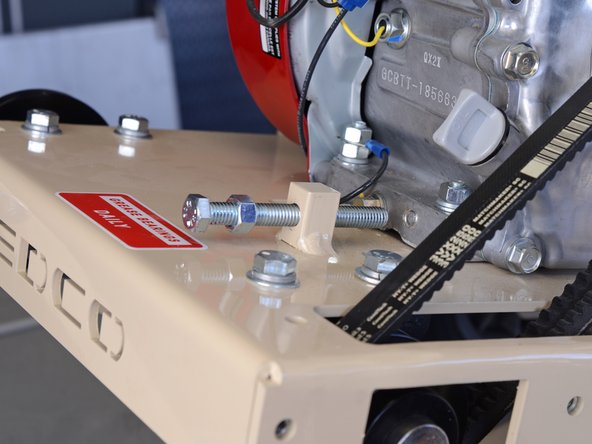
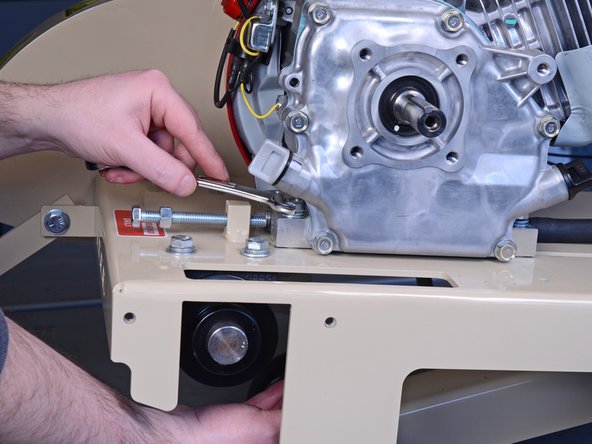
- Use a 9/16-inch wrench to loosen the lock nut on the engine's tap bolt.
- Use a 9/16-inch wrench to loosen the engine's tap bolt until the tip of the bolt is about an inch away from the engine.
- Use a 9/16-inch wrench to loosen the five engine mounting nuts on the front and back of the engine, but do not remove them.
- Use a flathead screwdriver or a 3/8-inch wrench to remove the screw securing the drain hose to the concrete saw.
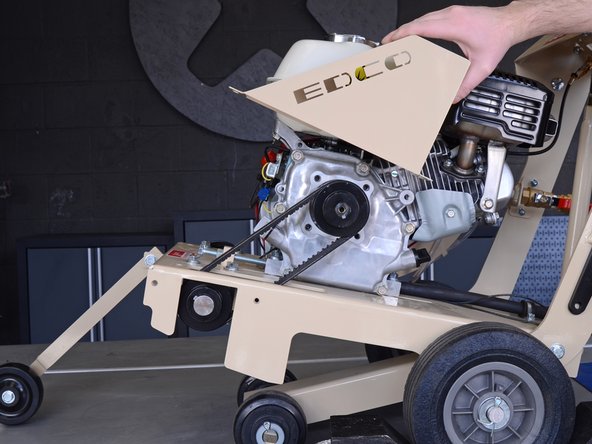
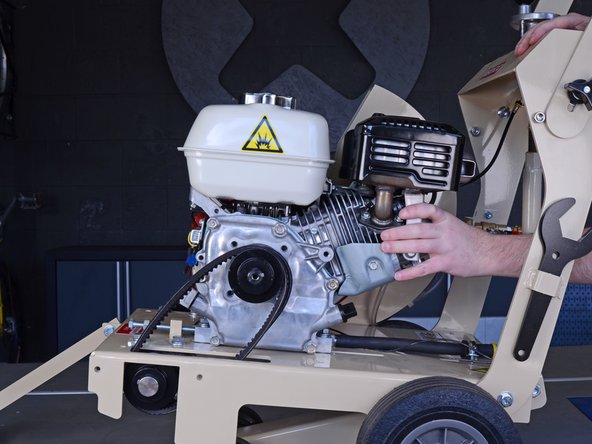
- Slide the engine forward on the frame to relieve tension on the belts.
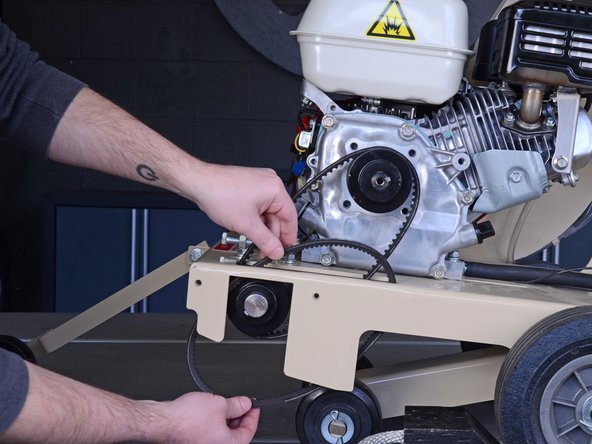
- Remove the outer belt from the engine and arbor pulleys.
- It may help to use one hand to remove the belts from the engine pulley and the other hand to remove the belts from the arbor pulley.
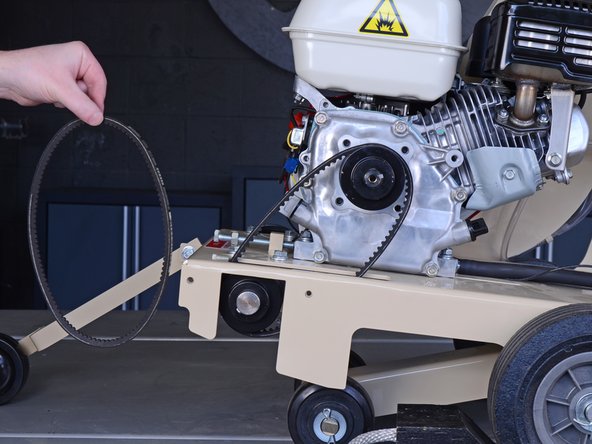
- Repeat the process for the inner belt.
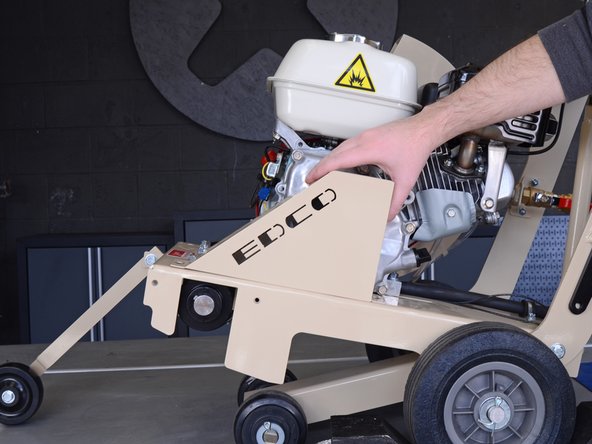
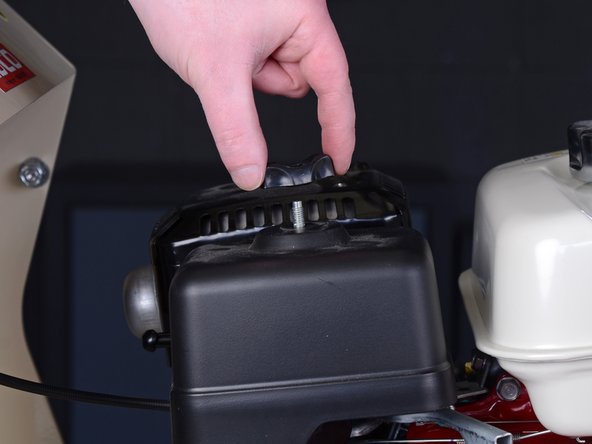
- Use your fingers to unscrew and remove the wing nut securing the air filter cover.
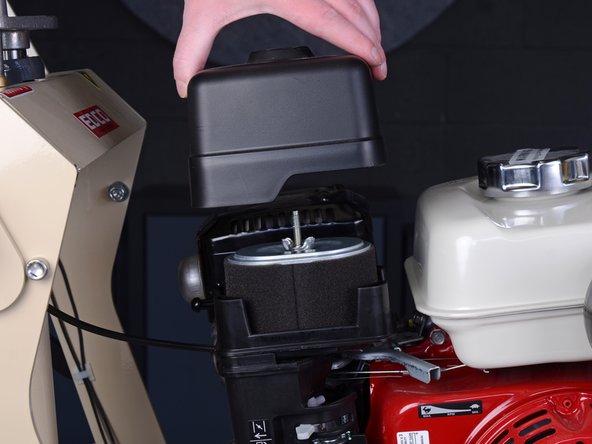
- Lift the air filter cover straight up to remove it.
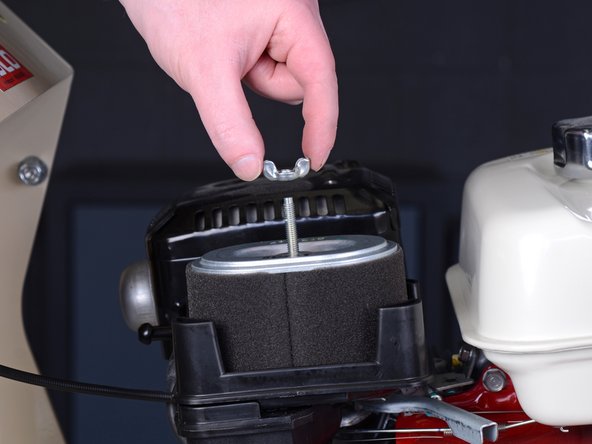
- Use your fingers to unscrew and remove the wing nut securing the air filter.
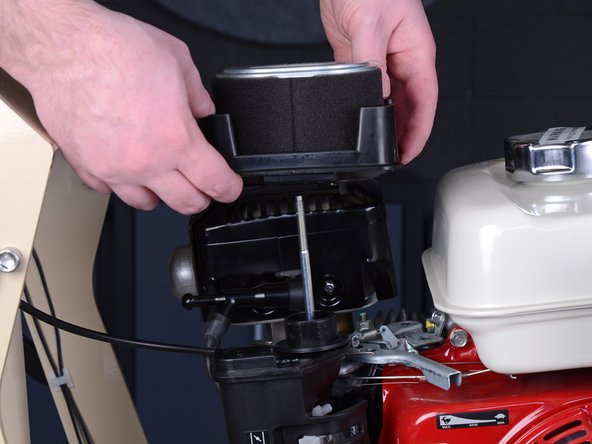
- Grab the black plastic air filter platform and lift it straight up with the air filter to remove both components.
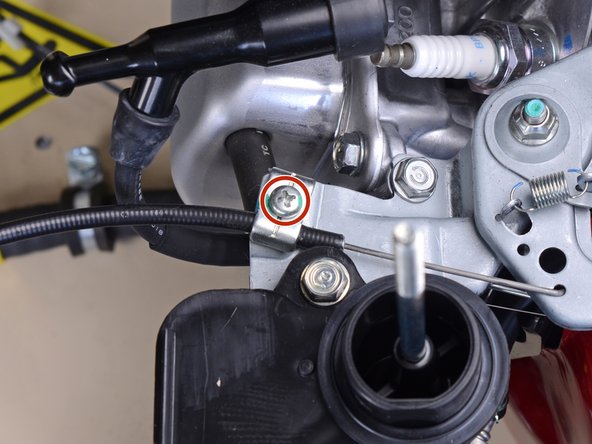
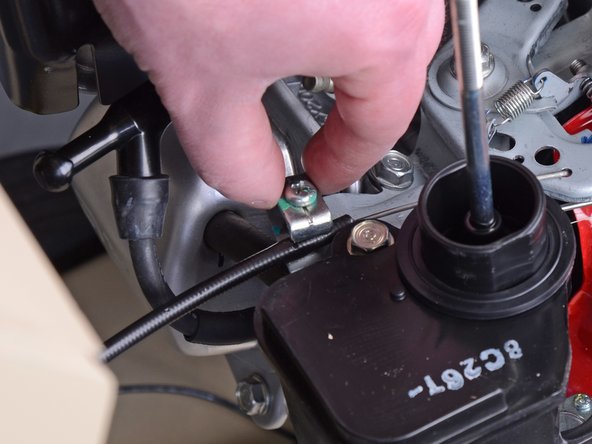
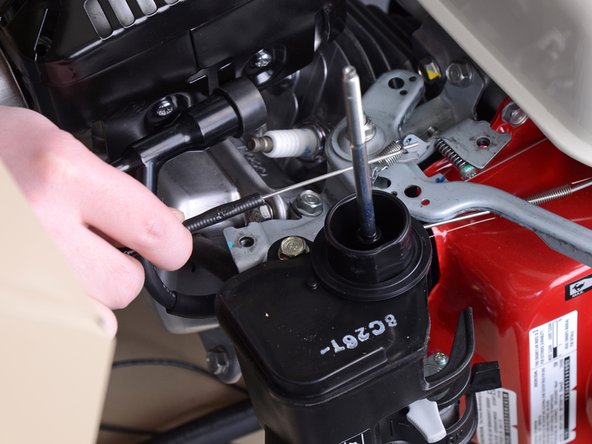
- Use a Phillips #2 screwdriver to remove the screw securing the throttle cable to the engine.
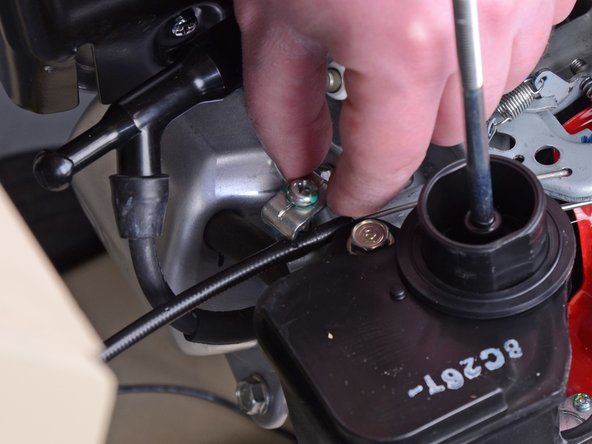
- Grab the throttle cable clamp with your fingers and rotate it out of the way of the throttle cable.
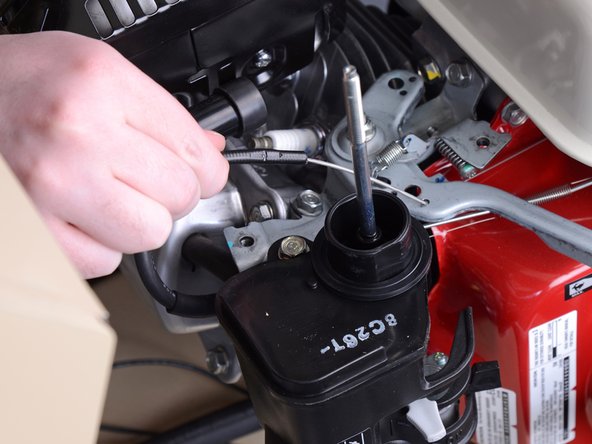
- Lift the throttle cable up and pull it the end of the cable out of the hole it hooks into.
- Make sure to reinstall the throttle cable onto the new engine. You'll need to remove the air filter on the new engine first.
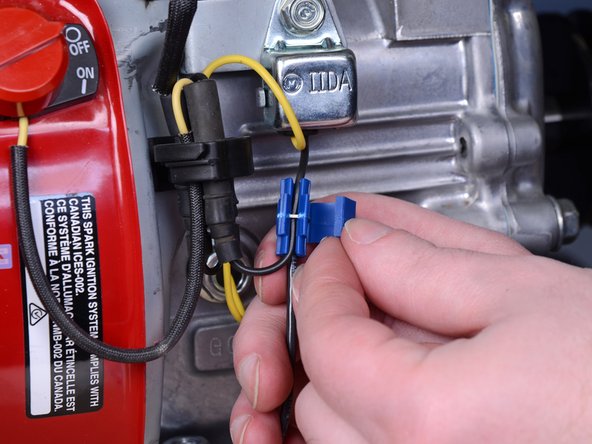
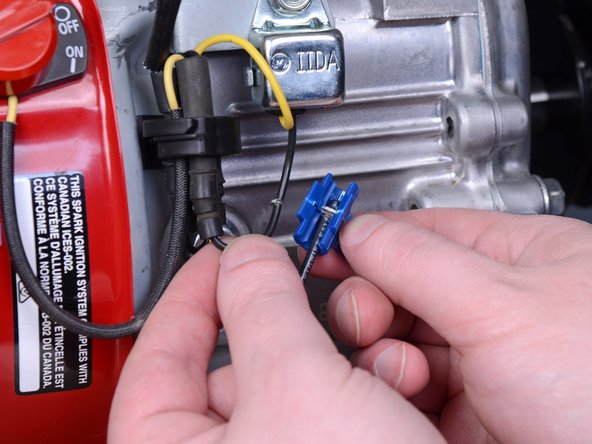
- Unclip the blue wire connector on the front of the engine.
- Remove the wire connector from the engine's switch wire.
- Leave the handle switch's black wire connected to the wire connector.
- Make sure to reattach the wire connector to the new engine's switch wire.
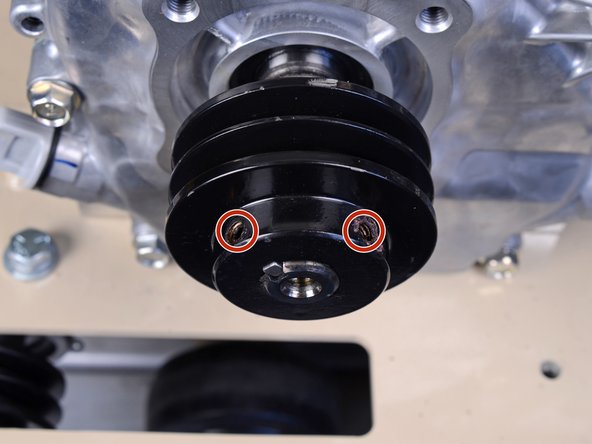
- Use a 1/8-inch hex key to loosen the two set screws on the engine's drive pulley.
- Completely removing the set screws is not required to remove the drive pulley.
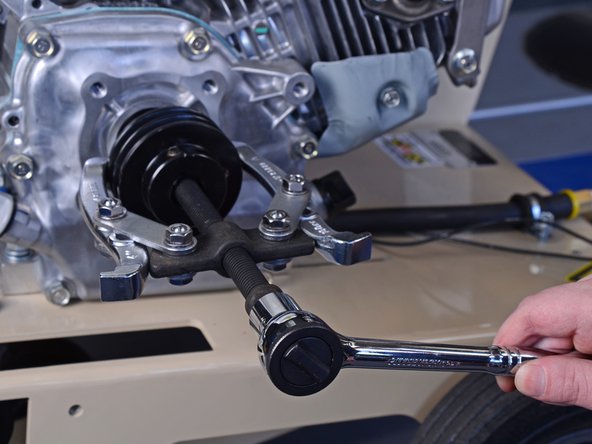
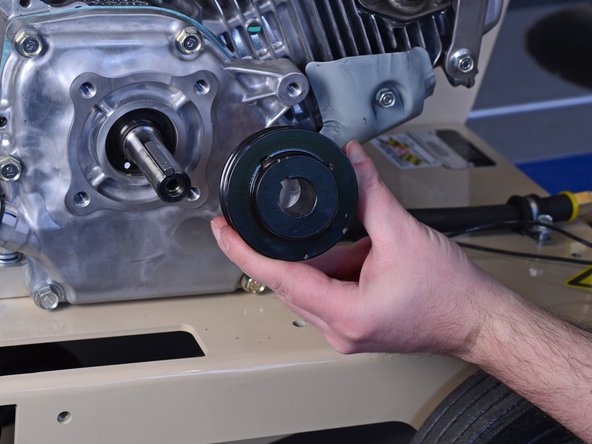
- Use a gear puller and a wrench to remove the pulley from the engine's driveshaft.
- Make sure to reinstall this pulley onto the new engine's driveshaft.
- Remove the drive pulley key from the driveshaft.
- If the new engine did not come with a new drive pulley key, you can transfer this key from the old engine to the new one.
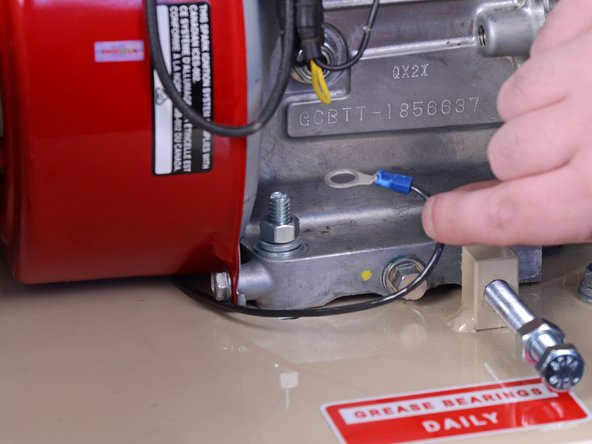
- Use a 9/16-inch wrench to remove the three engine mount nuts and the ground wire at the front of the engine.
- Place a hand underneath the frame to catch the carriage bolts as you remove the nuts.
- The engine mount bolt with two nuts and a ground wire (shown on the left side of the first photo in this step) is longer than the other bolts securing the engine. During reassembly, make sure to reuse the longer bolt on the correct side and reinstall the ground wire between the two nuts.
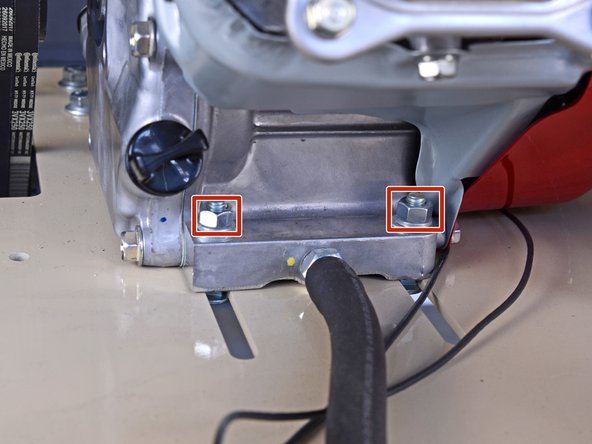
- Use a 9/16-inch wrench to remove the two engine mount nuts on the back of the engine.
- Use both hands and carefully lift the engine straight up off the concrete saw to remove it.
- Get help from another person, if need be.
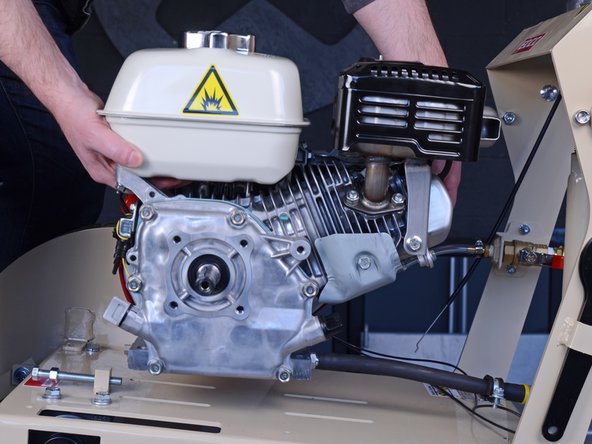
- Place the engine on your work surface and prop up the rear by placing a wooden block underneath it.
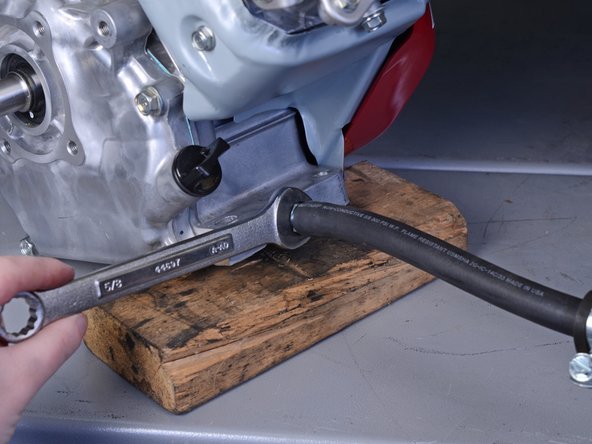
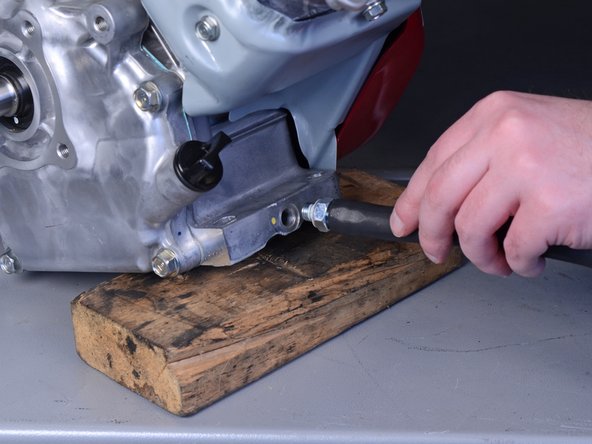
- Use a 5/8-inch wrench to unscrew and remove the drain bolt from the engine.
- Make sure to install this drain hose onto the new engine.