Compaq Armada 1585DMT RAM Replacement
ID: 130382
Description: If your Compaq Armada 1585DMT Laptop is...
Steps:
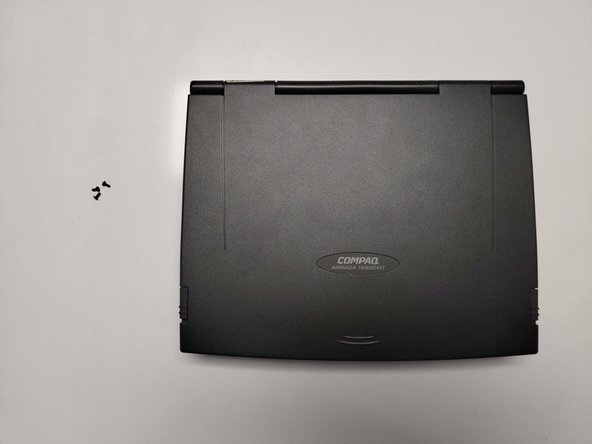
- Turn the laptop over on its backside.
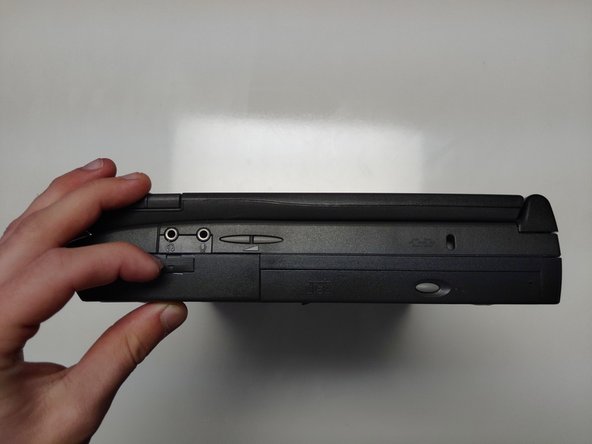
- Push down the battery pack clamp located on the right side of the laptop.
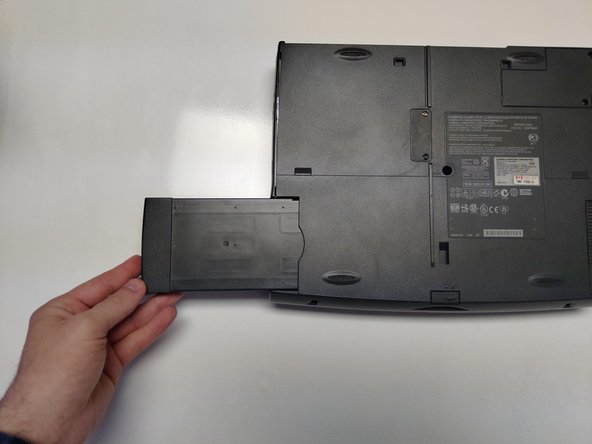
- Pull the battery pack outwards and away from the laptop.
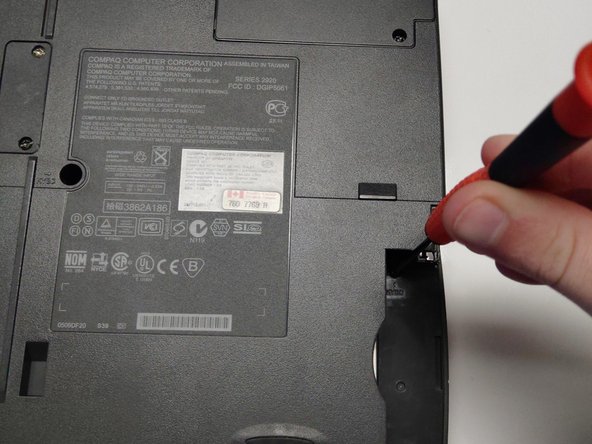
- Push down the floppy disk drive clamp located on left side of laptop.
- Pull the floppy disk drive outwards and away from the laptop.
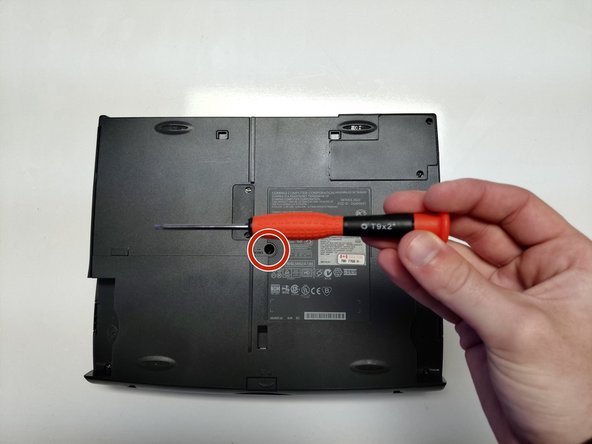
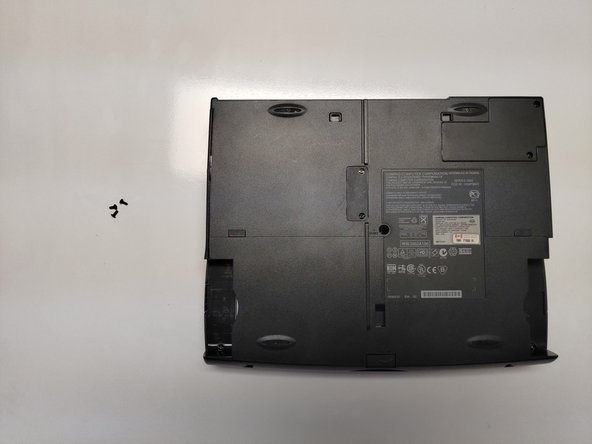
- Remove the single 4mm Torx screw from the bottom center of the laptop.
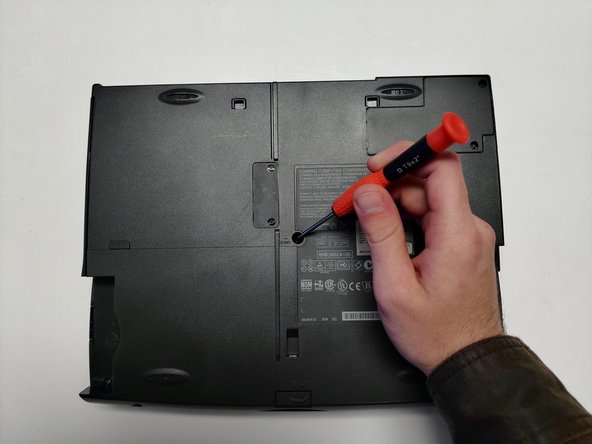
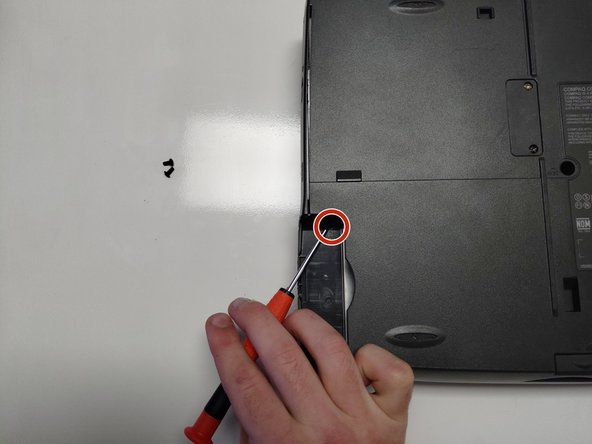
- Remove the single 4mm Torx screw, located beneath the floppy disk drive bay.
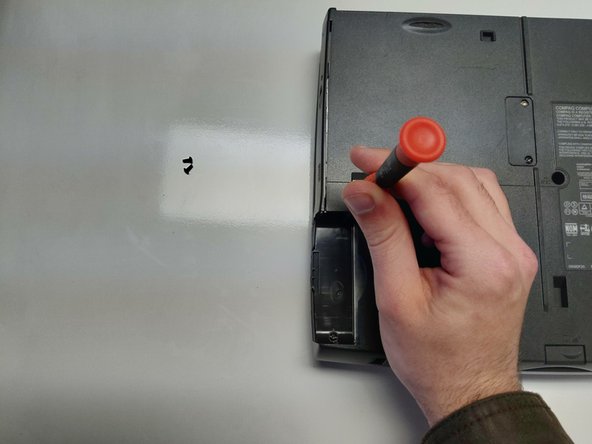
- Remove the single 4mm Torx screw from beneath the battery pack bay.
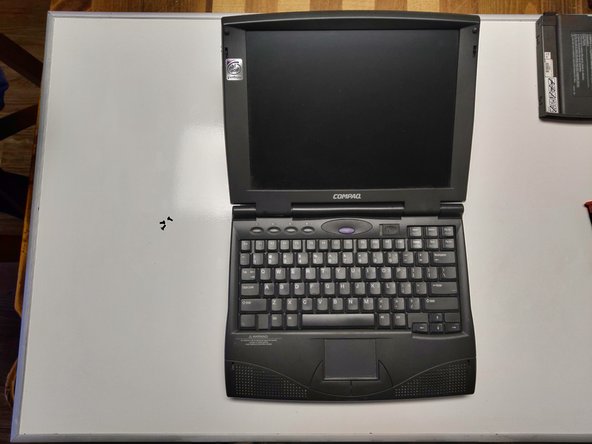
- Flip the laptop right-side up.
- Open the laptop, exposing the screen and keyboard.
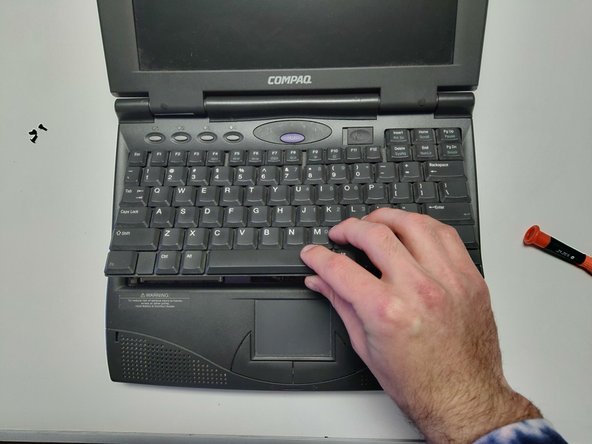
- Gently wedge the flat end of a spudger between the keyboard and laptop chassis.
- The easiest place to start a wedge is the non-clickable part of the keyboard between the right-control and arrow keys.
- Pry the keyboard away from the laptop chassis.
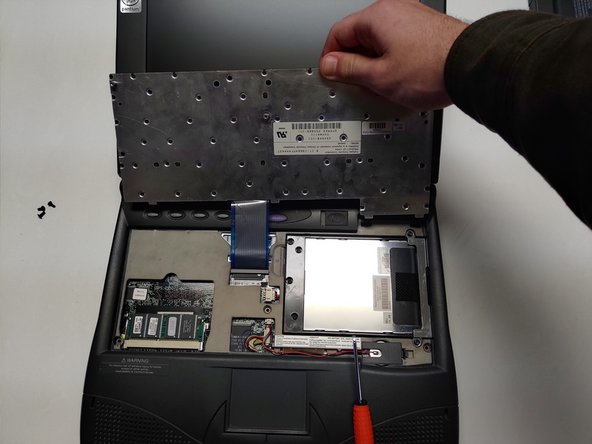
- Lift the keyboard up and away.
- Move the keyboard away from the blue ribbon connector.
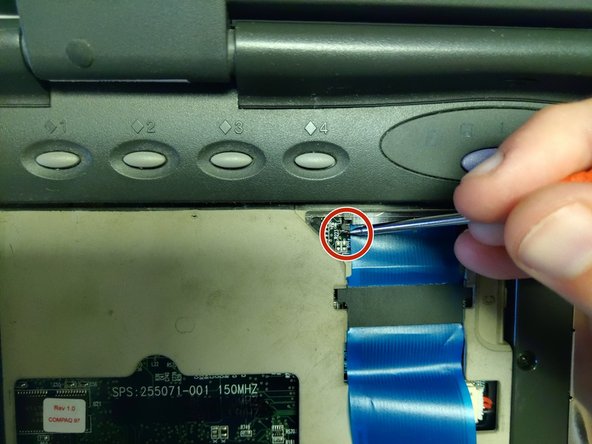
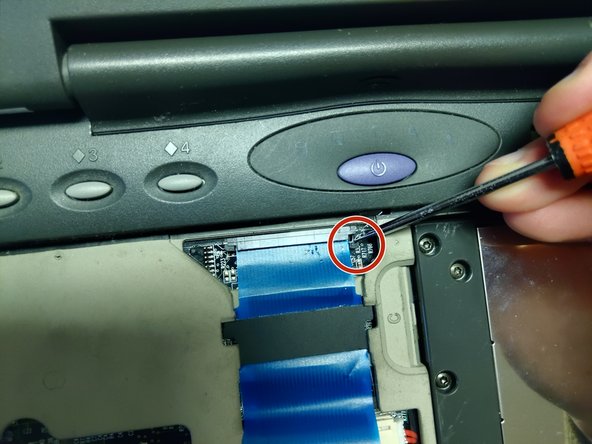
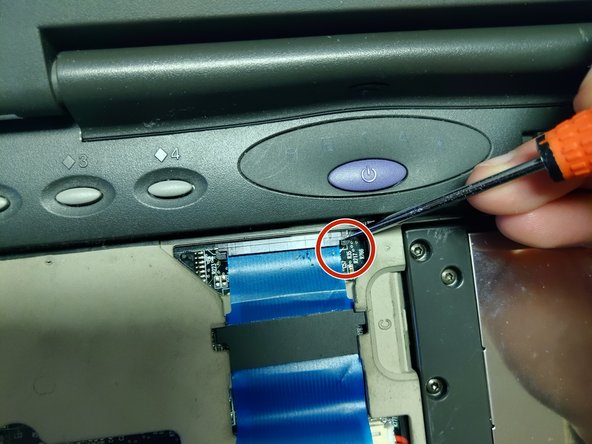
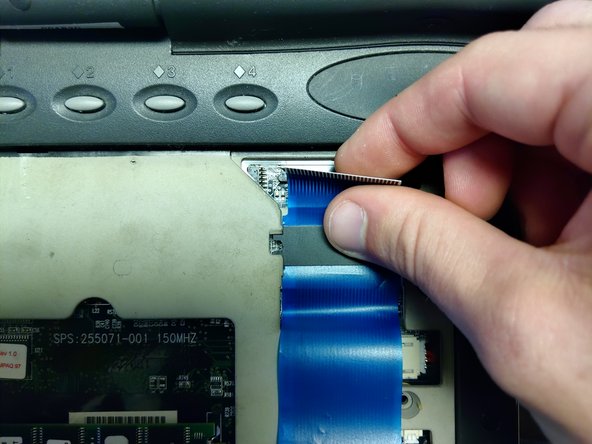
- Using a spudger, pull the two small tabs connecting the cable to the motherboard away from the cable's connector bay.
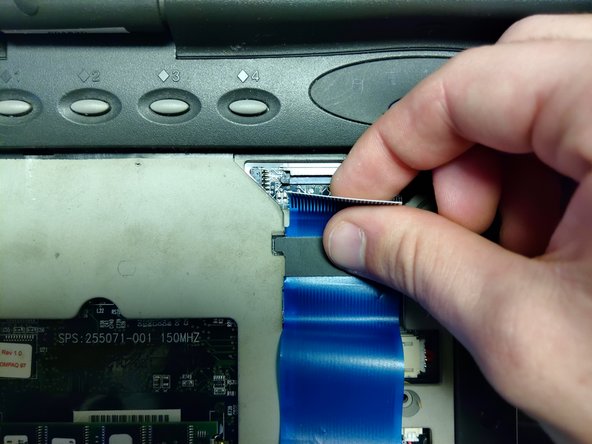
- Pull back both the black tabs until the tabs are completely extended.
- Pull the connector away from its bay.
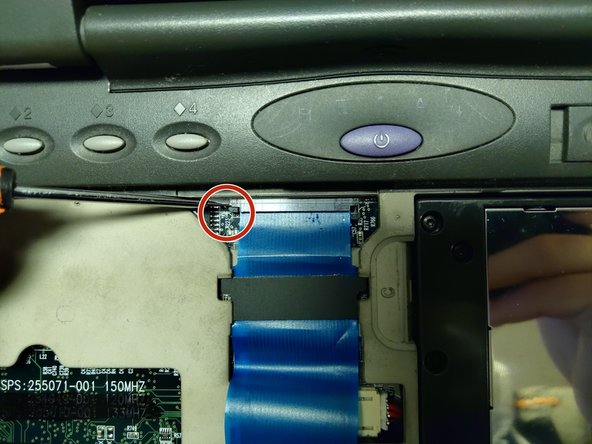
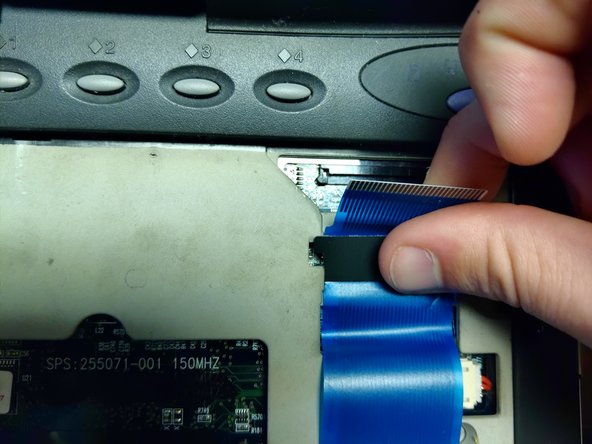
- The blue ribbon cable has a large black tab with plastic indicators sticking out.
- Slide the cable down until the indicators are visible under the open slot of the motherboard casing.
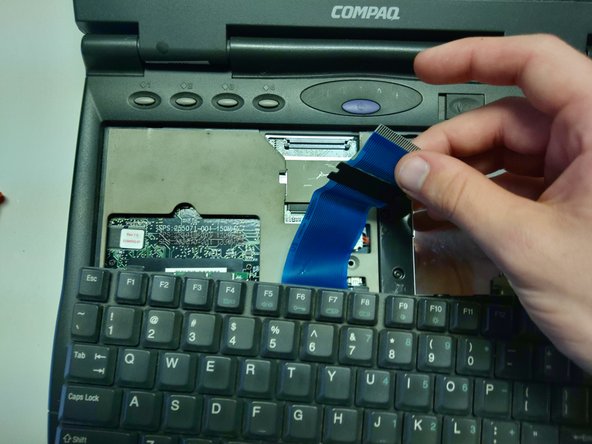
- Pull the cable out and away from the motherboard.
- Completely remove the keyboard.
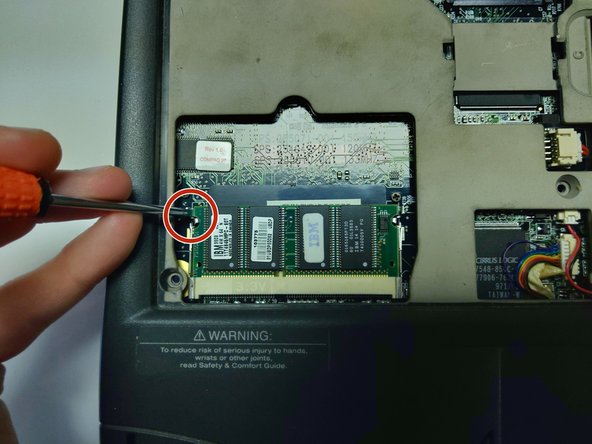
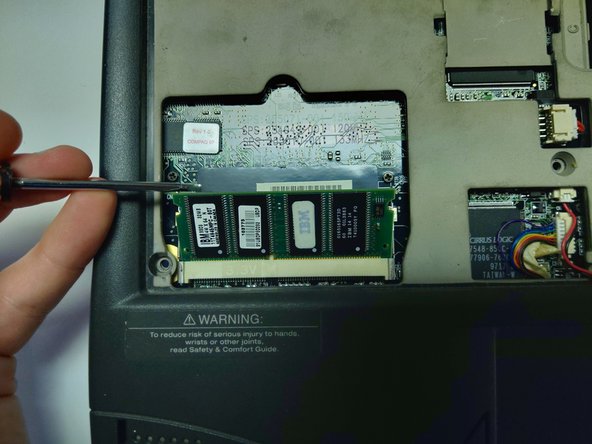
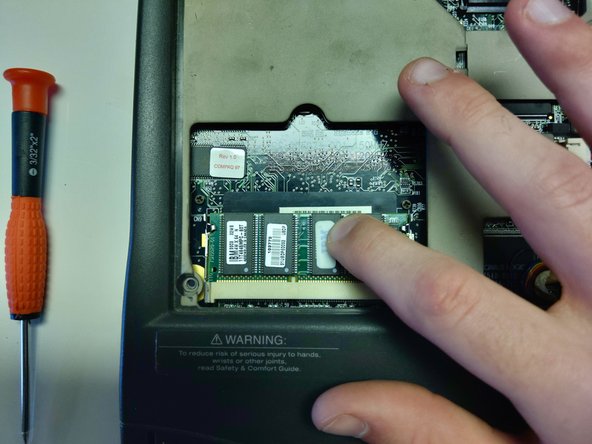
- Using a spudger, pull back the two metal tabs holding the RAM in place until the RAM pops out of its socket.
- The RAM stick is located on the lower left hand side of the laptop base, beneath where the left-shift key would be.
- Lift the RAM stick gently with your spudger.
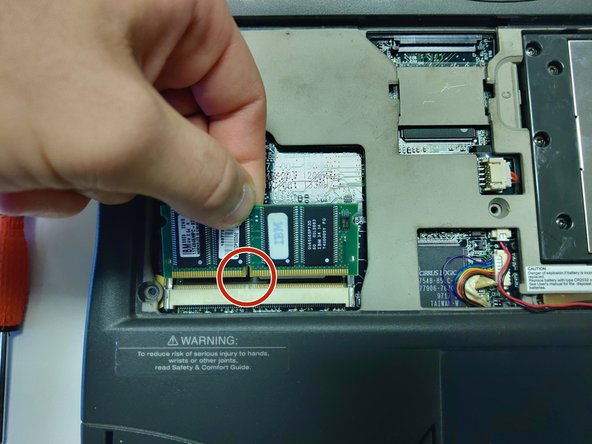
- Use your hand to gently press the RAM stick back, towards the laptop, without reattaching it to the metal tabs.
- Pull the RAM stick outwards and away from the connector it was previously attached to.
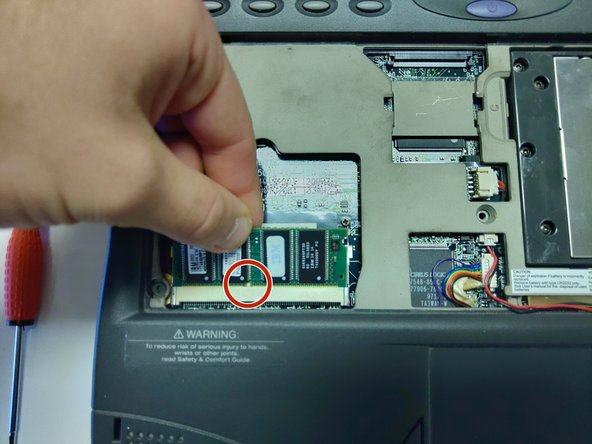
- Align the replacement stick's connector notch to the notch seen on the motherboard connector.
- Slide the stick in at an upwards angle.
- Firmly press down on the stick until it locks back in to the metal pins.